

Heres Some Camping Tips & Tricks at Your Fingertips
Our Sullivan Campground Blog is the information you need to make your next camping trip in Missouri even more enjoyable. From RV and camping tips and tricks, to amazing campfire recipes, to advice on planning your next trip in Sullivan, MO... the information below is here to help you. And please, feel free to comment and share your experiences, knowledge and favorite recipes. At Meramec Campground, we are a family and all here to help each other enjoy the great outdoors to the fullest!
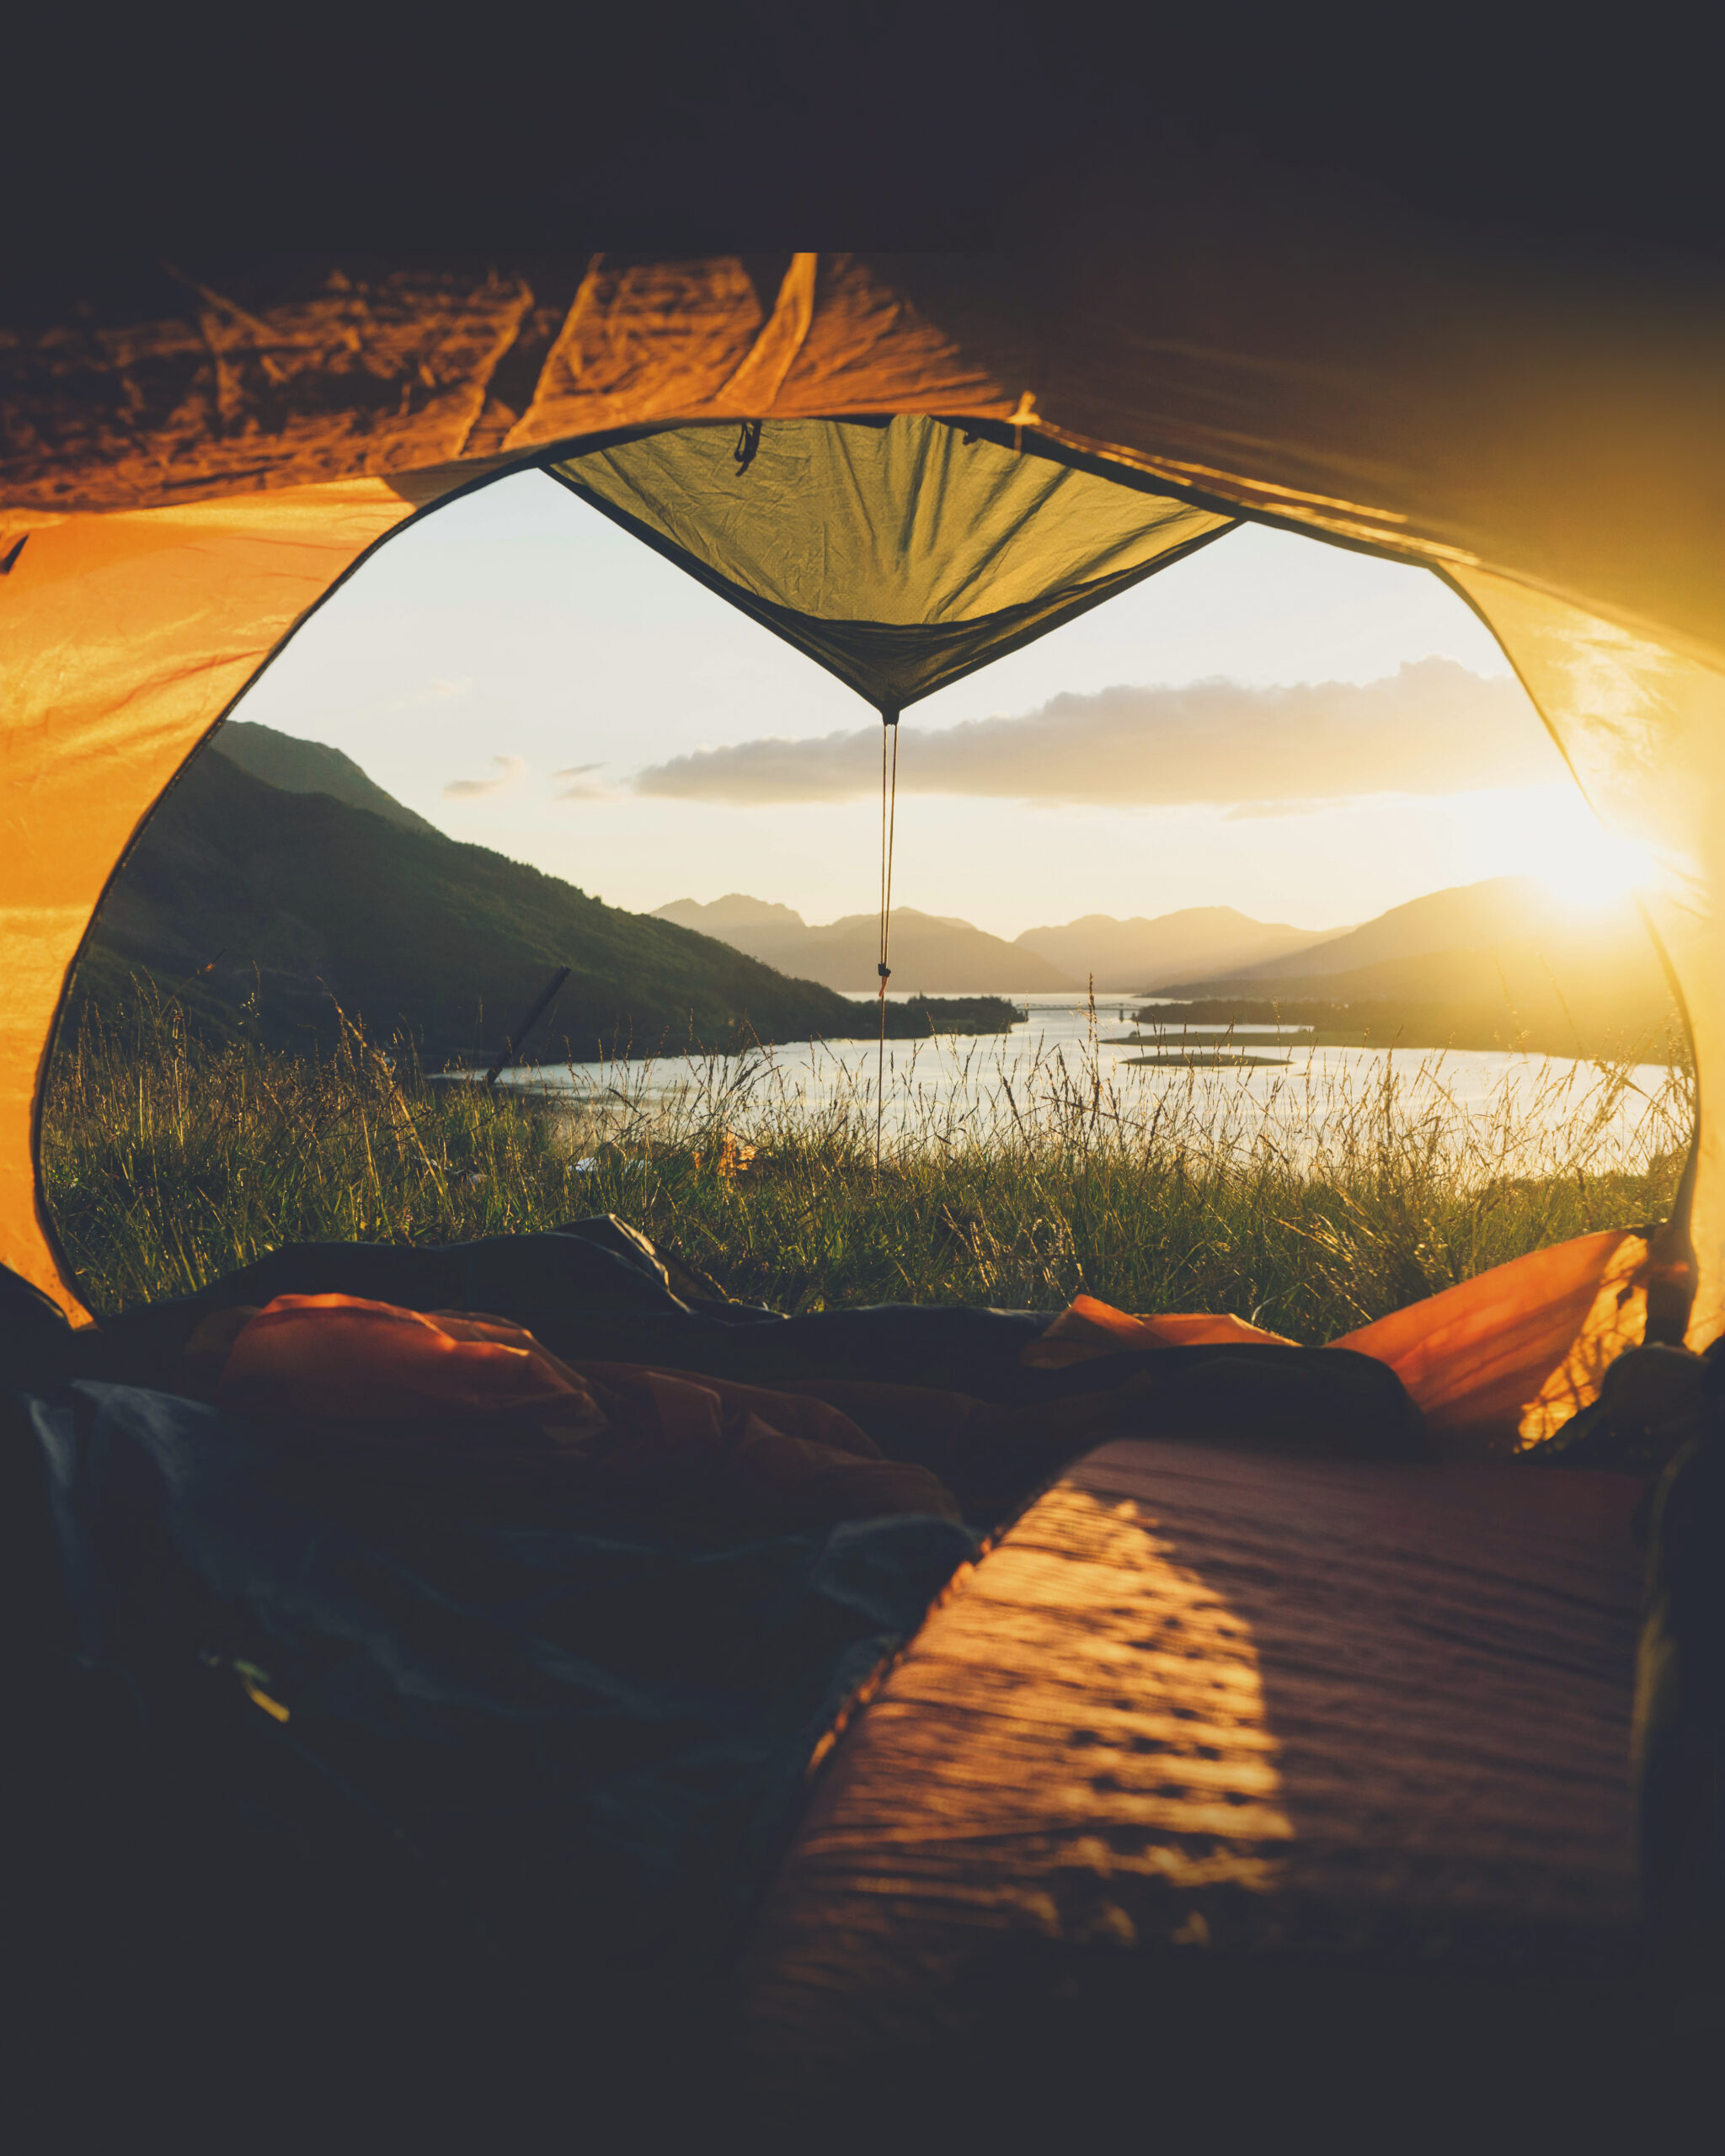
Are You a Sunrise Camper or a Night Owl Camper?
Every camper has their own favorite time of day. Some love waking up with the sunrise, coffee in hand, ready to explore before the rest of the campground stirs. Others come alive after the sun goes down, enjoying campfires, stargazing, and late-night conversations.
So, which camper are you?
🌅 Team Sunrise Camper
If you’re an early riser, camping mornings are hard to beat. The air is cool, the campground is peaceful, and nature is just starting to wake up.
A sunrise camper enjoys:
- Watching the sunrise with a hot cup of coffee.
- Taking a quiet morning walk.
- Fishing before the crowds arrive.
- Making breakfast over the campfire.
- Listening to birds and enjoying the calm.
There’s something special about having the campground almost entirely to yourself before the day’s activities begin.
🌙 Team Night Owl Camper
For some, camping doesn’t truly begin until the stars come out. Evenings around the campsite create memories that last a lifetime.
A night owl camper loves:
- Sitting around the campfire telling stories.
- Roasting marshmallows and making s’mores.
- Playing card games or board games under the canopy.
- Stargazing on clear summer nights.
- Enjoying the peaceful sounds of nature after dark.
There’s nothing quite like ending the day with a glowing fire and good company.
Why Not Be Both?
One of the best parts of camping is slowing down enough to enjoy every part of the day. Wake up early to catch a beautiful sunrise, spend the afternoon exploring the campground, and stay up late making memories around the fire.
Camping gives you the chance to enjoy nature from dawn until dusk—and every moment in between.
Start your morning with:
- Coffee by your campsite
- A peaceful walk
- Fishing or biking
- Breakfast outdoors
Spend your afternoon:
- Swimming
- Exploring nearby attractions
- Playing games with family
- Relaxing in the shade
End your evening with:
- Campfire dinners
- S’mores
- Stargazing
- Family stories and laughter
Make Memories at Kiefer Campgrounds
Whether you’re watching the first light peek through the trees or staying up to count shooting stars, every camping trip creates unforgettable moments.
So… are you a sunrise camper, a night owl camper, or a little bit of both?
Plan your next stay at Meramec Campground and discover your favorite time of day in the great outdoors! 🌲🏕️
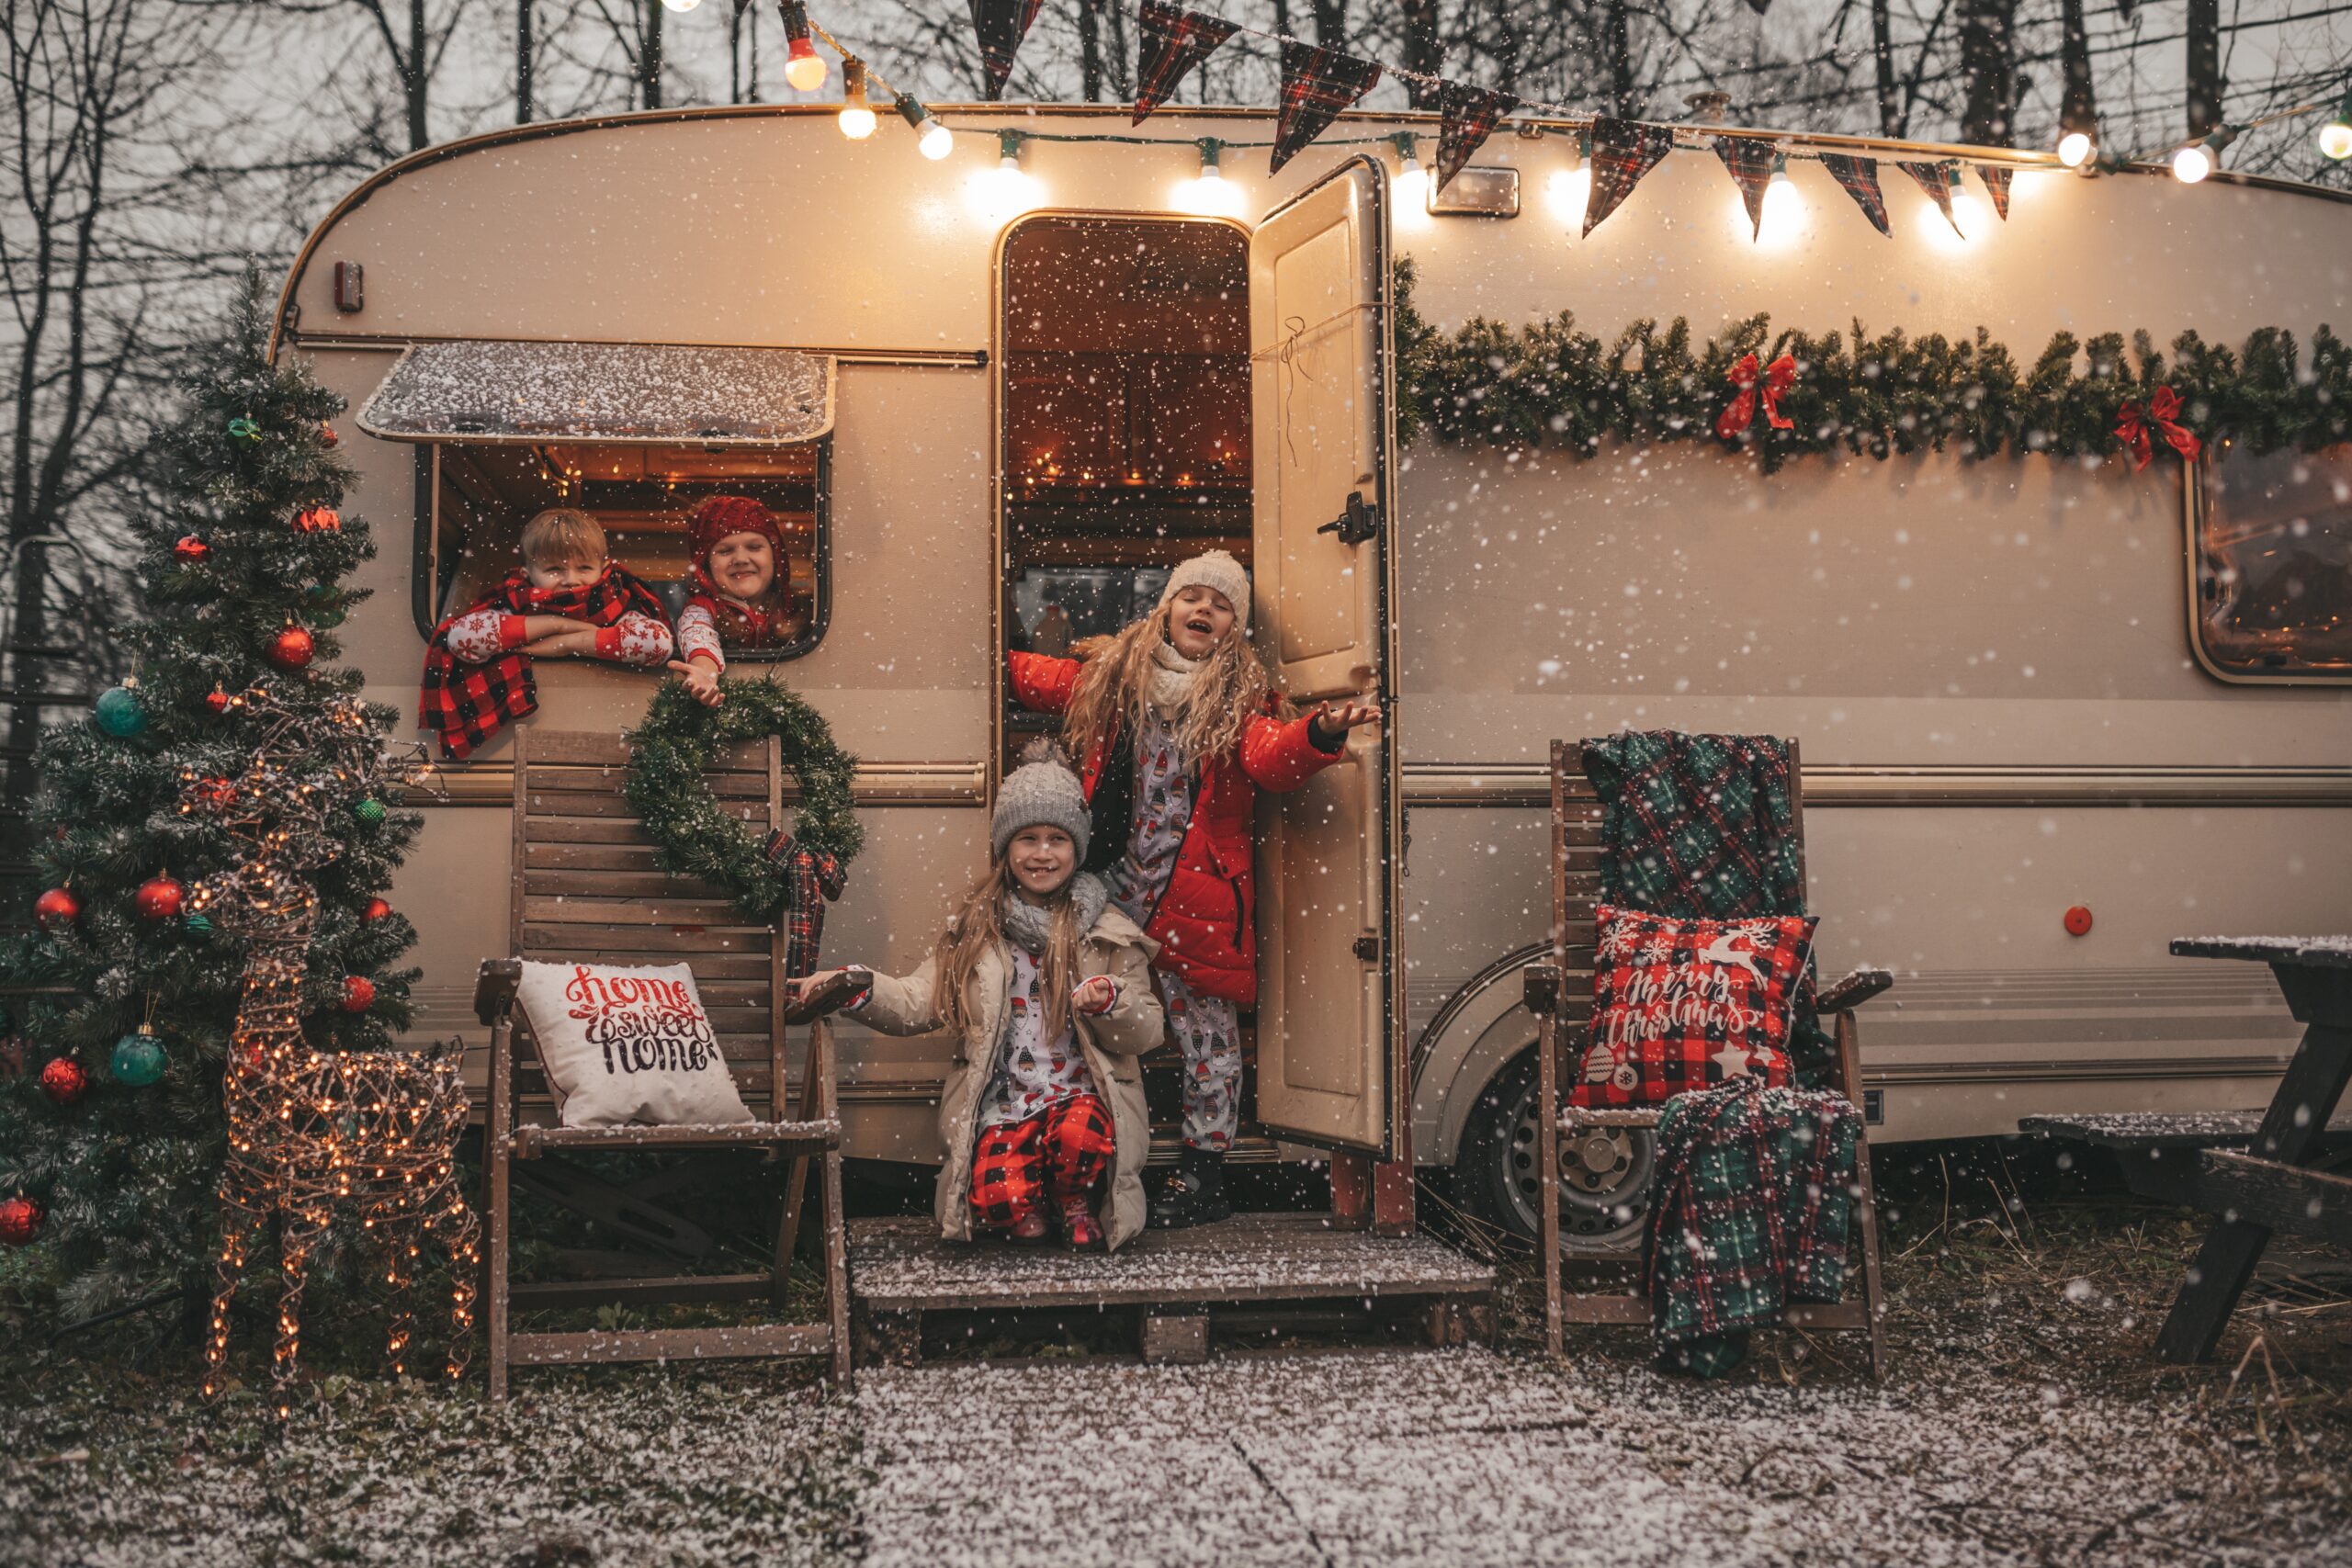
How to Do a Secret Santa Swap at the Campground
Celebrating the holidays outdoors adds a cozy twist to a classic tradition. A Secret Santa gift exchange is easy to organize at the campground and brings campers together for a fun, festive moment under the winter sky. Here’s how to make it happen:
1. Pick a Budget & Theme
Set a simple budget—usually $10–$25—and choose a theme if you’d like, such as “camping essentials” or “cozy gifts.” This keeps things fun and fair for everyone.
2. Draw Names Around the Campfire
Gather your group, write names on slips of paper, and draw from a hat or mug. You can also use a Secret Santa generator app. Remind everyone to keep their assignment a secret!
3. Choose Camp-Friendly Gifts
Look for small, useful, or cozy items that make outdoor life better, such as:
- Hot cocoa kits
- Fire starters
- Warm socks or hand warmers
- Lanterns or mini games
- Handmade or personalized items
4. Host the Swap at a Special Moment
Plan a time for everyone to come together—after dinner or during a campfire hangout. Add simple touches like twinkle lights, warm drinks, or holiday music to make it feel extra festive.
5. Make It a Tradition
Once you try it, a campground Secret Santa often becomes a yearly tradition. Switch up themes or add fun twists to keep it fresh each season.
Try this the next time you stay at Meramec Campground during Christmastime!
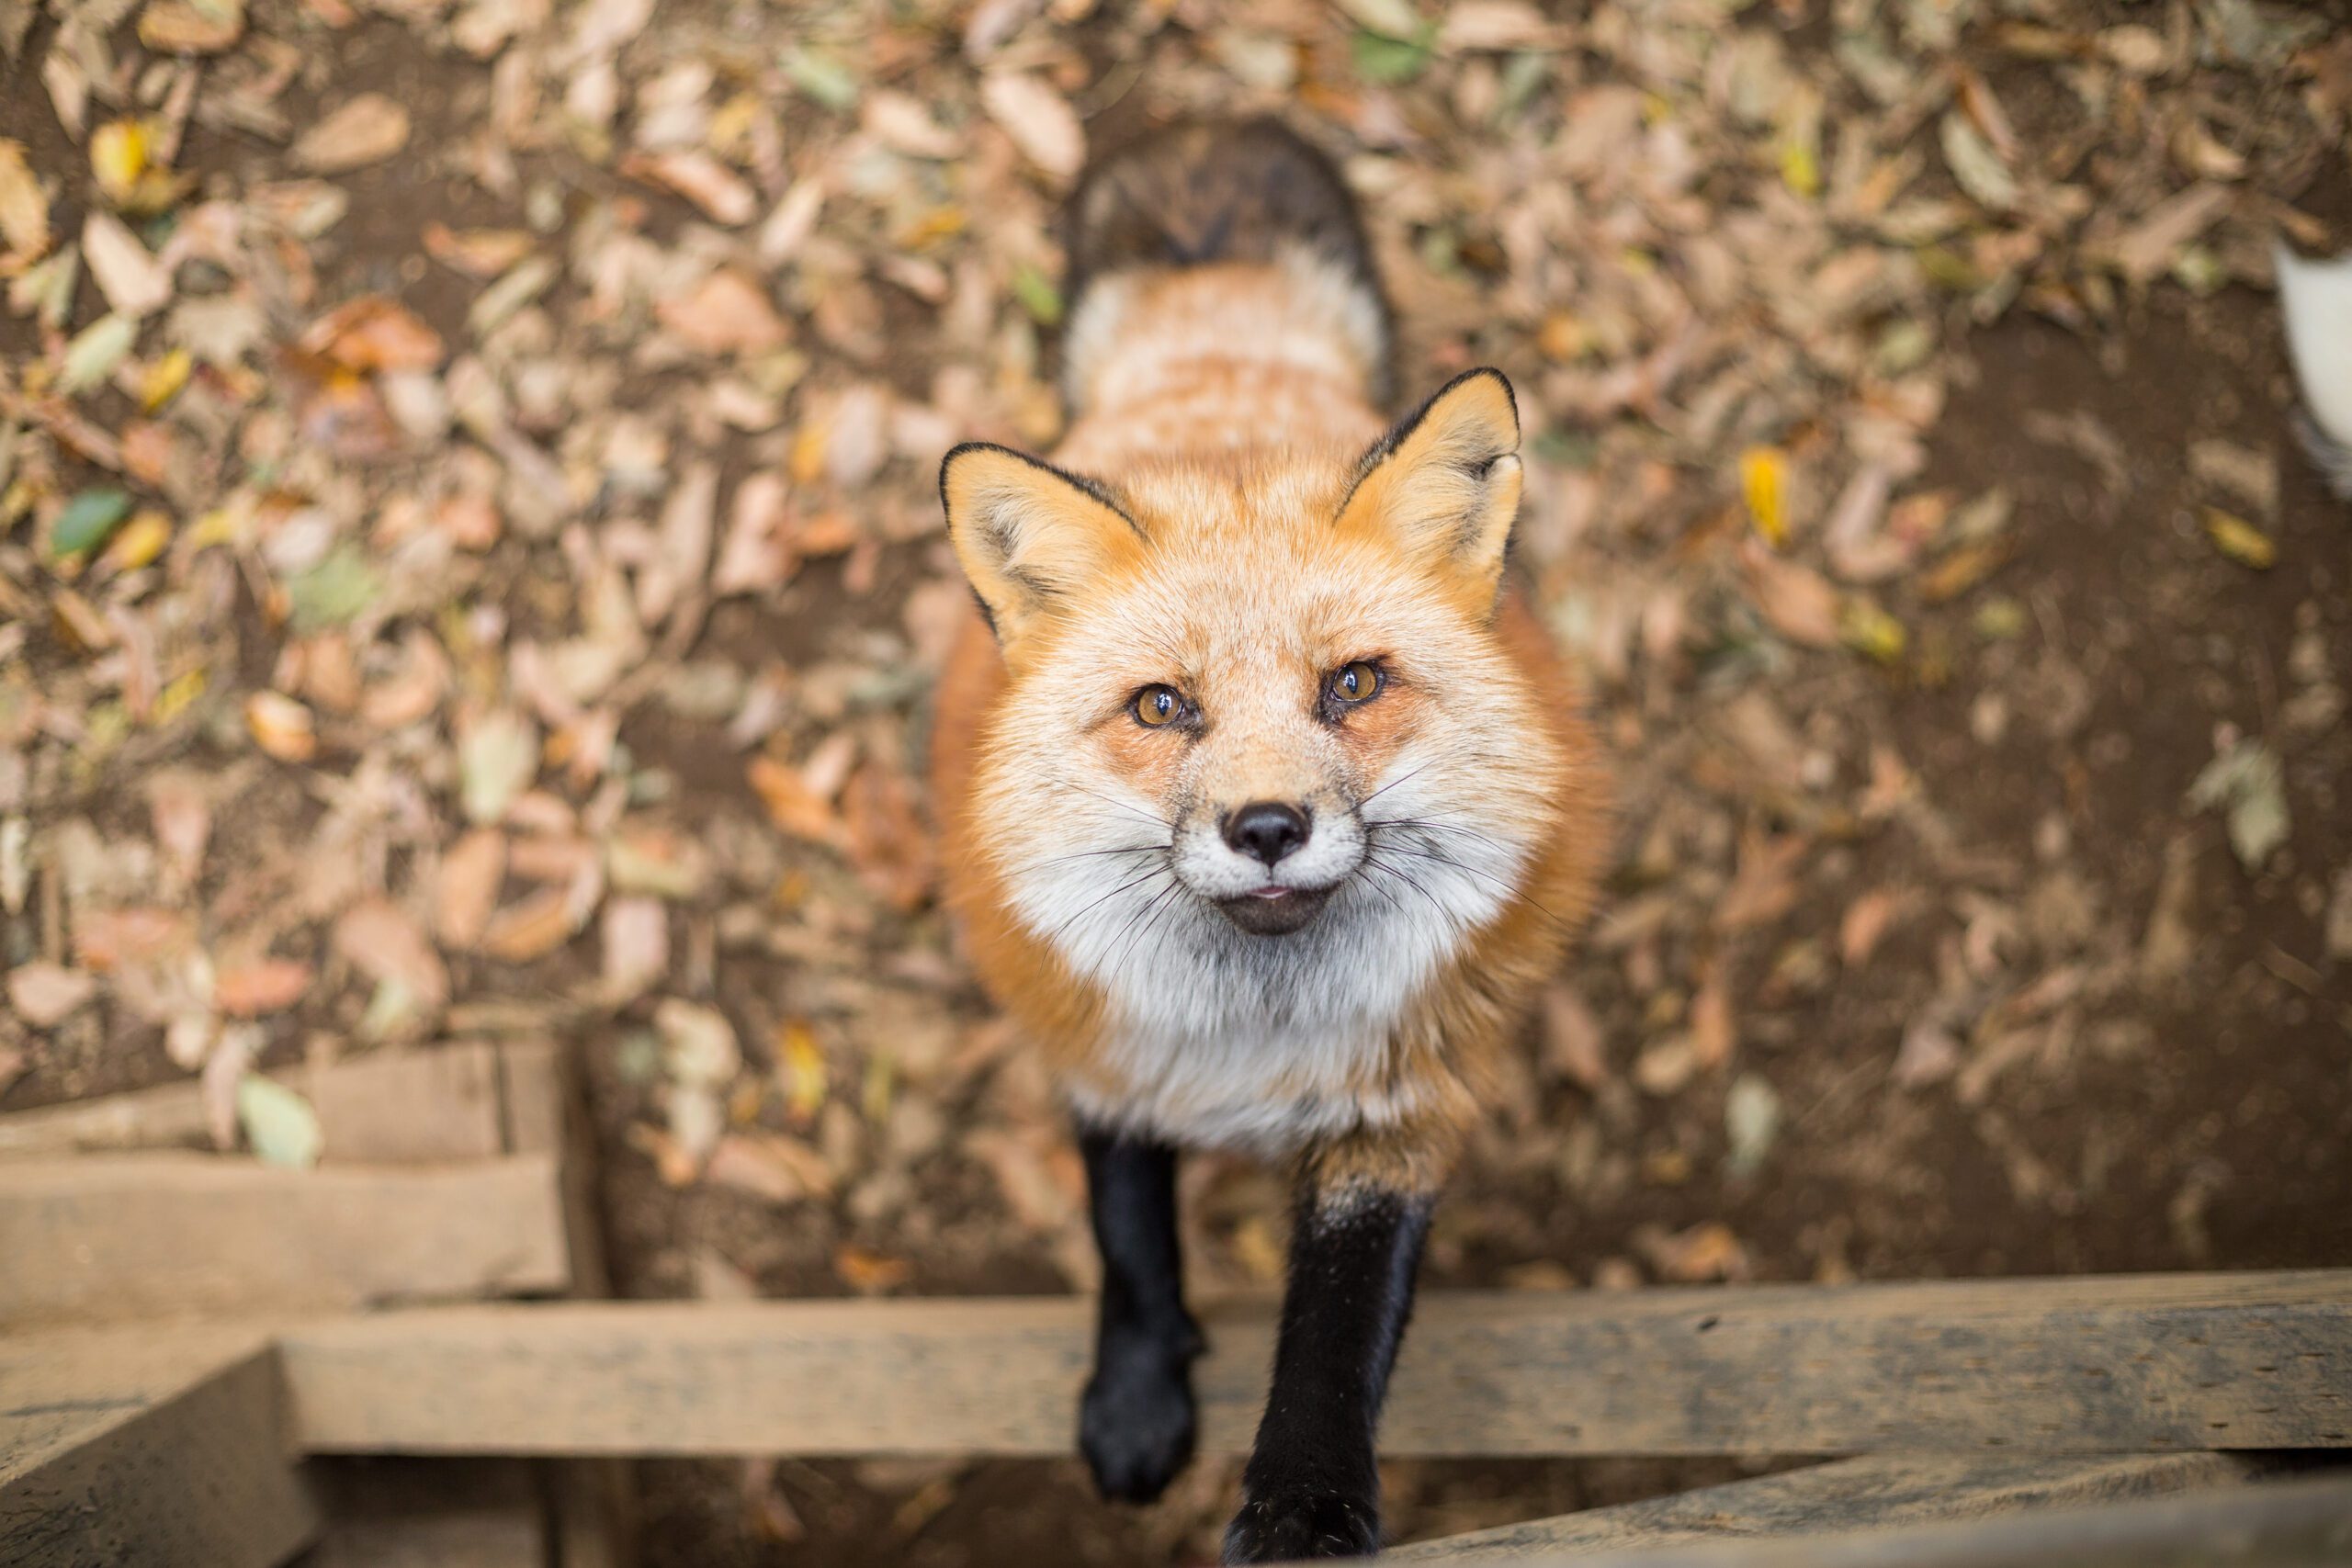
Wildlife That Can Be Found Around Meramec Campground
Meramec Campground, located in Sullivan Missouri, offers a wide variety of wildlife due to its forested surroundings, water sources, and diverse habitats. Here are some species you might encounter:
Mammals
- White-tailed Deer
- Commonly seen in wooded areas, especially at dawn or dusk.
- Raccoons
- Often spotted near campsites, scavenging for food.
- Red Foxes
- Can be seen in open fields or near forest edges.
- Beavers and Muskrats
- Found along the Meramec River, often leaving signs like gnawed tree stumps or lodges.
- Coyotes
- Known for their distinctive howls at night.
Birds
- Bald Eagles
- Frequently seen near the river, especially during colder months.
- Great Blue Herons
- Graceful wading birds are often found along the riverbanks.
- Pileated Woodpeckers
- Large woodpeckers with a distinctive red crest heard drumming on trees.
- Wild Turkeys
- Common in wooded areas and occasionally seen crossing trails.
- Eastern Bluebirds
- Missouri’s state bird, is often perched on trees or posts.
Reptiles and Amphibians
- Snapping Turtles
- Can be spotted in the river or near wetlands.
- Garter Snakes
- Harmless snakes may be seen basking on sunny trails.
- American Toads
- Frequently found near damp areas.
- Green Treefrogs
- Their distinctive calls are often heard near water.
Fish
- Smallmouth Bass
- Popular among anglers in the Meramec River.
- Channel Catfish
- Found in deeper sections of the river.
- Bluegill
- Common in calm river areas.
Insects and Other Invertebrates
- Monarch Butterflies
- Seen during their migration, especially in late summer or early fall.
- Fireflies
- Light up the evenings during warmer months.
- Crawfish
- Abundant in the river and a favorite of local fish species.
Tips for Wildlife Viewing
- Be Quiet and Patient: Wildlife is more likely to appear when it’s calm and quiet.
- Explore at Dawn or Dusk: Animals are most active during these times.
- Look Near Water Sources: Rivers and streams attract a wide range of species.
- Bring Binoculars: Essential for birdwatching and spotting distant mammals.
Enjoy the diversity of wildlife at Meramec Campground!

Graveyard Dirt Cups
Graveyard Dirt Cups are a fun and spooky treat perfect for Halloween gatherings at campgrounds or any spooky-themed gathering. Here’s a simple recipe to make these eerie and delicious dessert cups:
Ingredients:
- For the Pudding:
- 1 (3.9 oz) package of instant chocolate pudding mix
- 2 cups cold milk
- For the Topping:
- 1 (8 oz) container whipped topping (like Cool Whip), thawed
- 1 cup crushed chocolate sandwich cookies (like Oreos)
- Gummy worms
- Candy tombstones (optional, you can make these from graham crackers or use pre-made candy decorations)
- Green sugar or sprinkles (optional, for added “grass”)
Instructions:
- Prepare the Pudding:
- In a large bowl, whisk together the instant chocolate pudding mix and cold milk until thickened, about 2 minutes.
- Let the pudding sit for about 5 minutes to set.
- Mix in Whipped Topping:
- Gently fold the whipped topping into the pudding until well combined. This will make the pudding creamy and light.
- Assemble the Dirt Cups:
- Spoon the pudding mixture into individual cups or bowls.
- Sprinkle a layer of crushed chocolate cookies on top of the pudding to create the “dirt” layer.
- Add Toppings:
- Place gummy worms on top of the crushed cookies, letting some of them “crawl” out of the dirt for a spooky effect.
- If using candy tombstones or other decorations, place them into the “dirt” layer.
- Optional:
- For extra spooky “grass,” sprinkle some green sugar or sprinkles over the top.
- Serve:
- Chill the cups in the refrigerator until ready to serve.
Tips:
- Decorate: You can get creative with decorations. Use small candy decorations or make tombstones from graham crackers and edible markers.
- Make Ahead: These can be prepared a day in advance and stored in the refrigerator until you’re ready to serve.
Enjoy your creepy and delicious Graveyard Dirt Cups at Meramec Campground!
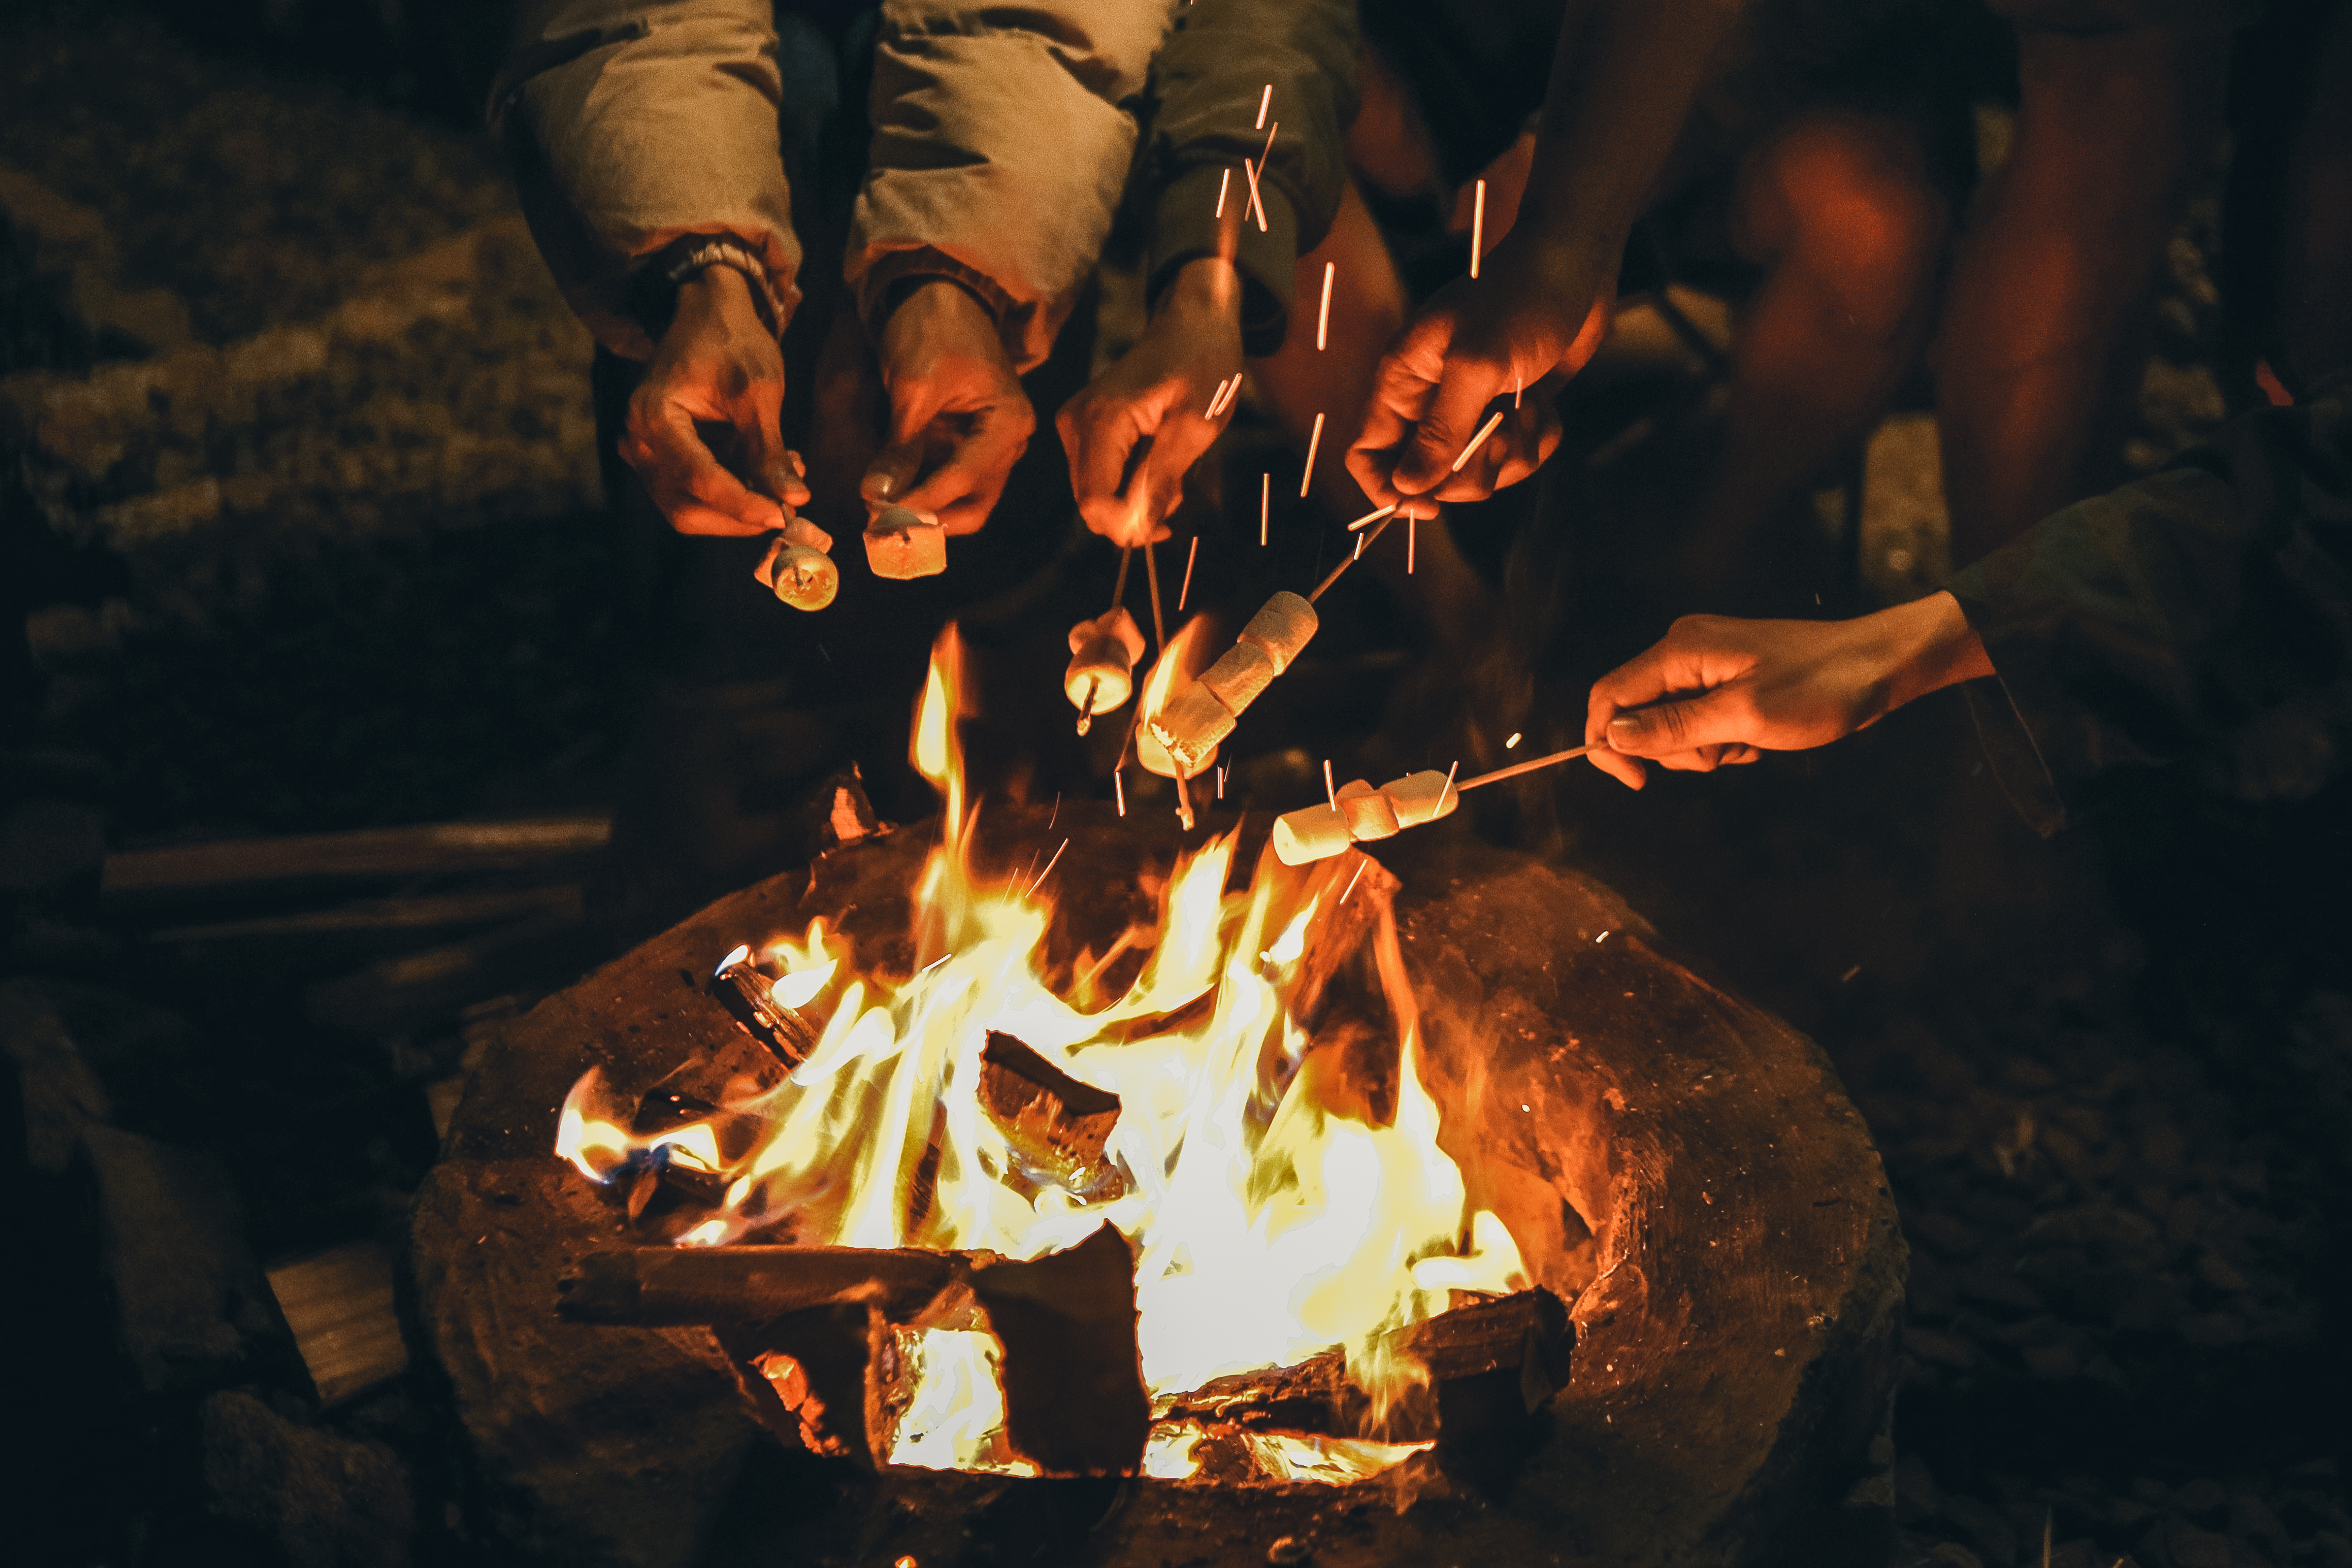
Campfire Samoas
Campfire Samoas are a fun and delicious twist on the classic Girl Scout cookie, Samoa. These treats combine the flavors of chocolate, caramel, coconut, and graham crackers, making them perfect for a campfire dessert. Here’s a simple recipe to make Campfire Samoas:
Ingredients:
- Graham crackers
- Chocolate bars (or chocolate chips)
- Marshmallows
- Caramel sauce
- Toasted coconut flakes
Instructions:
- Prepare the Ingredients:
- Break the graham crackers into squares.
- If using chocolate bars, break them into pieces that will fit on the graham crackers.
- Toast the Marshmallows:
- Skewer a marshmallow on a roasting stick.
- Toast it over the campfire until it’s golden brown on the outside and gooey on the inside.
- Assemble the S’more:
- Place a piece of chocolate on a graham cracker square.
- Put the toasted marshmallow on top of the chocolate.
- Drizzle caramel sauce over the marshmallow.
- Sprinkle toasted coconut flakes over the caramel.
- Top with another graham cracker square to complete the s’more.
- Enjoy:
- Press down gently to allow the marshmallow to spread and the chocolate to start melting.
- Eat immediately and enjoy the gooey, delicious treat.
Extra Tips on Samoas:
- For an extra chocolatey version, use chocolate-covered graham crackers.
- If you don’t have a campfire, you can toast marshmallows using a broiler or a microwave.
- Prepare a batch of toasted coconut flakes in advance to save time during assembly.
Campfire Samoas are perfect for gatherings around the fire, bringing a delightful twist to the traditional s’more with the added flavors of caramel and coconut. Enjoy!
Get your marshmallows ready and try this recipe on your next camping trip at Meramec Campground!
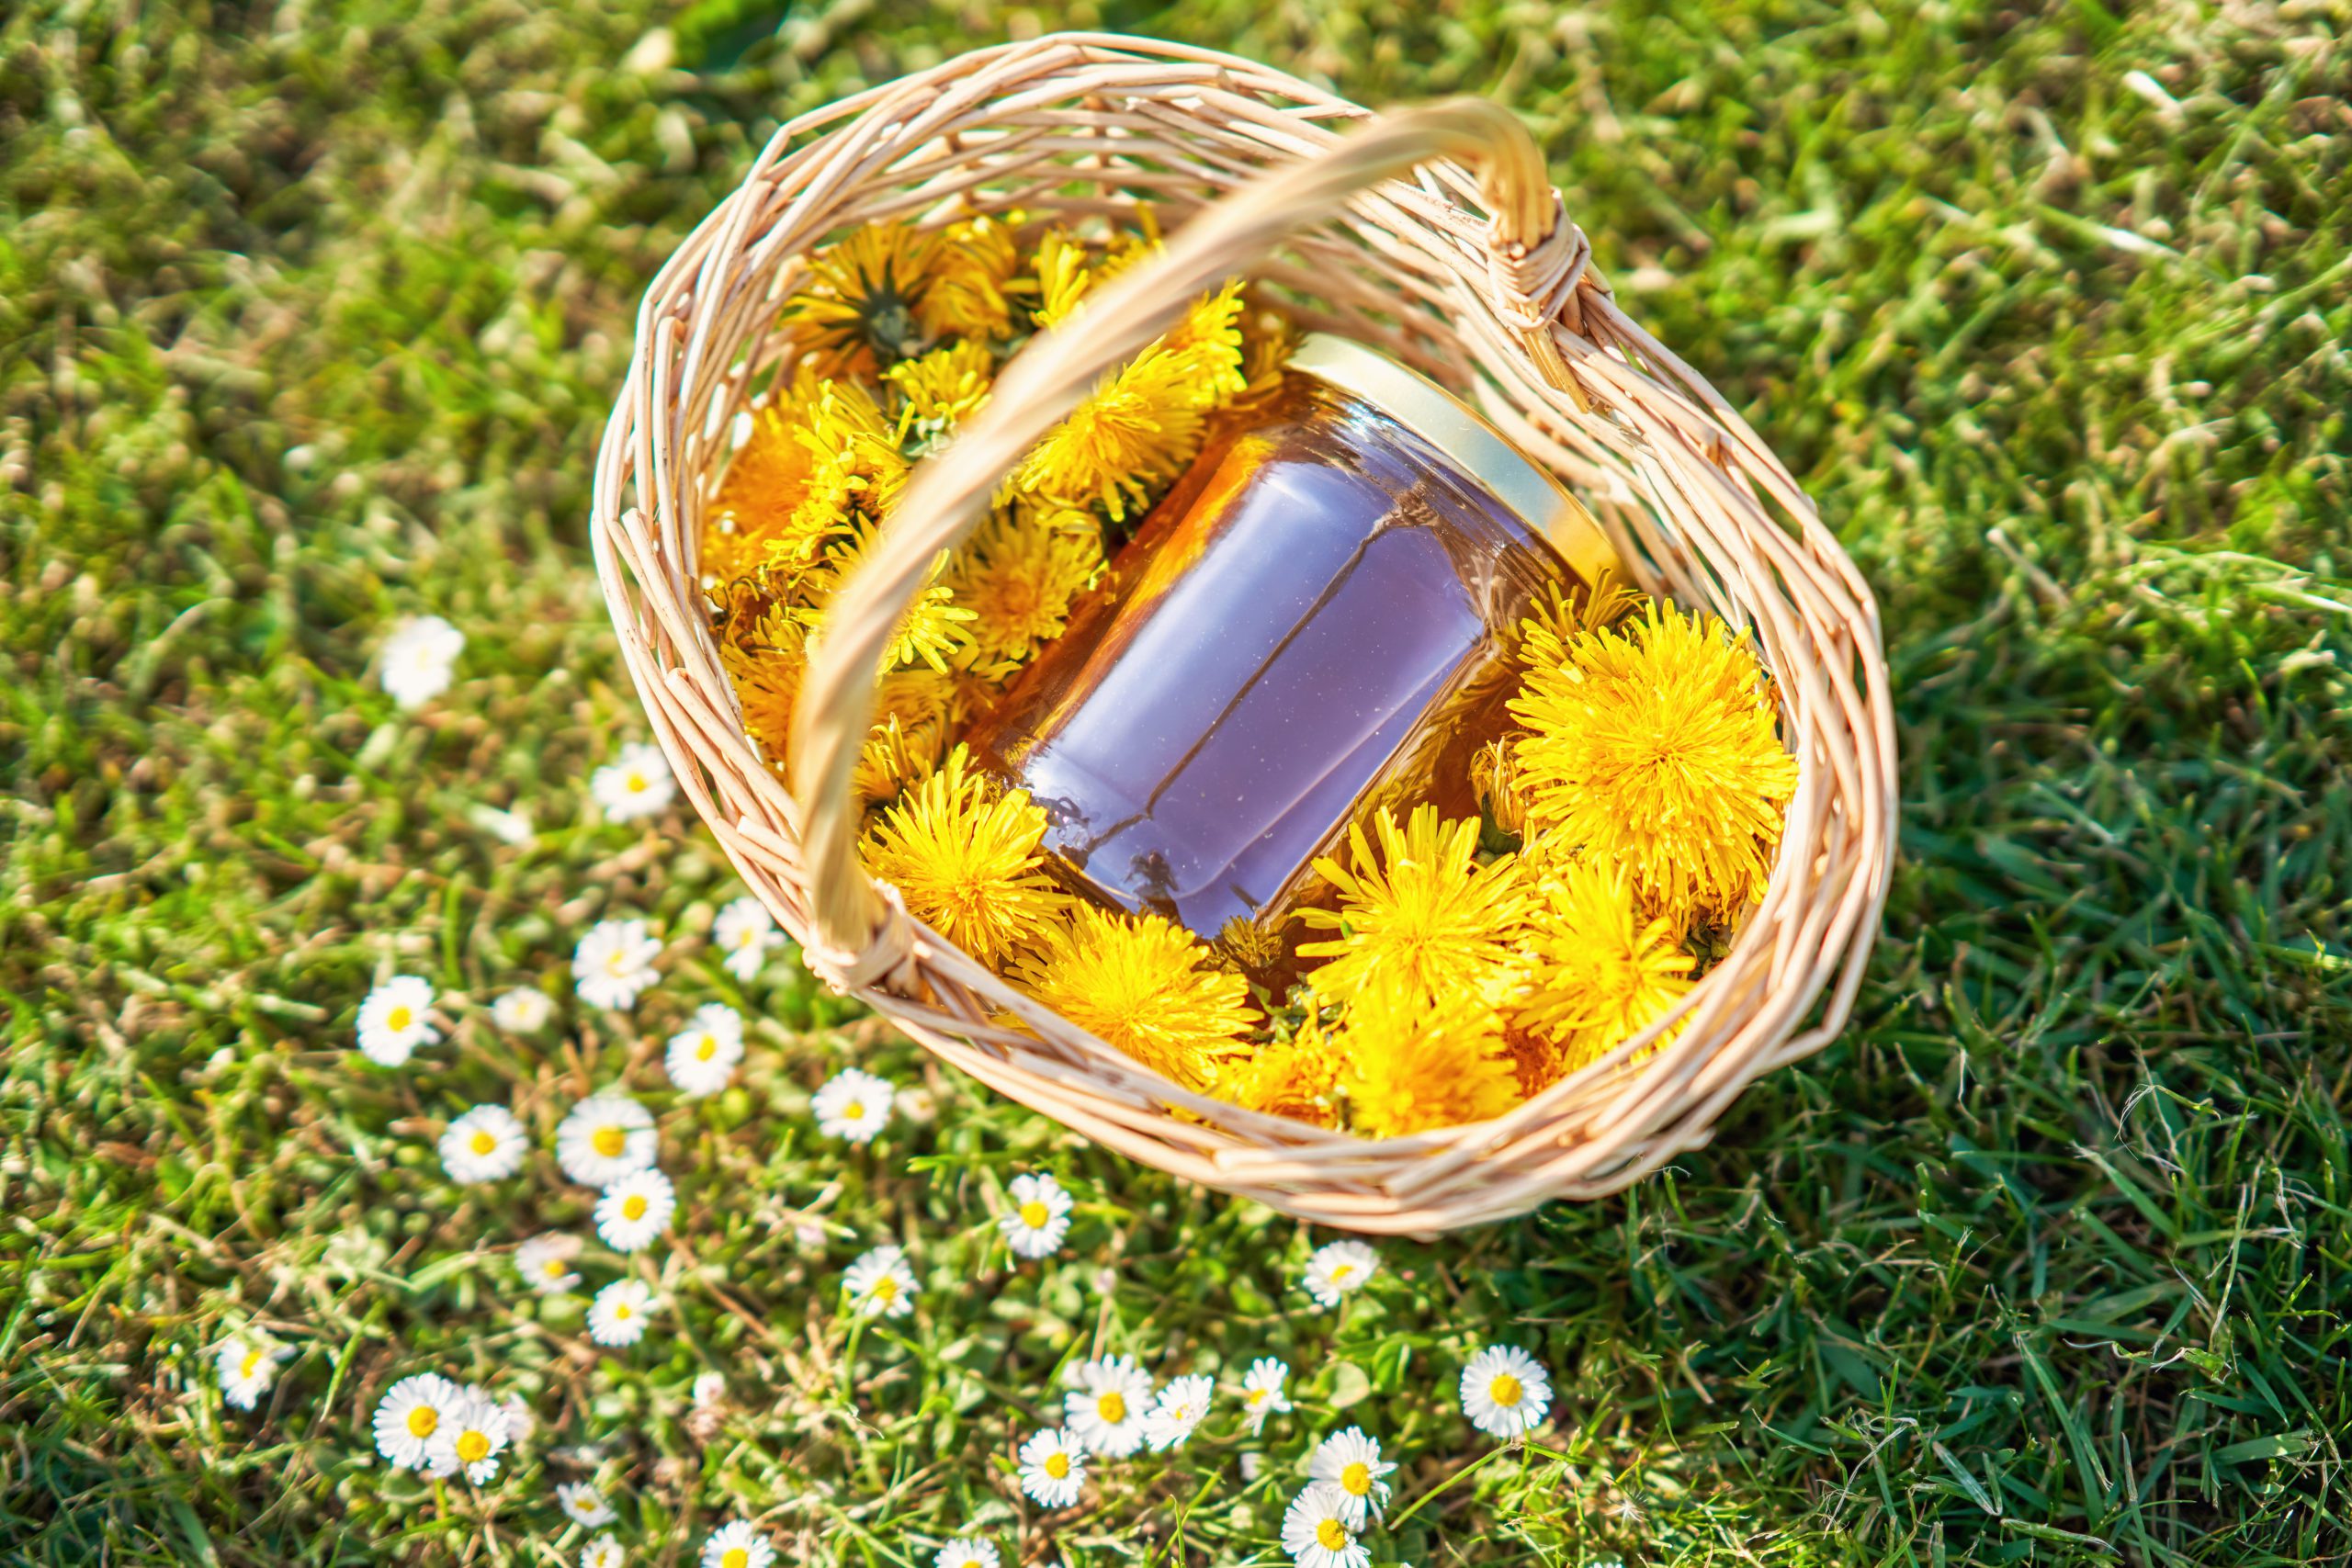
Dandelion Jelly
Dandelion jelly is a unique and delightful spread made from dandelion flowers. Despite being considered weeds in many gardens, dandelions have culinary potential, and their bright yellow petals can be transformed into a sweet and floral jelly.
To make dandelion jelly, you’ll need:
Ingredients:
- 4 cups of dandelion petals (make sure they’re pesticide-free)
- 4 cups of water
- 1/4 cup of lemon juice
- 1 package (about 1.75 ounces) of powdered pectin
- 4 cups of sugar
Instructions:
- Begin by gathering dandelion petals. Pluck the petals from the flowers, discarding the green parts, as they can be bitter.
- Rinse the petals thoroughly to remove any dirt or insects.
- In a large saucepan, combine the dandelion petals and water. Bring to a boil, then reduce the heat and let it simmer for about 3 minutes.
- Remove the saucepan from the heat and let the mixture steep for at least 2 hours, or preferably overnight.
- After steeping, strain the liquid through a fine mesh strainer or cheesecloth to remove the petals, pressing down to extract as much liquid as possible. You should have about 3 cups of dandelion-infused liquid.
- Return the liquid to the saucepan and stir in the lemon juice and powdered pectin until dissolved.
- Bring the mixture to a rolling boil over high heat, stirring constantly.
- Once boiling, add the sugar all at once, stirring constantly until it’s fully dissolved.
- Boil the mixture for 1-2 minutes longer, then remove it from the heat.
- Skim off any foam that forms on the surface.
- Ladle the hot jelly into sterilized jars, leaving about 1/4 inch of headspace.
- Wipe the jar rims clean, then seal the jars with sterilized lids and rings.
- Process the jars in a boiling water bath for 10 minutes to ensure proper sealing.
- Remove the jars from the water bath and let them cool completely before storing them in a cool, dark place.
Dandelion jelly has a delicate floral flavor and a lovely golden color, making it a delightful addition to toast, biscuits, or as a glaze for meats. Enjoy spreading a taste of springtime on your favorite foods!
Have this recipe for Dandelion Jelly made before your next trip to Meramec Campground, that way you can enjoy it on your trip.

Summer Camping Outfits
Summer camping calls for practical yet comfortable outfits that can withstand outdoor activities and varying weather conditions. Here are some ideas for both men and women:
For Women:
- Lightweight Tank Tops or T-shirts: Opt for breathable fabrics like cotton or moisture-wicking materials.
- Quick-Dry Shorts: Look for durable shorts that dry quickly, preferably with multiple pockets for storing essentials.
- Convertible Pants: Convertible pants that can zip off into shorts offer versatility for changing weather.
- Hiking Boots or Trail Shoes: Sturdy footwear with good traction is essential for hiking and navigating rough terrain.
- Moisture-Wicking Socks: Choose socks specifically designed for outdoor activities to keep your feet dry and comfortable.
- Wide-Brim Hat or Baseball Cap: Protect your face and eyes from the sun with a hat that provides ample shade.
- Lightweight Jacket or Windbreaker: Evenings can get chilly, so pack a lightweight jacket to stay warm.
- Swimsuit: If your camping trip includes swimming or water activities, don’t forget your swimsuit.
- Sunglasses: Invest in a pair of sunglasses with UV protection to shield your eyes from the sun’s harmful rays.
- Backpack: Carry your essentials in a comfortable backpack that can withstand outdoor conditions.
For Men:
- Breathable T-shirts or Henleys: Choose lightweight tops that offer breathability and comfort.
- Cargo Shorts: Cargo shorts provide ample storage space for small items and are durable for outdoor activities.
- Quick-Dry Pants: Opt for pants made from quick-dry material for versatility in changing weather conditions.
- Hiking Sandals or Trail Shoes: Depending on your activities, choose appropriate footwear for hiking or walking.
- Moisture-Wicking Underwear: Stay comfortable with moisture-wicking underwear that keeps you dry.
- Sun Hat or Baseball Cap: Protect your face and head from the sun with a wide-brim hat or baseball cap.
- Lightweight Jacket or Fleece: Bring along a lightweight jacket or fleece for cooler evenings.
- Swim Trunks: Don’t forget to pack swim trunks if your camping trip includes swimming or water activities.
- Sunglasses: Shield your eyes from the sun with polarized sunglasses for clarity and UV protection.
- Backpack: Carry your essentials in a durable backpack designed for outdoor use.
Additional Tips:
- Layering: Since temperatures can fluctuate throughout the day, layering allows you to adjust your clothing accordingly.
- Moisture Management: Choose clothing with moisture-wicking properties to keep sweat away from your skin and prevent chafing.
- Protection from Insects: Consider wearing lightweight, long-sleeved shirts and pants to protect yourself from insects and sun exposure.
With these outfit ideas, you’ll be ready to enjoy your summer camping adventure in comfort and style!
Show off your camping outfit at Meramec Campground this summer!
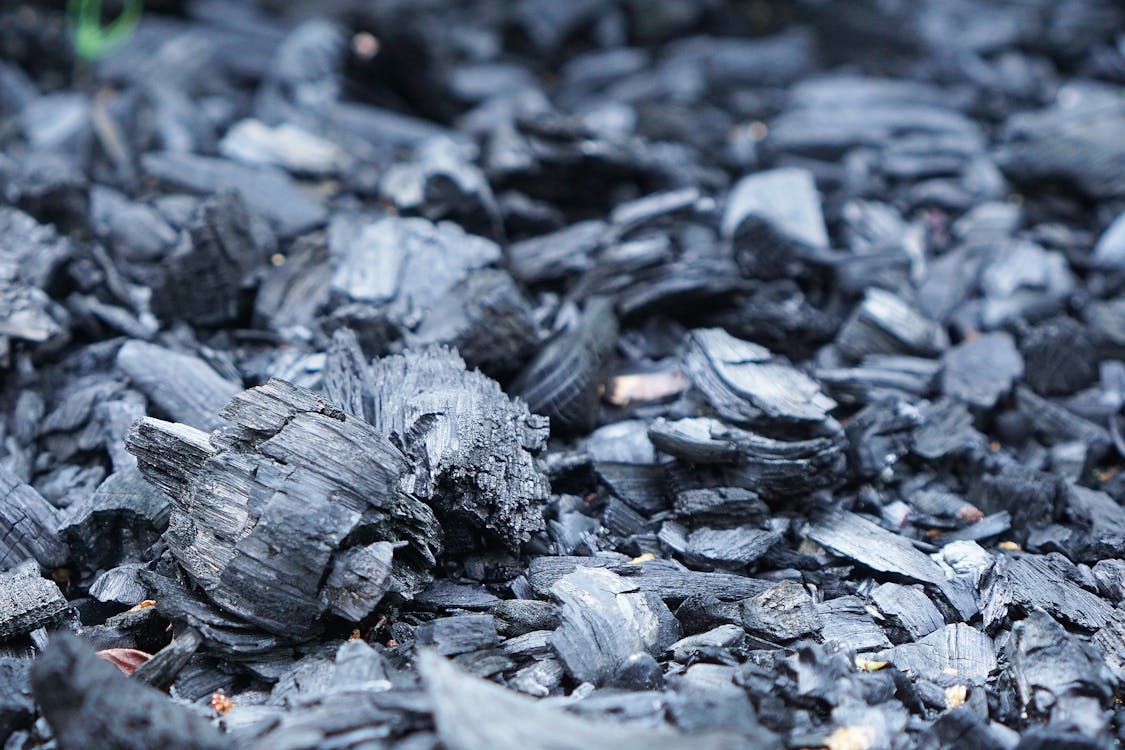
How To Make Charcoal
Making charcoal involves a process called pyrolysis, which is essentially the heating of organic material in the absence of oxygen. Here’s a basic outline of how you can make charcoal:
Charcoal Materials Needed:
- Organic Material: Wood is the most common material used for making charcoal, but you can also use other organic materials like coconut shells or peat.
- Airtight Container: This is needed to carry out the pyrolysis process.
- Heat Source: You’ll need a heat source capable of reaching high temperatures, such as a bonfire, a kiln, or a metal drum.
Steps:
- Prepare the Organic Material: Cut the wood or other organic material into small pieces. Larger pieces will take longer to char.
- Build a Pyrolysis Container: You’ll need a container that can withstand high temperatures and is airtight. Common options include metal drums or even a simple pit dug into the ground with a cover.
- Load the Container: Place the organic material inside the container. Make sure not to pack it too tightly to allow for proper airflow.
- Seal the Container: Ensure that the container is tightly sealed to prevent oxygen from entering. This is crucial for the pyrolysis process, as it needs to occur in the absence of oxygen to produce charcoal rather than ash.
- Start the Heating Process: Place the container over your heat source. If you’re using a metal drum or similar container, you can place it directly over a fire. If you’re using a pit, you can build a fire inside it and then cover it with soil or a metal lid.
- Monitor the Process: The pyrolysis process will take several hours, depending on the size of the container and the heat source. You’ll see smoke coming out initially, which contains volatile compounds being driven off. Eventually, this will stop, and you’ll be left with charcoal.
- Cool and Collect: Once the pyrolysis process is complete, allow the charcoal to cool down before opening the container. Be careful when handling the charcoal, as it will be hot. You can then collect the charcoal for use.
- Optional: Activate the Charcoal: If you want to use the charcoal for filtration purposes or as activated charcoal, you can activate it by heating it at a higher temperature in the presence of an oxidizing agent like steam or carbon dioxide. This helps create a more porous structure, which enhances its adsorption properties.
Remember to take safety precautions when working with fire and high temperatures, and always ensure proper ventilation when conducting any type of pyrolysis process.
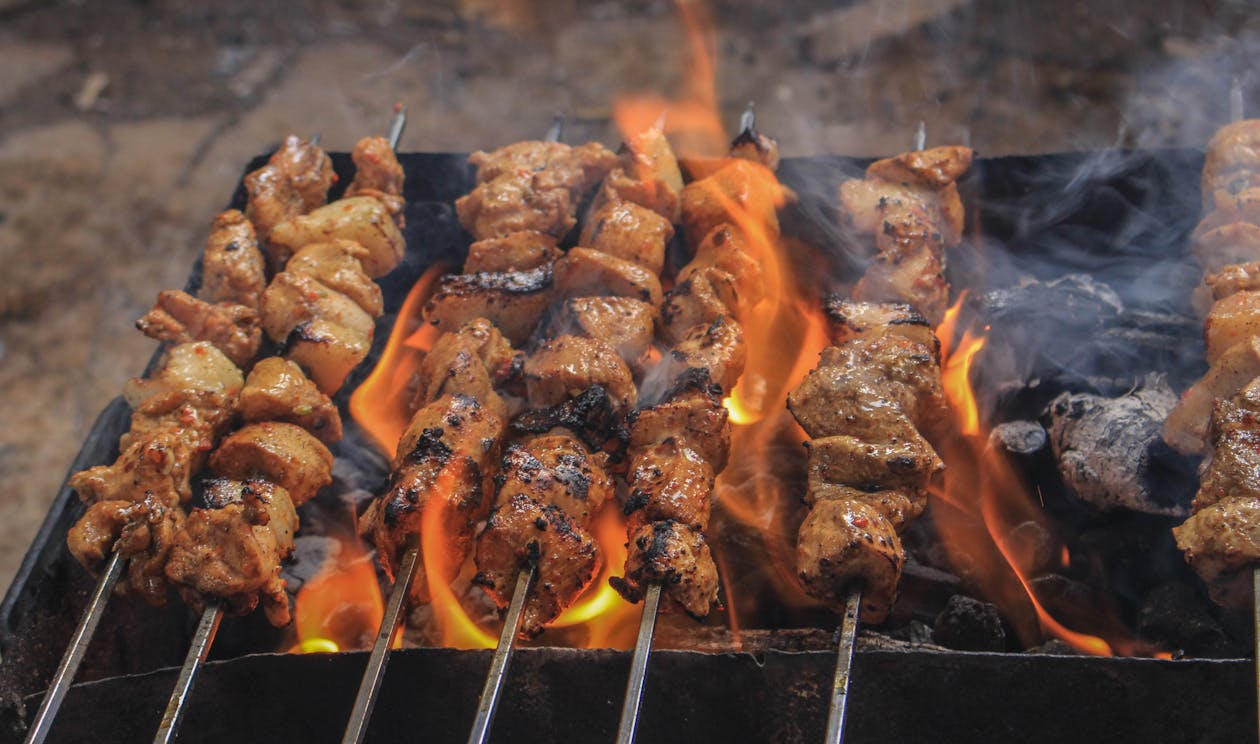
Campfire Bourbon Chicken Skewers
Campfire Bourbon Chicken Skewers are a delightful dish perfect for outdoor gatherings or camping trips. Here’s a simple recipe to create these flavorful skewers:
Ingredients:
- 1 pound boneless, skinless chicken breasts, cut into chunks
- 1/4 cup bourbon
- 1/4 cup soy sauce
- 1/4 cup brown sugar
- 2 cloves garlic, minced
- 1 tablespoon Worcestershire sauce
- 1 tablespoon olive oil
- Salt and pepper, to taste
- Wooden skewers, soaked in water for at least 30 minutes
Instructions:
- Prepare the marinade: In a bowl, combine bourbon, soy sauce, brown sugar, minced garlic, Worcestershire sauce, olive oil, salt, and pepper. Mix well until the sugar is dissolved.
- Marinate the chicken: Place the chicken chunks in a resealable plastic bag or a shallow dish. Pour the marinade over the chicken, ensuring all pieces are well coated. Seal the bag or cover the dish and refrigerate for at least 1 hour, or preferably overnight, to allow the flavors to meld.
- Preheat the grill or campfire: If using a grill, preheat it to medium-high heat. If cooking over a campfire, ensure you have hot coals ready.
- Assemble the skewers: Thread the marinated chicken chunks onto the soaked wooden skewers, leaving a little space between each piece to ensure even cooking.
- Grill the skewers: Place the skewers on the preheated grill or over the campfire. Cook for about 6-8 minutes per side, or until the chicken is cooked through and has a nice charred exterior.
- Baste with marinade (optional): While grilling, you can brush the skewers with the remaining marinade for extra flavor. Be sure to discard any leftover marinade that has come into contact with raw chicken.
- Serve hot: Once the chicken is cooked through and has a nice caramelized exterior, remove the skewers from the grill or campfire. Serve hot with your favorite side dishes, such as rice, grilled vegetables, or a fresh salad.
These Campfire Bourbon Chicken Skewers are best enjoyed hot off the grill or straight from the campfire. The smoky flavors from the grill and the sweet bourbon marinade make them a crowd-pleaser at any outdoor gathering
This is a must-try recipe on your next camping trip to Meramec Campground.
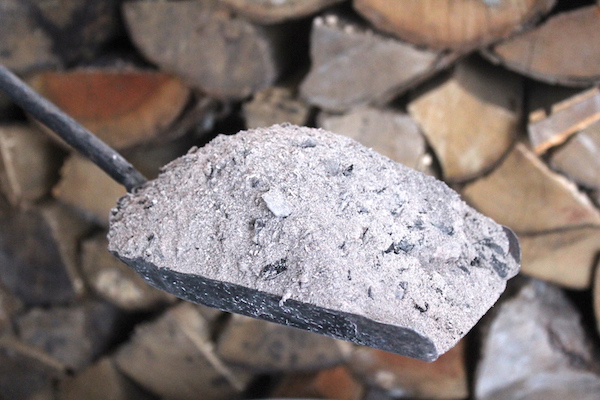
Ways To Use Wood Ash
Wood ash, the residue left after burning wood, can be repurposed in various useful ways. Here are some suggestions on how to use wood ash:
- Fertilizer: Wood ash contains potassium, calcium, and other trace minerals that can enrich the soil. Sprinkle wood ash sparingly around the base of plants to provide essential nutrients.
- pH Balancer: Wood ash has alkaline properties, which can help raise the pH level of acidic soil. However, it’s essential to test your soil’s pH before applying wood ash to ensure it doesn’t become too alkaline.
- Pest Repellent: Sprinkle wood ash around the perimeter of your garden beds to deter slugs, snails, and some insects like ants.
- Compost Additive: Incorporate wood ash into your compost pile to boost its nutrient content. However, use it in moderation as excessive amounts can raise the pH level of the compost too high.
- De-icer: Spread a thin layer of wood ash on icy walkways or driveways to provide traction and help melt the ice. Be cautious with this method as excessive use can harm nearby plants and soil.
- Odor Neutralizer: Place a small bowl of wood ash in areas prone to odors, such as refrigerators or trash cans. The ash can help absorb unpleasant smells.
- Livestock Dust Bath: Provide a box of wood ash for chickens and other livestock to use as a dust bath. It helps control parasites and keeps their feathers or fur clean.
- Soap Making: Use wood ash to make lye, an essential ingredient in traditional soap making. However, this process requires caution and proper handling as lye is highly caustic.
- Natural Cleaning Agent: Mix wood ash with water to create a mildly abrasive paste for cleaning pots, pans, and other household items. It can help remove stubborn stains and grease.
- Pond Alkalizer: If you have a fish pond with acidic water, wood ash can be used in small amounts to raise the pH level and improve water quality for fish and aquatic plants.
Remember to use caution when handling wood ash, especially if it’s derived from treated or painted wood, as it may contain harmful chemicals. Additionally, always use wood ash in moderation and perform soil tests before applying it to your garden.
Click here to book your stay with Meramec Campground!

Family owned and operated, Kiefer Campgrounds strive to offer you the best rates for a comfortable location with outstanding service, and spotless facilities. When you stay in one of our parks, you are no longer just a happy camper, but a part of our family! We are most certain you will enjoy your stay with us. Pick your favorite location and book your spot now before it’s too late! You’ll be happy you did!