

Heres Some Camping Tips & Tricks at Your Fingertips
Our Sullivan Campground Blog is the information you need to make your next camping trip in Missouri even more enjoyable. From RV and camping tips and tricks, to amazing campfire recipes, to advice on planning your next trip in Sullivan, MO... the information below is here to help you. And please, feel free to comment and share your experiences, knowledge and favorite recipes. At Meramec Campground, we are a family and all here to help each other enjoy the great outdoors to the fullest!
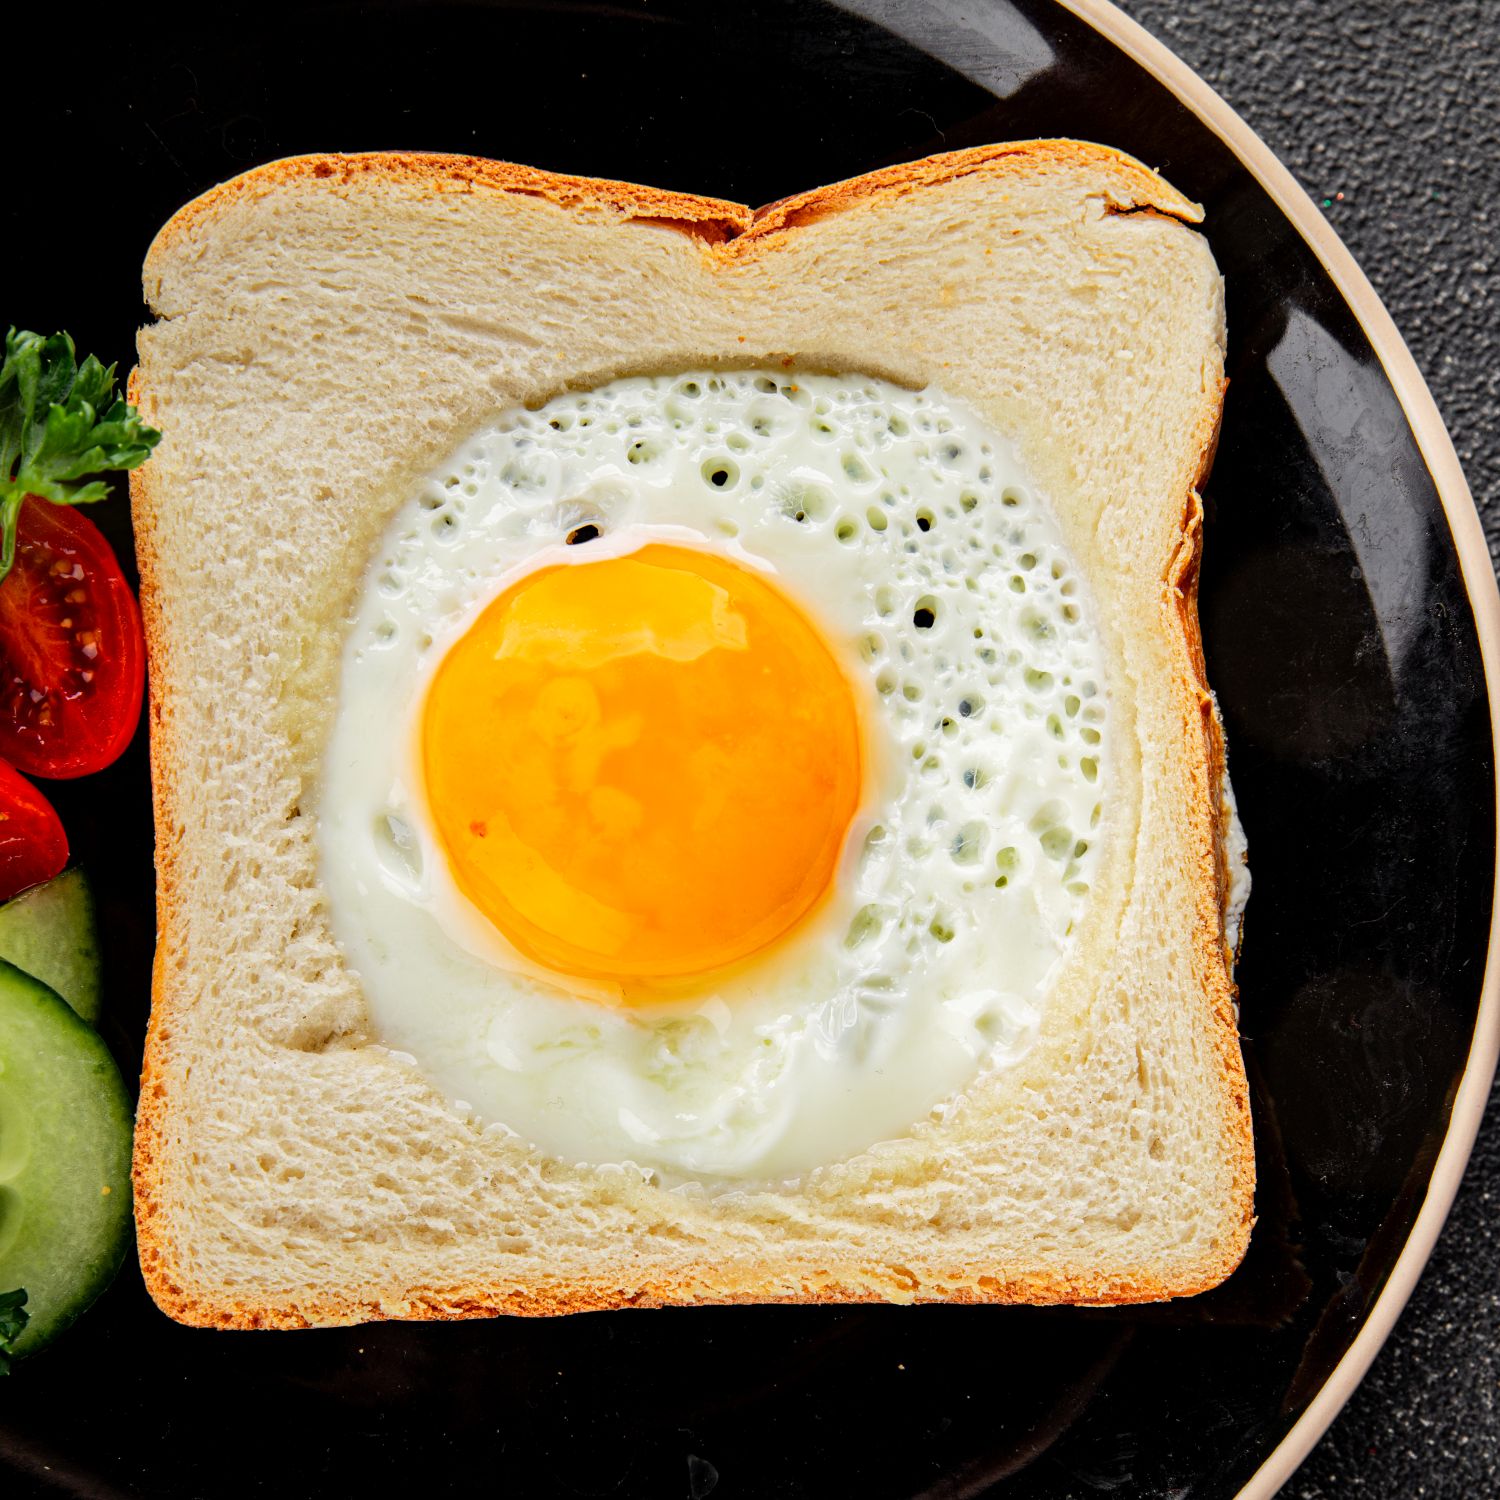
🔥 Campfire Egg in a Hole
Here’s a simple and delicious Campfire Egg in a Hole recipe — perfect for breakfast at the campsite!
Ingredients:
- 1 slice of bread (thick works best)
- 1 egg
- Butter or cooking spray
- Salt & pepper to taste
- Optional: shredded cheese, bacon bits, hot sauce
Tools:
- Cast iron skillet or griddle
- Spatula
- Cookie cutter or cup to cut the bread
🥄 Directions:
- Prep the Bread:
Use a cup or round cutter to remove a circle from the center of the bread slice. - Heat the Skillet:
Over your campfire or camp stove, heat your skillet and lightly grease it with butter or spray. - Toast & Crack:
Place the bread in the skillet. Crack the egg into the hole. - Cook It Up:
Let it cook 2–3 minutes until the egg starts to set. Carefully flip and cook another 1–2 minutes depending on your preferred egg doneness. - Season & Serve:
Sprinkle with salt, pepper, and any toppings you like. Toast the cut-out bread circle too—it’s perfect for dipping!
🔥 Campfire Tip:
Use a grill grate or a cast iron lid as a cover to help cook the egg through more evenly!
Try this simple breakfast recipe the next time you stay at Meramec Campground!
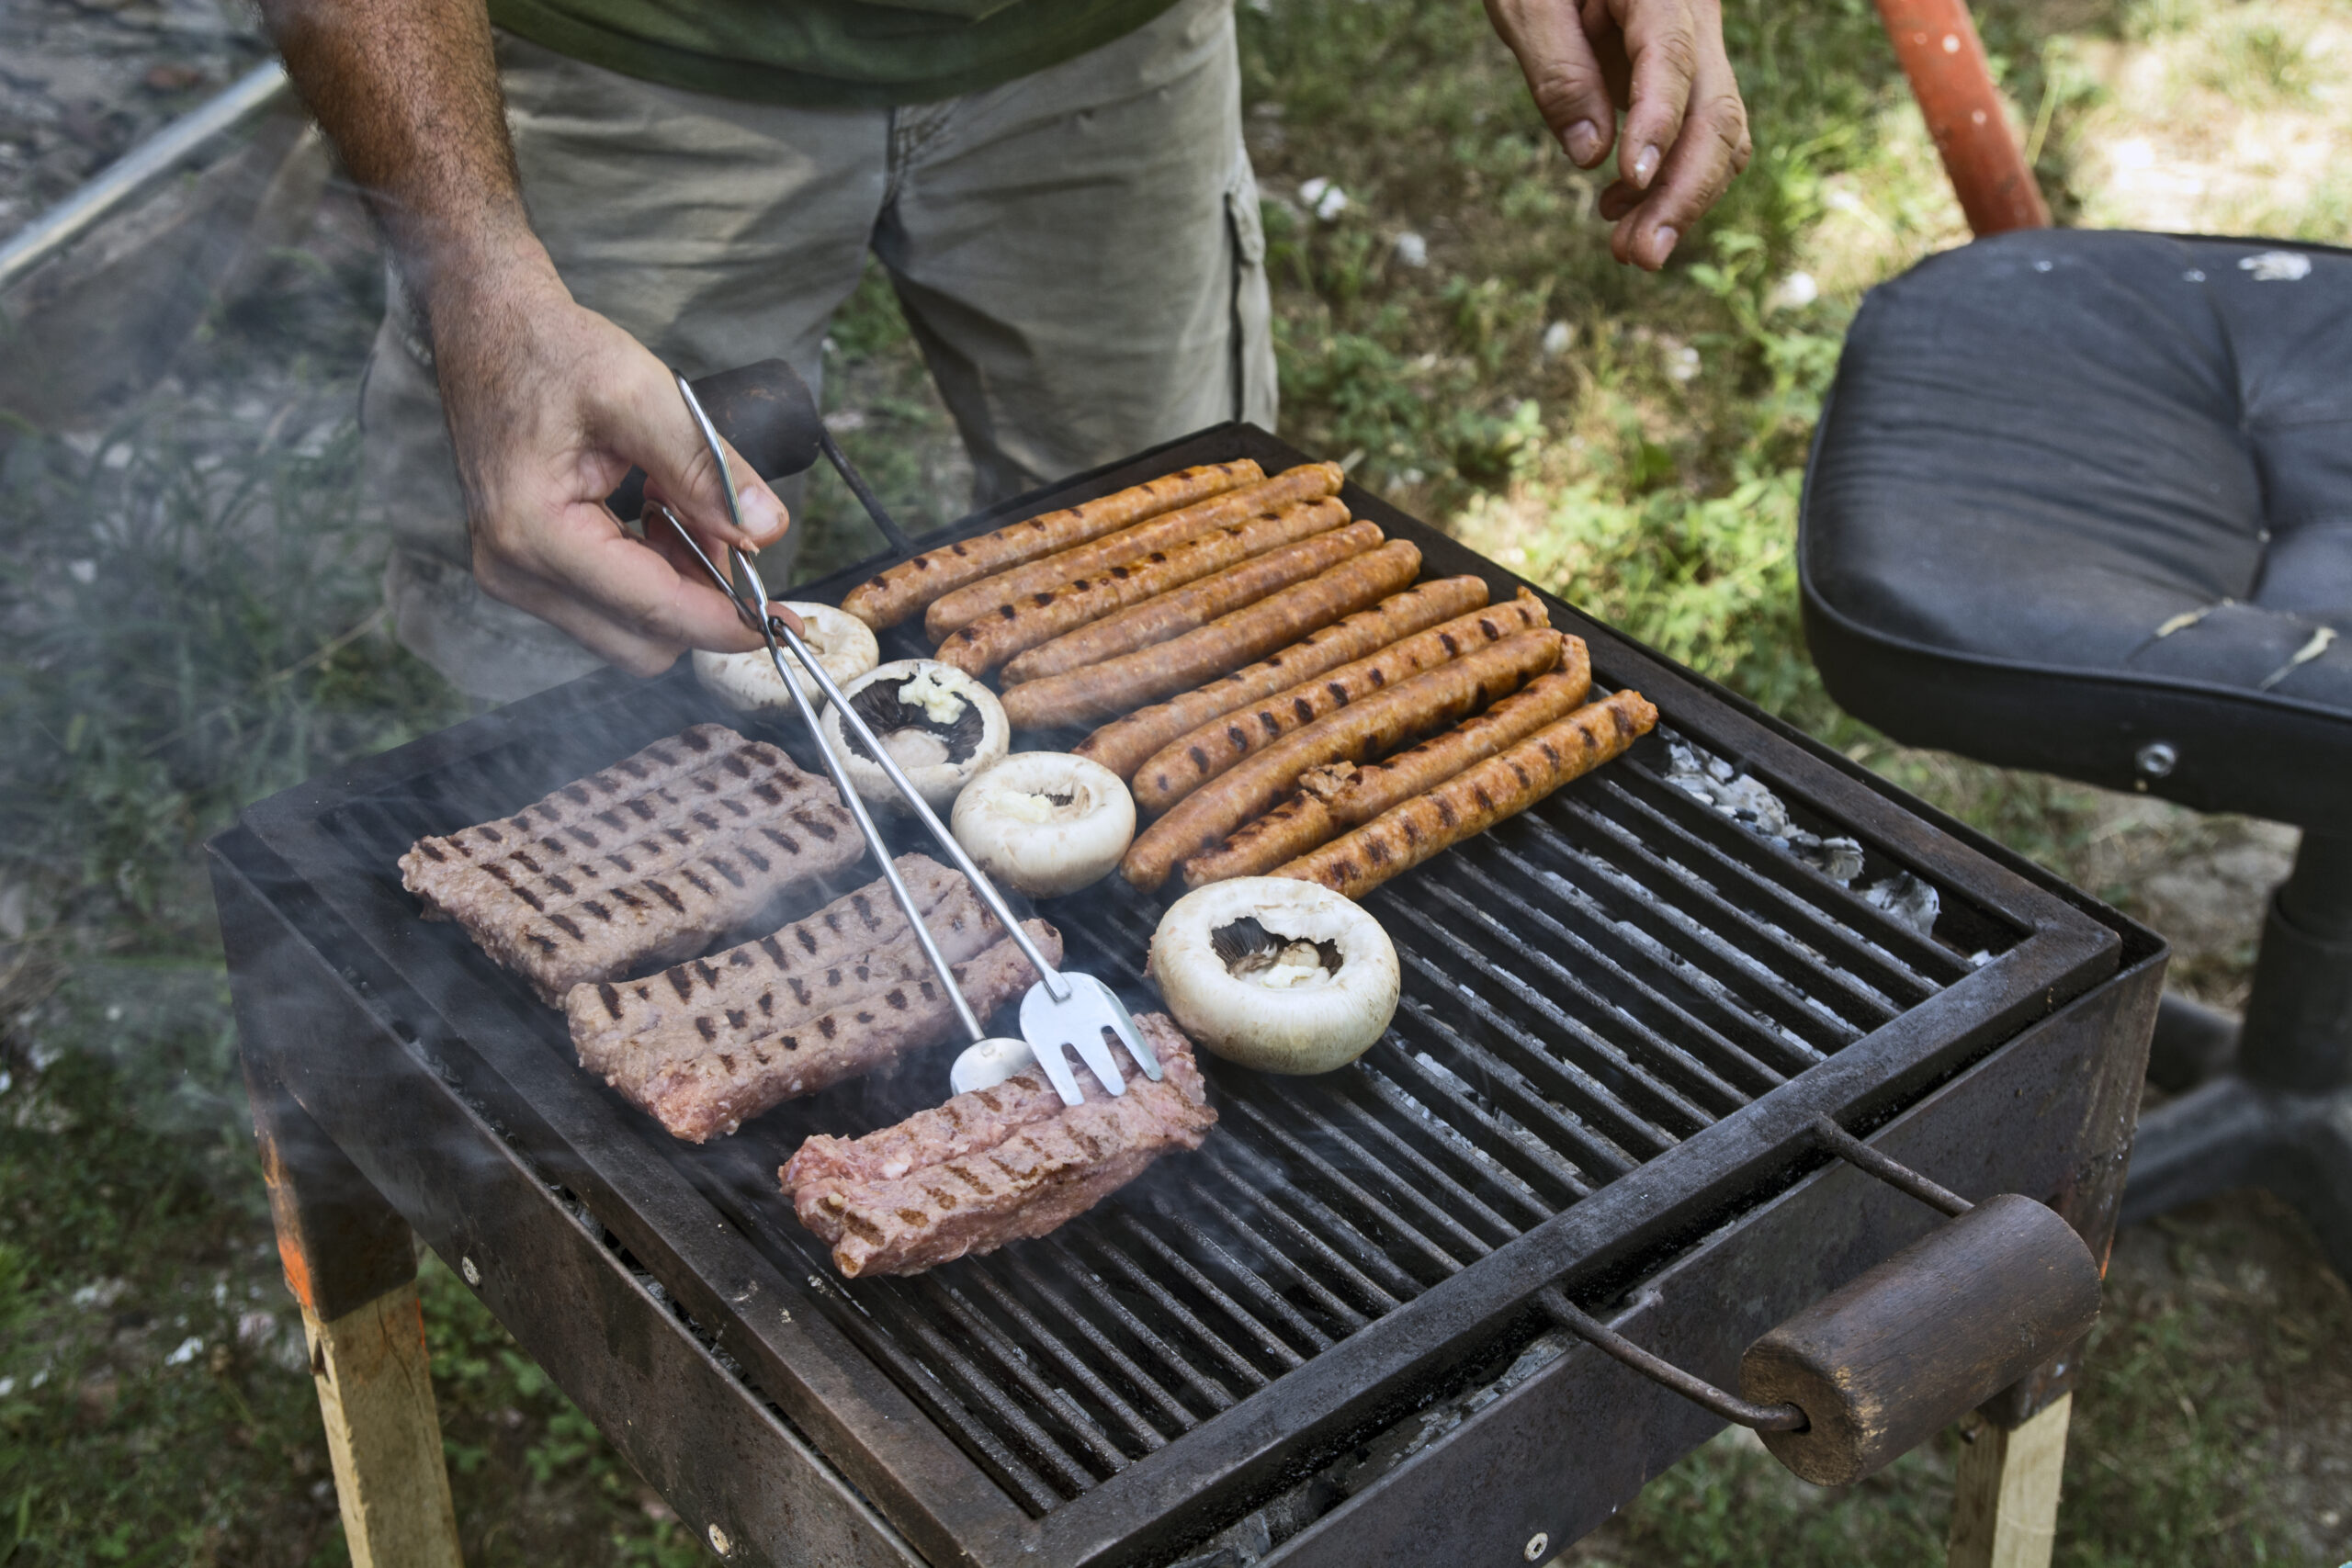
How to Use a Grill
Using a grill can be a fun and rewarding way to cook outdoors! Here’s a basic step-by-step guide depending on whether you’re using a charcoal or gas grill:
🔥 How to Use a Gas Grill
- Check the propane tank
Make sure it’s full and properly connected. - Open the lid
Always open the lid before lighting to prevent gas buildup. - Turn on the gas
Slowly open the propane valve (usually counter-clockwise). - Ignite the grill
Turn the burner knobs to “light” or “start” and press the ignition button. You should hear a click and see flames. - Preheat the grill
Close the lid and let it heat up for about 10–15 minutes. - Clean the grates
Use a grill brush to clean the hot grates before adding food. - Grill your food
Use tongs or a spatula to cook, and keep the lid closed as needed for even heat. - Turn off the grill
Turn off the burners first, then the propane tank.
🔥 How to Use a Charcoal Grill
- Add charcoal
Pile briquettes into a mound or fill a chimney starter. - Light the coals
Use lighter fluid (carefully) or light the chimney starter with newspaper underneath. Let them burn until they’re white and ashy—about 15–20 minutes. - Spread the coals
Use tongs or a heatproof tool to spread them evenly or set up a two-zone fire (hot on one side, cooler on the other). - Clean and oil the grates
Scrub with a grill brush and use tongs with an oiled paper towel to prevent sticking. - Grill your food
Place food over direct heat for searing, or indirect heat for slower cooking. - Close the vents to cool
When done, close the grill’s vents and lid to smother the fire.
✅ Grilling Tips
- Don’t press burgers with a spatula—it squeezes out juices.
- Let meat rest after grilling to keep it juicy.
- Use a meat thermometer for doneness (e.g., 165°F for chicken).
Try using a grill next time you stay at Meramec Campground!
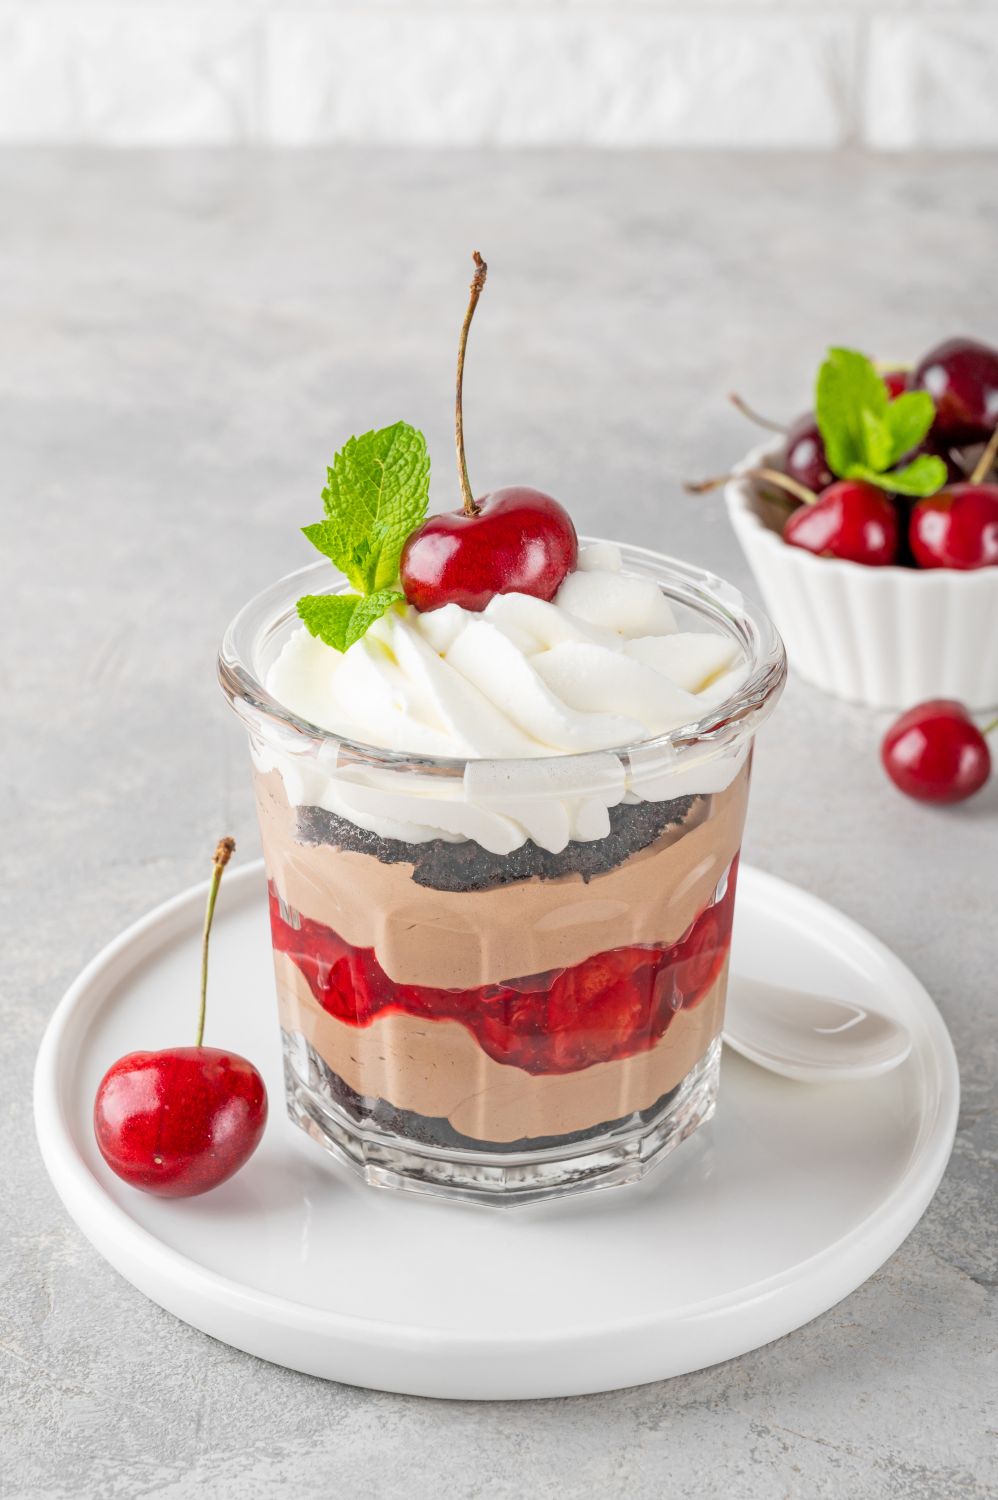
🍒 Chocolate Cherry Cheesecake Jars (No-Bake)
This chocolatey twist on a classic no-bake cheesecake is layered in mini mason jars for easy camping desserts! Smooth chocolate cheesecake, buttery crust, and sweet cherry topping — what’s not to love?
Makes: 6 mini mason jars (4 oz size)
Prep Time: 15 minutes
Chill Time: 2+ hours (or overnight)
📝 Ingredients:
For the crust:
- 1 cup chocolate graham cracker crumbs (or crushed chocolate cookies like Oreos)
- 3 tbsp melted butter
- 1 tbsp sugar (optional)
For the chocolate cheesecake filling:
- 8 oz cream cheese (softened)
- 1 cup heavy whipping cream (or 1 cup whipped topping)
- 1/2 cup powdered sugar
- 1 tsp vanilla extract
- Pinch of salt
- 1/3 cup cocoa powder or 1/2 cup melted semi-sweet chocolate (cooled)
For the topping:
- 1 can cherry pie filling (or homemade if you prefer)
🥄 Directions:
1. Make the crust:
In a bowl, combine chocolate graham cracker crumbs (or crushed Oreos), melted butter, and sugar.
Spoon about 2 tablespoons into each jar and gently press down to form the crust.
2. Make the chocolate cheesecake filling:
In a large bowl, beat softened cream cheese until smooth.
Add powdered sugar, vanilla, salt, and cocoa powder (or melted chocolate) and mix until well combined.
In a separate bowl, whip the heavy cream until stiff peaks form (skip if using whipped topping).
Fold the whipped cream into the chocolate cream cheese mixture until smooth and fluffy.
3. Assemble the jars:
Spoon or pipe the chocolate cheesecake filling on top of the crust layer, filling each jar about ¾ full.
Top each with a generous spoonful of cherry pie filling.
4. Chill:
Seal jars with lids and refrigerate for at least 2 hours or overnight. Serve chilled.
This dessert will be a hit on your next camping trip to Meramec Campground!
How to Make Your Campsite Feel Like Home
Here are some practical and cozy ways to make your campsite feel like home:
🏕️ 1. Bring Your Favorite Home Comforts
- Blankets & Pillows: Don’t skimp—bring the soft, cozy ones from home.
- Camping Rug or Mat: Adds a “living room” vibe and keeps dirt out of your tent or vehicle.
- Foldable Chairs & Table: Create a relaxing hangout spot for meals, games, and conversation.
✨ 2. Create Ambiance
- String Lights or Lanterns: Hang solar or battery-powered lights for warm, ambient lighting.
- Candle Lanterns or Flameless Candles: Safe and cozy, especially inside tents or screen shelters.
- Campfire Glow: Nothing says “homey” like a crackling fire (just be sure it’s allowed at your site).
🍽️ Upgrade the Kitchen Setup
- Tablecloth for Picnic Table: Makes meals feel more intentional.
- Reusable Dishware: Skip the disposable stuff—real plates, mugs, and utensils go a long way.
- Favorite Spices or Coffee Setup: Little tastes of home make a big impact.
🎵 Set the Mood
- Bluetooth Speaker: Soft background music can elevate any moment.
- Nature Sounds or White Noise Machine: Great for sleeping if unfamiliar noises bother you.
🎯 Add Fun & Personal Home Touches
- Board Games or Cards: For downtime fun.
- Photos or Small Decor: Pin up a picture or two in your tent or camper.
- Books or Journals: Something relaxing for quiet time.
🌱 Keep it Tidy
- Storage Bins or Hanging Organizers: Keep things neat and easy to find.
- Shoe Bin by the Tent/Car Door: Prevents tracking dirt inside.
Making your campsite at Meramec Campground feel like home is all about comfort, personality, and a little bit of planning!
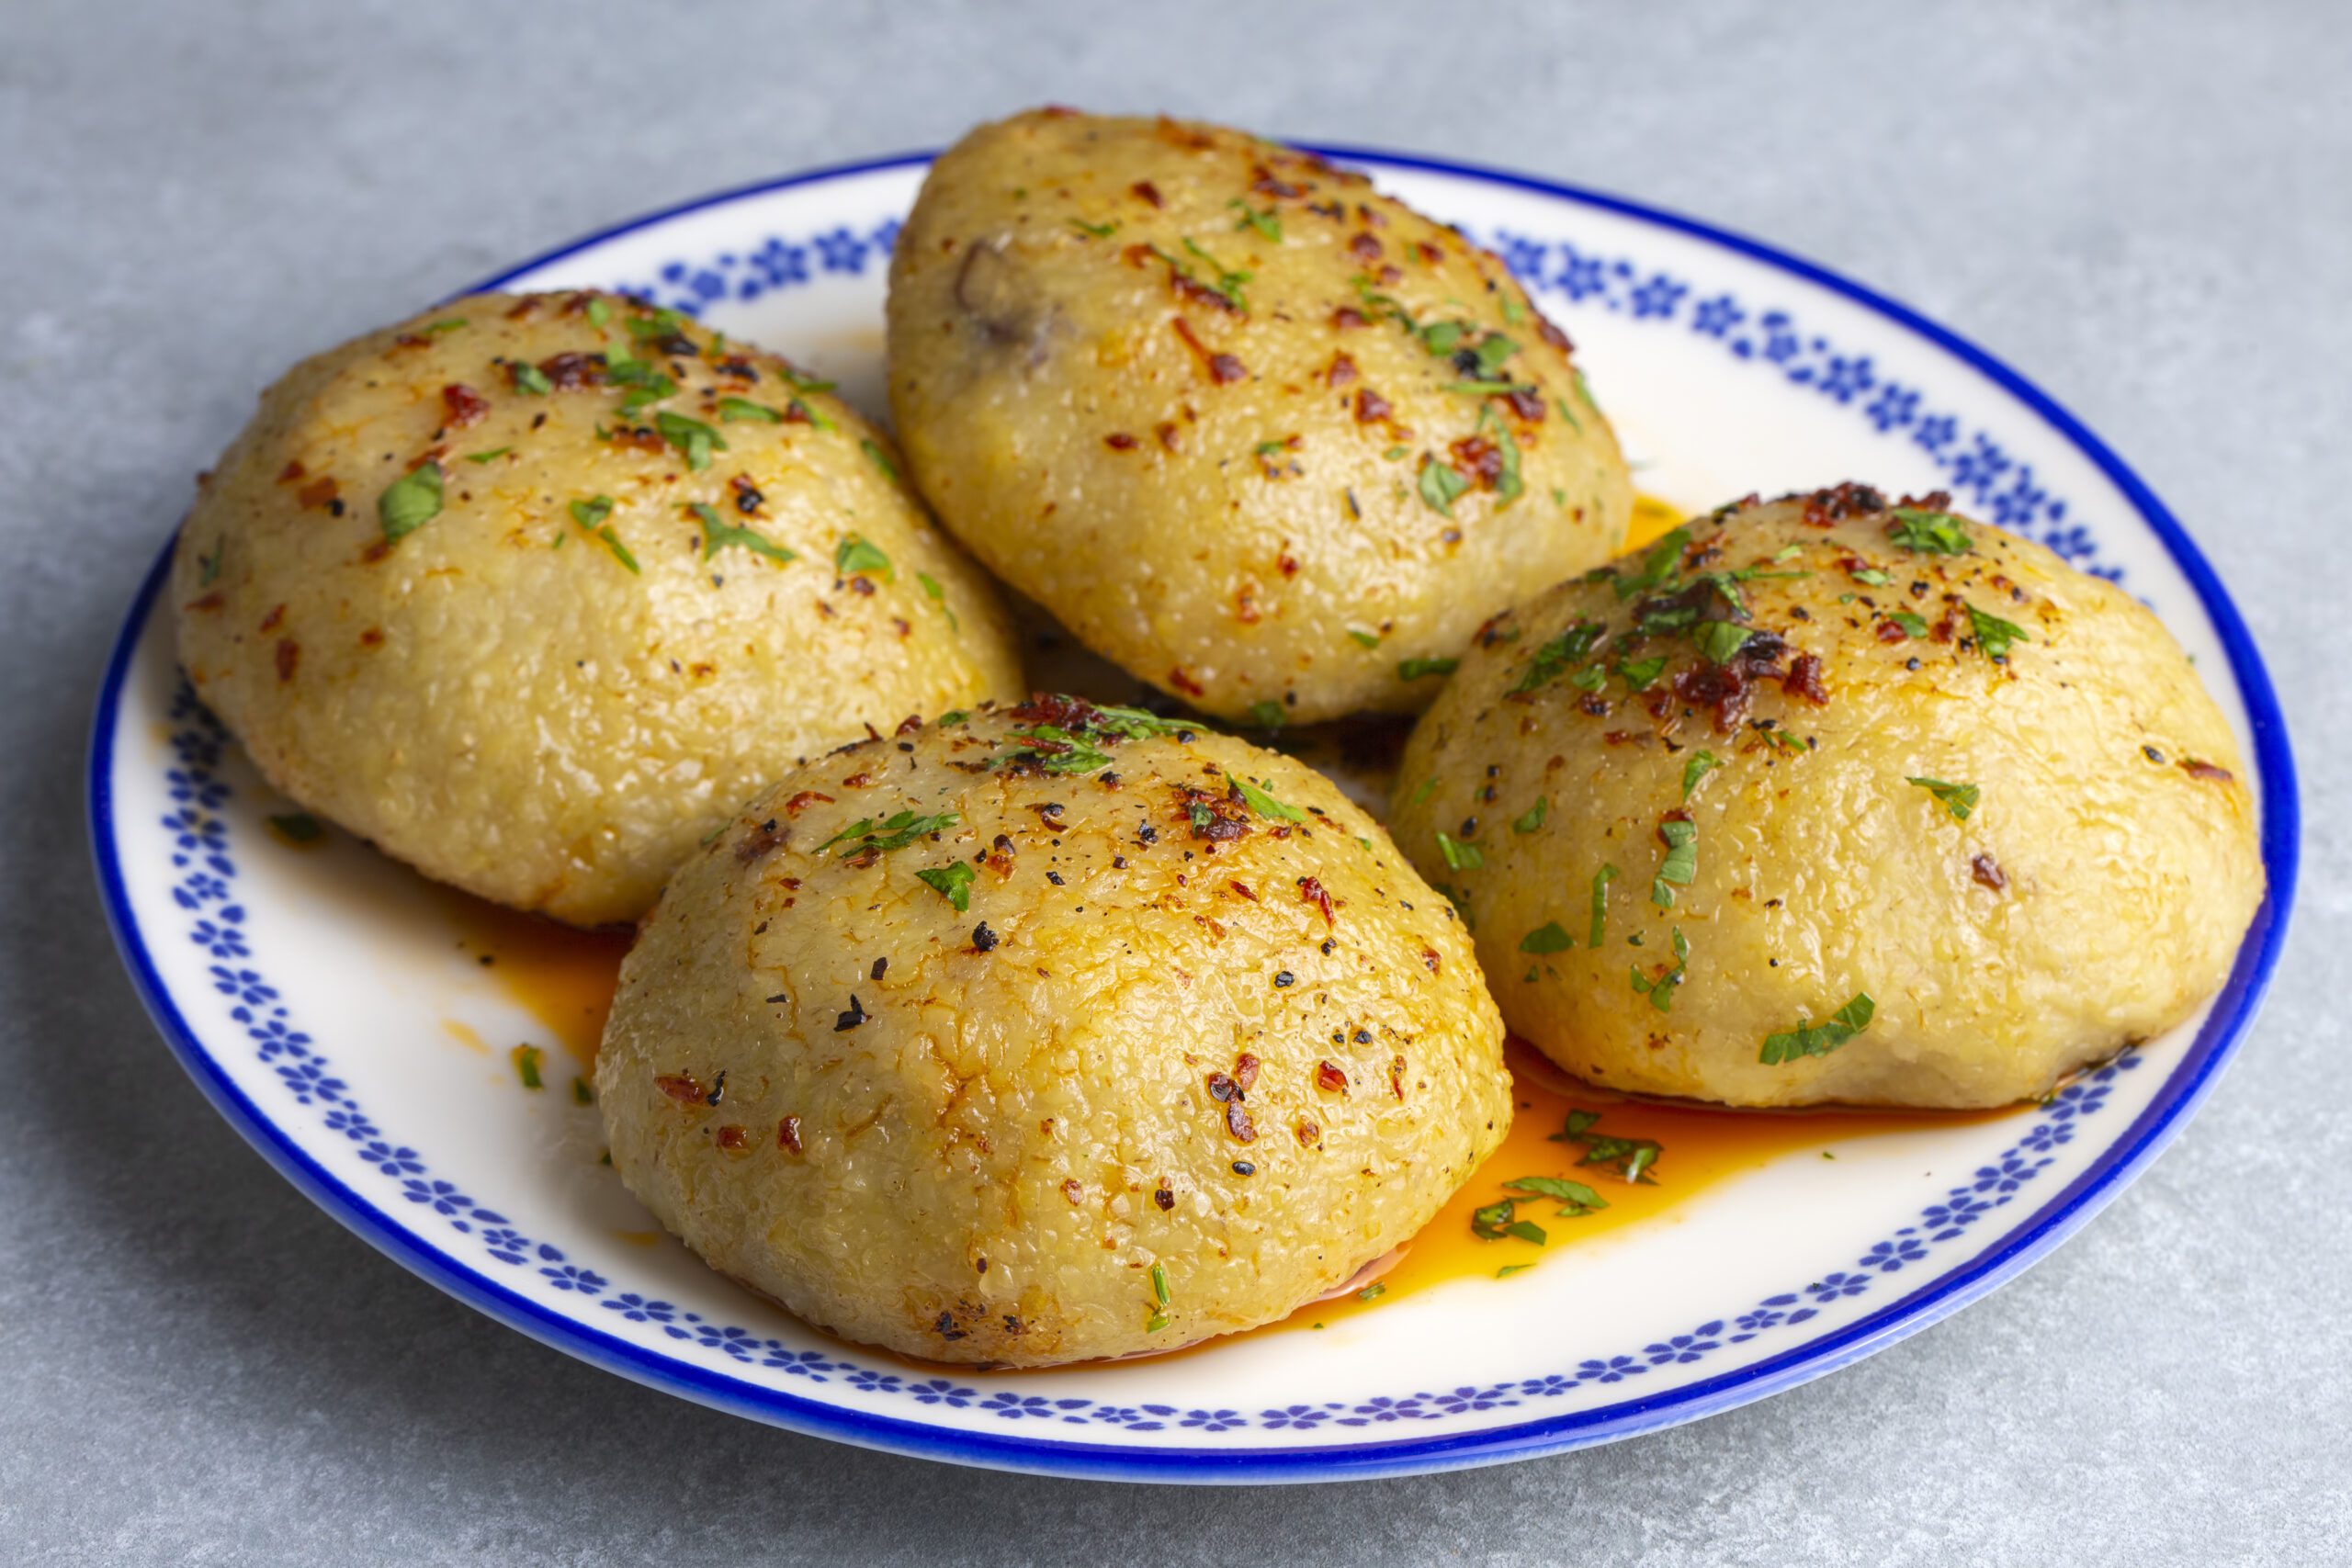
🔥 Garlic Bread Campfire Bombs
Here’s a delicious recipe for Garlic Bread Campfire Bombs — perfect for camping or backyard fires!
Ingredients:
- 1 can refrigerated biscuit dough (like Pillsbury Grands)
- 1 cup shredded mozzarella cheese
- 1/4 cup grated Parmesan cheese
- 4 tbsp butter, melted
- 2–3 cloves garlic, minced
- 1 tbsp chopped parsley (fresh or dried)
- Optional: marinara sauce for dipping
- Foil and nonstick spray
Instructions:
- Prep the garlic butter:
- In a small bowl, mix melted butter, minced garlic, and parsley. Set aside.
- In a small bowl, mix melted butter, minced garlic, and parsley. Set aside.
- Assemble the bombs:
- Flatten each biscuit into a round disk.
- Add a spoonful of mozzarella and a sprinkle of Parmesan to the center.
- Fold and pinch the edges to seal tightly, forming a ball.
- Flatten each biscuit into a round disk.
- Wrap for fire:
- Spray foil squares (about 8″x8″) with nonstick spray.
- Place one dough ball seam-side down on each foil square.
- Brush generously with garlic butter.
- Wrap tightly in foil.
- Spray foil squares (about 8″x8″) with nonstick spray.
- Cook over the fire:
- Place in hot campfire coals (not direct flame) and cook for 10–15 minutes, turning occasionally.
- Carefully unwrap one to check if golden and cooked through.
- Place in hot campfire coals (not direct flame) and cook for 10–15 minutes, turning occasionally.
- Serve:
- Let cool for 1–2 minutes before eating.
- Serve with warm marinara sauce for dipping if desired.
- Let cool for 1–2 minutes before eating.
Tips:
- Pre-make and refrigerate at home to save time.
- Try adding pepperoni or cooked sausage inside for a pizza-style bomb!
Try these easy garlic bread campfire bombs the next time you stay at Meramec Campground!
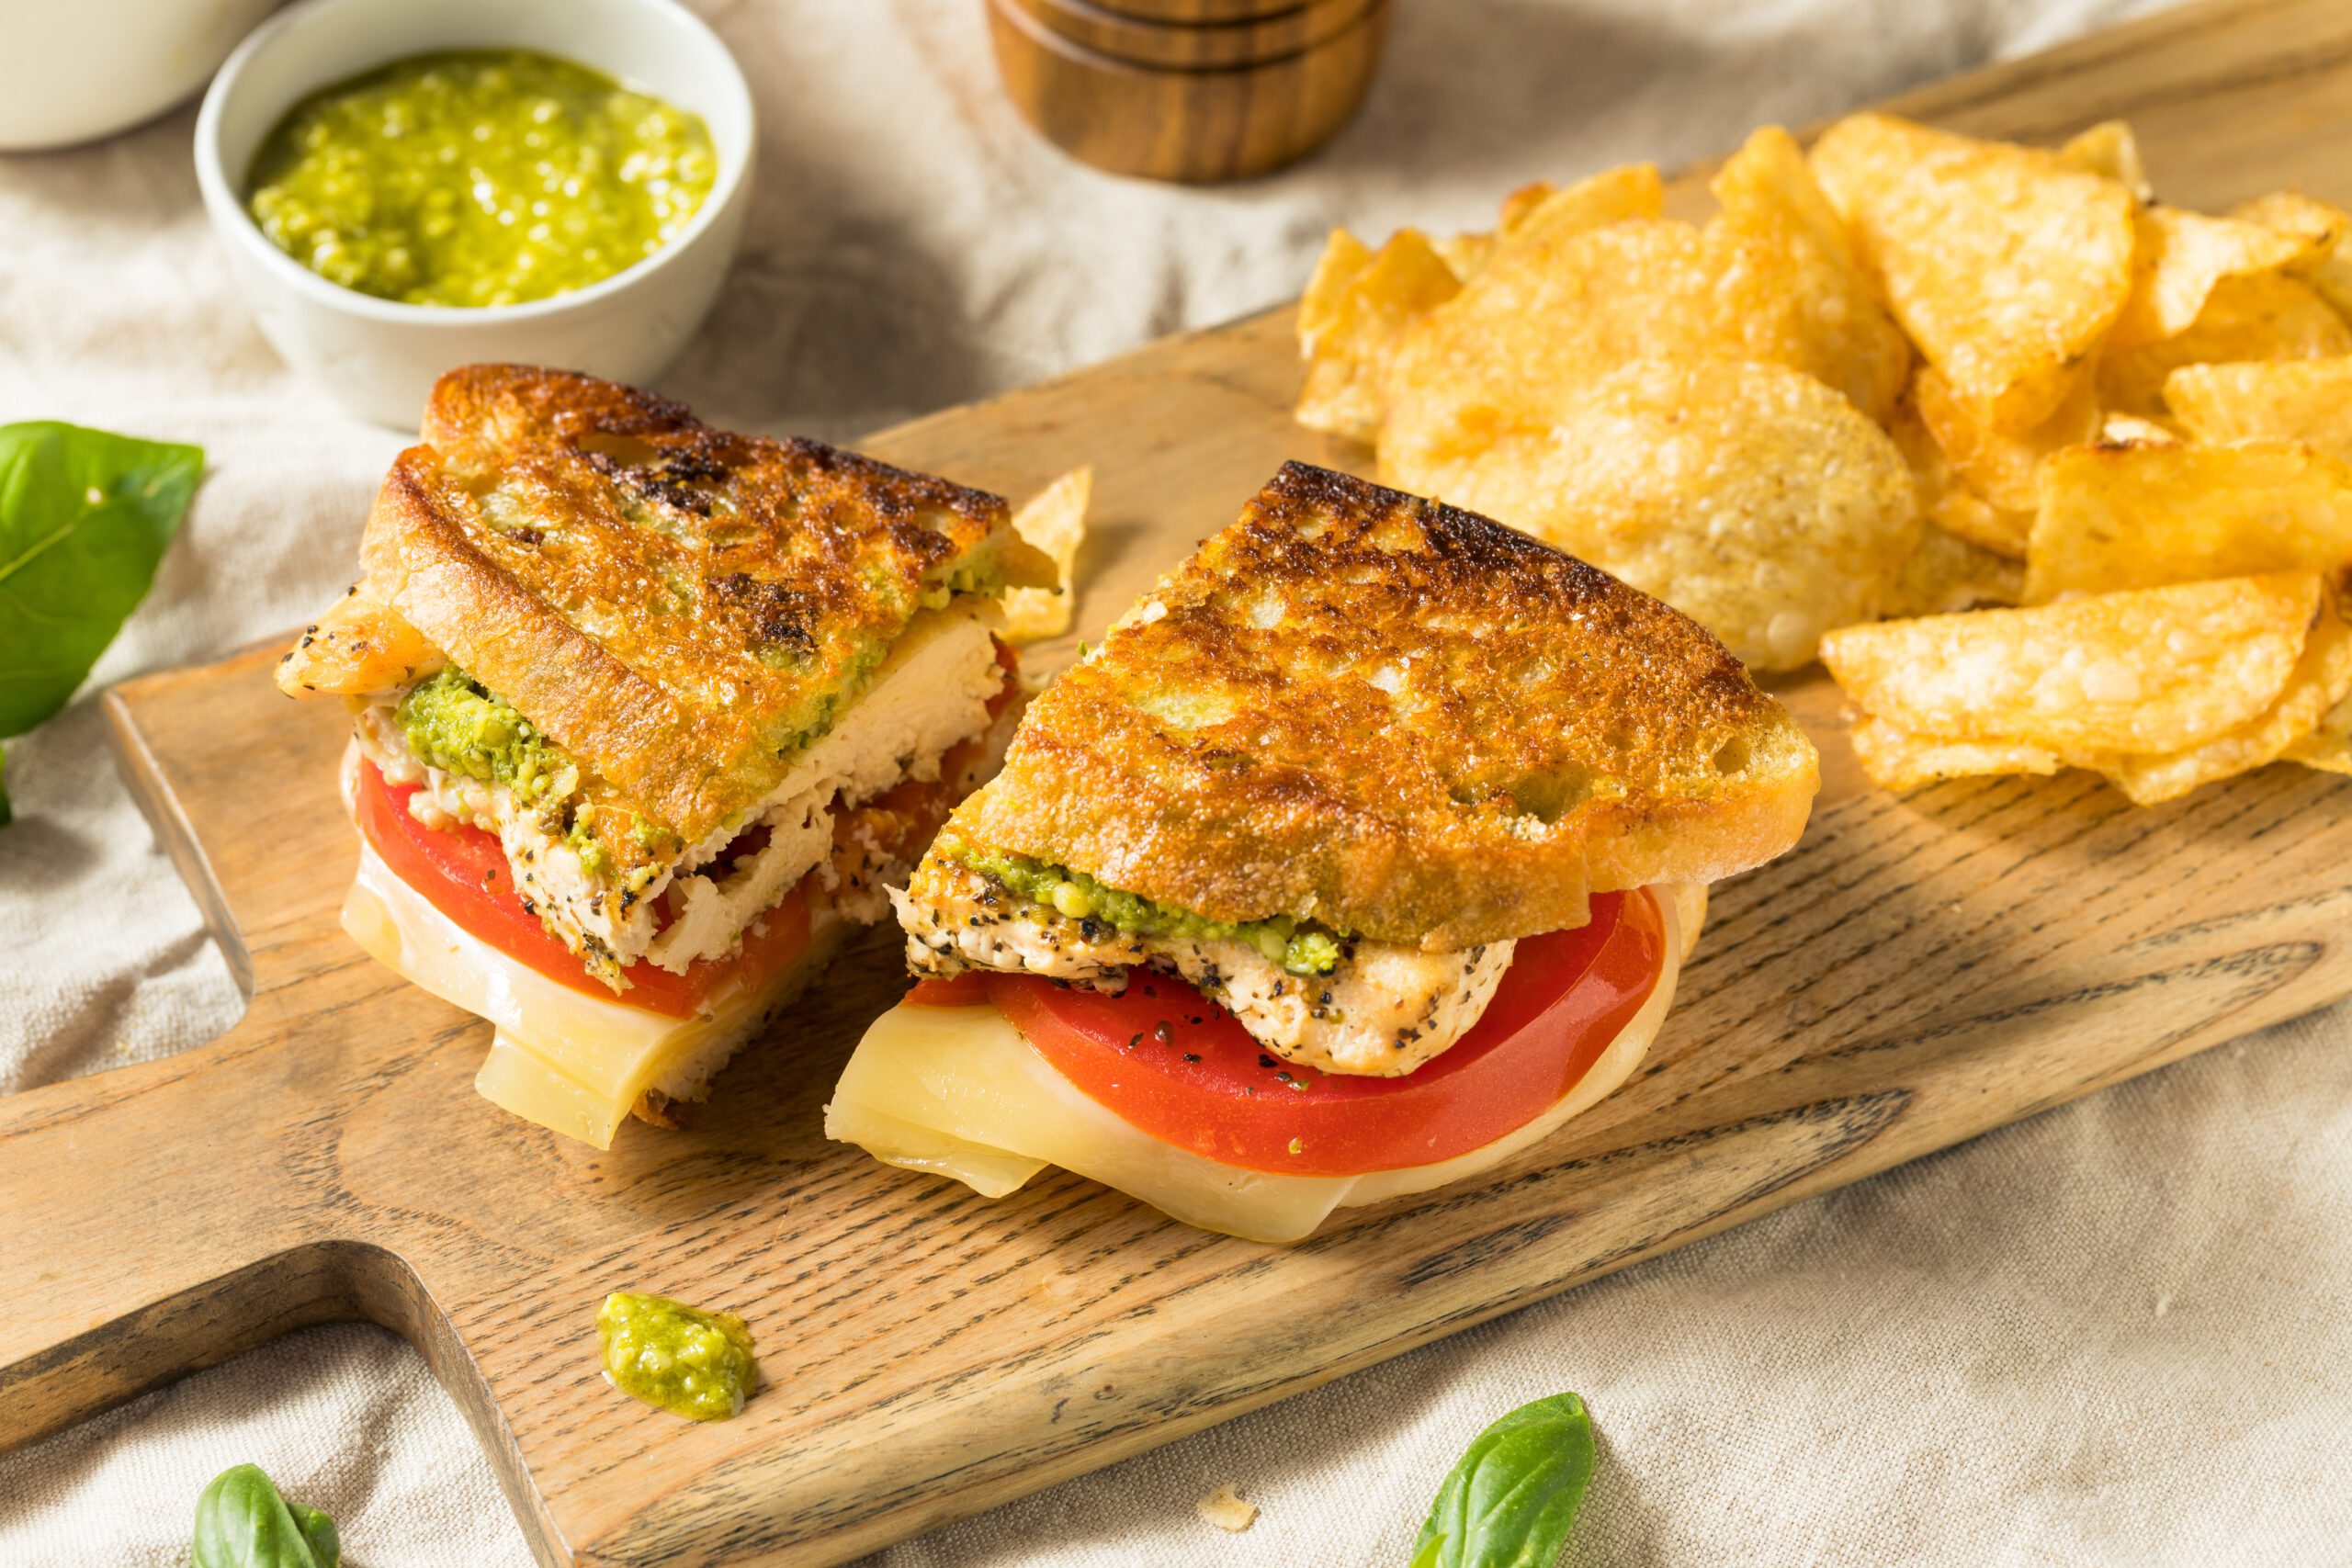
🧀Campfire Pesto Grilled Cheese
Here’s a simple and delicious Campfire Pesto Grilled Cheese recipe — perfect for camping and cooking over the fire:
Ingredients (per sandwich):
- 2 slices of hearty bread (like sourdough or ciabatta)
- 1–2 tbsp basil pesto (store-bought or homemade)
- 2–3 slices of mozzarella (or provolone)
- Optional: sliced tomato or cooked bacon
- Butter or olive oil (for grilling)
Equipment:
- Cast iron skillet or pie iron
- Campfire grate or grill
🔥 Instructions:
- Prep the fire: Get your campfire going and let it burn down until you have hot coals. Place a grate over the fire if needed.
- Assemble the sandwich:
- Spread butter (or olive oil) on the outside of each bread slice.
- Spread pesto on the inside of both slices.
- Layer in cheese (and optional tomato or bacon).
- Spread butter (or olive oil) on the outside of each bread slice.
- Cook:
- Place the sandwich in a cast iron skillet or pie iron.
- Grill over the campfire for about 3–5 minutes per side, or until the bread is golden brown and the cheese is melty.
- Place the sandwich in a cast iron skillet or pie iron.
- Cool slightly & serve:
- Let it sit for a minute before slicing — cheese will be hot!
This is the perfect meal to eat while camping at Meramec Campground!
Things to do while staying at Meramec Campground!
There are lots of places to explore and things to do around Meramec Campground! Check out this list for ideas of what to do on your next camping trip!
🏞️ Natural Attractions
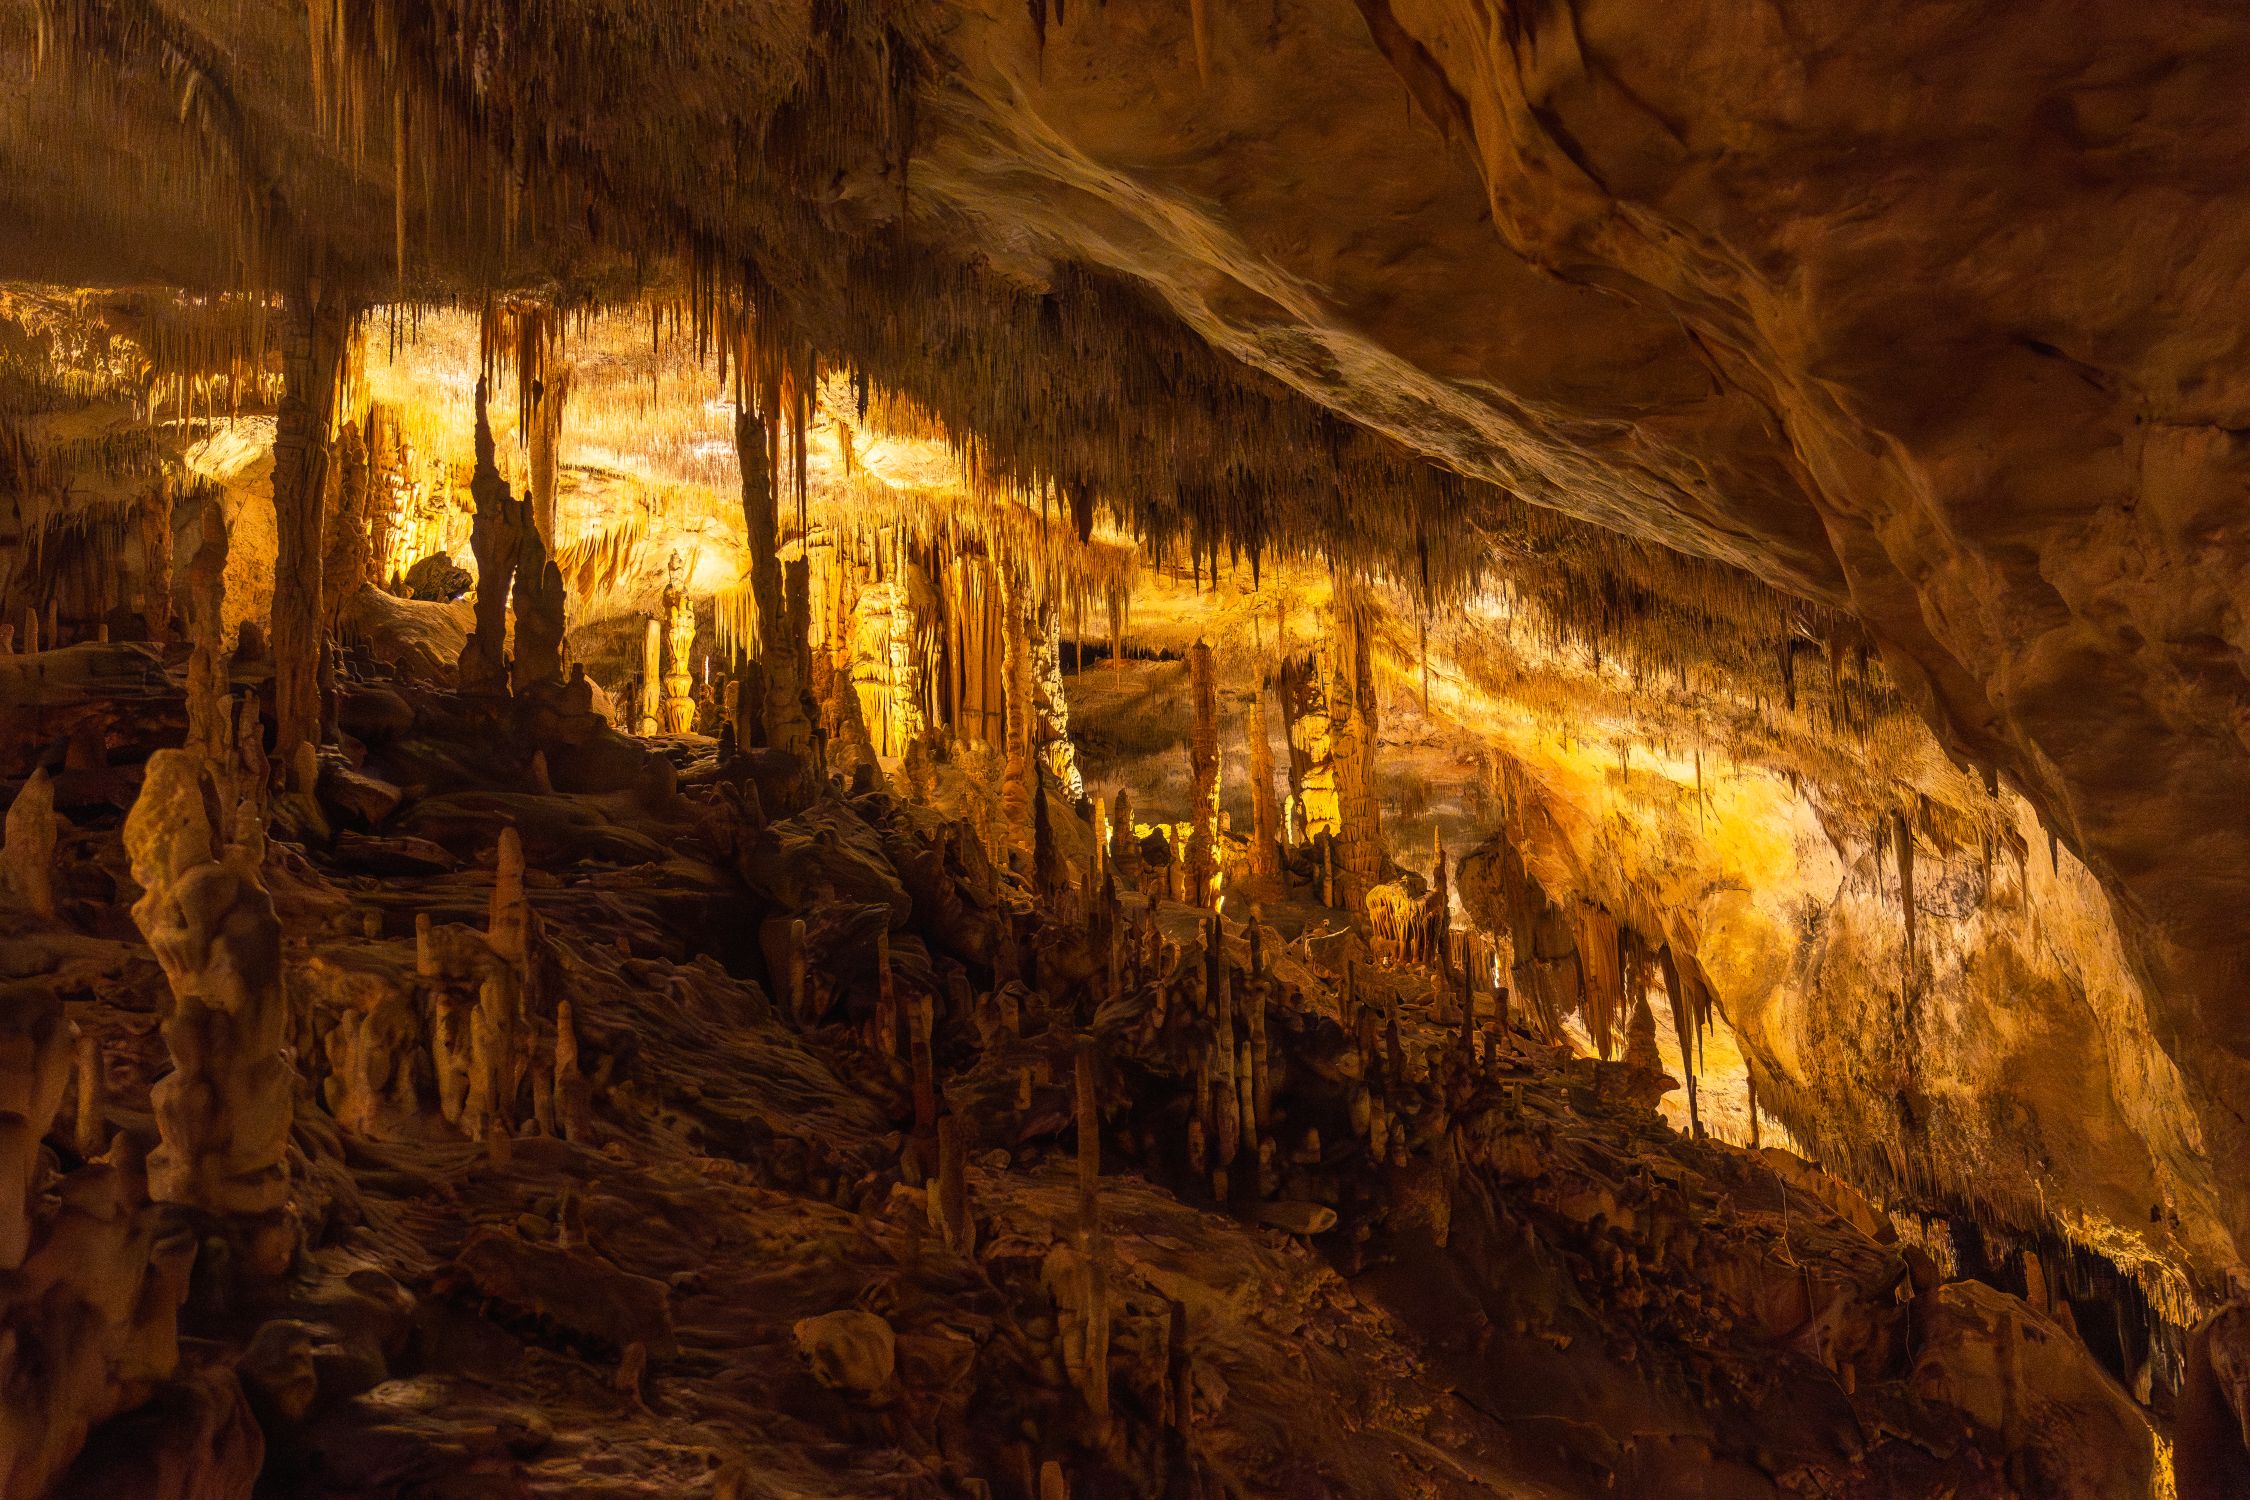
- Meramec Caverns (≈ 10 mins)
- A massive cave system offering guided tours, zip-lining, and riverboat rides.
- A massive cave system offering guided tours, zip-lining, and riverboat rides.
- Onondaga Cave State Park (≈ 25 mins)
- Another impressive cave system with beautiful underground formations and the Blue Heron Trail.
- Another impressive cave system with beautiful underground formations and the Blue Heron Trail.
- Huzzah Conservation Area (≈ 30 mins)
- Offers quiet hiking, birdwatching, and fishing in a more secluded setting.
- Offers quiet hiking, birdwatching, and fishing in a more secluded setting.
🍷 Local Wineries & Breweries
- Crescent Lake Winery (≈ 15 mins)
- Beautiful scenery and locally crafted wines; often hosts live music.
- Beautiful scenery and locally crafted wines; often hosts live music.
- The Brew House in Sullivan (≈ 10 mins)
- Great spot to grab a local beer and burger after a day outdoors.
- Great spot to grab a local beer and burger after a day outdoors.
🏛️ Historic & Cultural Sites
- Route 66 State Park (≈ 45 mins)
- Learn about the history of the Mother Road, with hiking trails and a visitor center.
- Learn about the history of the Mother Road, with hiking trails and a visitor center.
- Sullivan Area Historical Museum (≈ 10 mins)
- Small but interesting museum for local history buffs.
- Small but interesting museum for local history buffs.
👨👩👧👦 Family Fun
- Purina Farms (≈ 35 mins)
- A great family outing with animal exhibits, pet shows, and farm activities (seasonal).
- A great family outing with animal exhibits, pet shows, and farm activities (seasonal).
- Shady Beach Campground & River Rentals (≈ 20 mins)
- If you want to float a different section of the river or picnic by the water.
- If you want to float a different section of the river or picnic by the water.
Have a fun day of exploring then come back and chill at Meramec Campground!
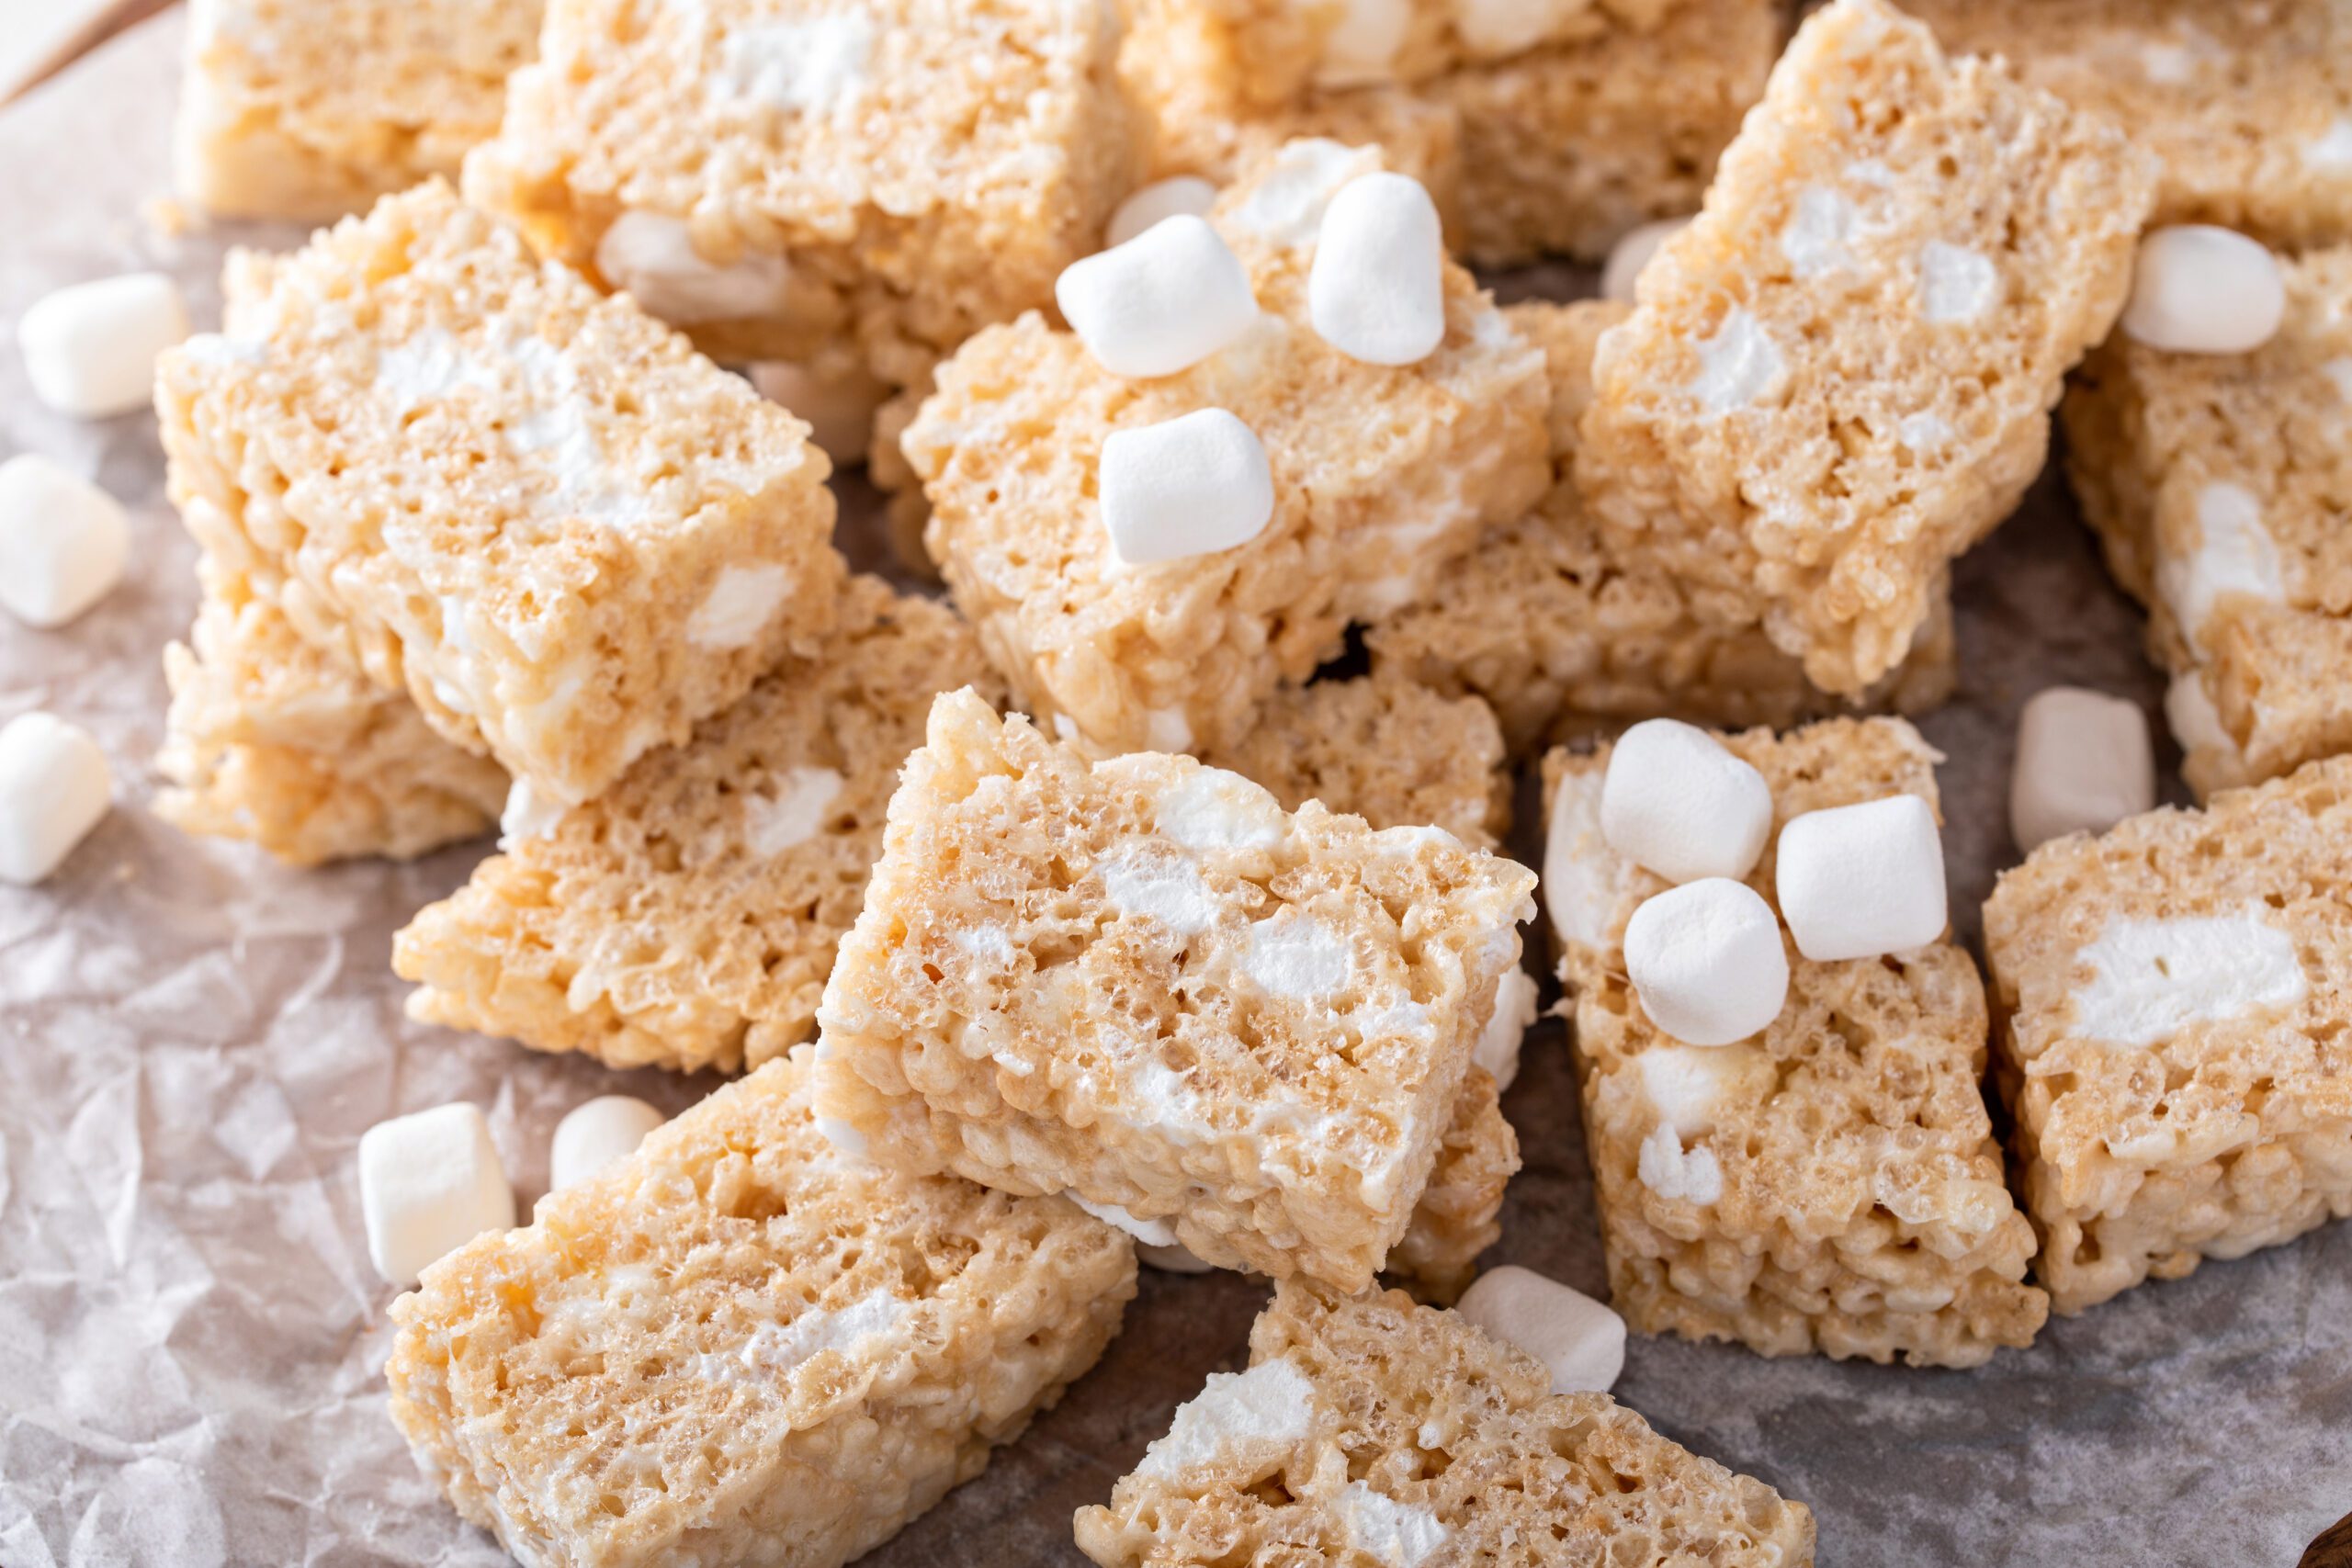
Marshmallow Rice Crispy Treats
This is the best simple marshmallow treat! It is perfect for campers of all ages and easy to store while camping!
Ingredients:
- 3 tablespoons butter
- 1 package (10 oz) mini marshmallows (or about 40 regular-sized marshmallow)
- 6 cups Rice Krispies cereal
- (Optional) 1/2 teaspoon vanilla extract
- (Optional) Pinch of salt
Instructions:
- Melt the butter in a large pot over low heat.
- Add the marshmallows and stir constantly until completely melted and smooth.
(If using, stir in vanilla and salt at this point.) - Remove from heat and quickly stir in the Rice Krispies cereal until evenly coated.
- Press into a greased 9×13-inch pan using a buttered spatula or wax paper.
- Cool completely, then cut into squares and serve!
Tips:
- For extra gooey treats, add an extra cup of marshmallows.
- Want to jazz it up? Add chocolate chips, drizzle with melted chocolate, or mix in sprinkles or crushed candy.
Try this recipe for your next camping trip to Meramec Campground!
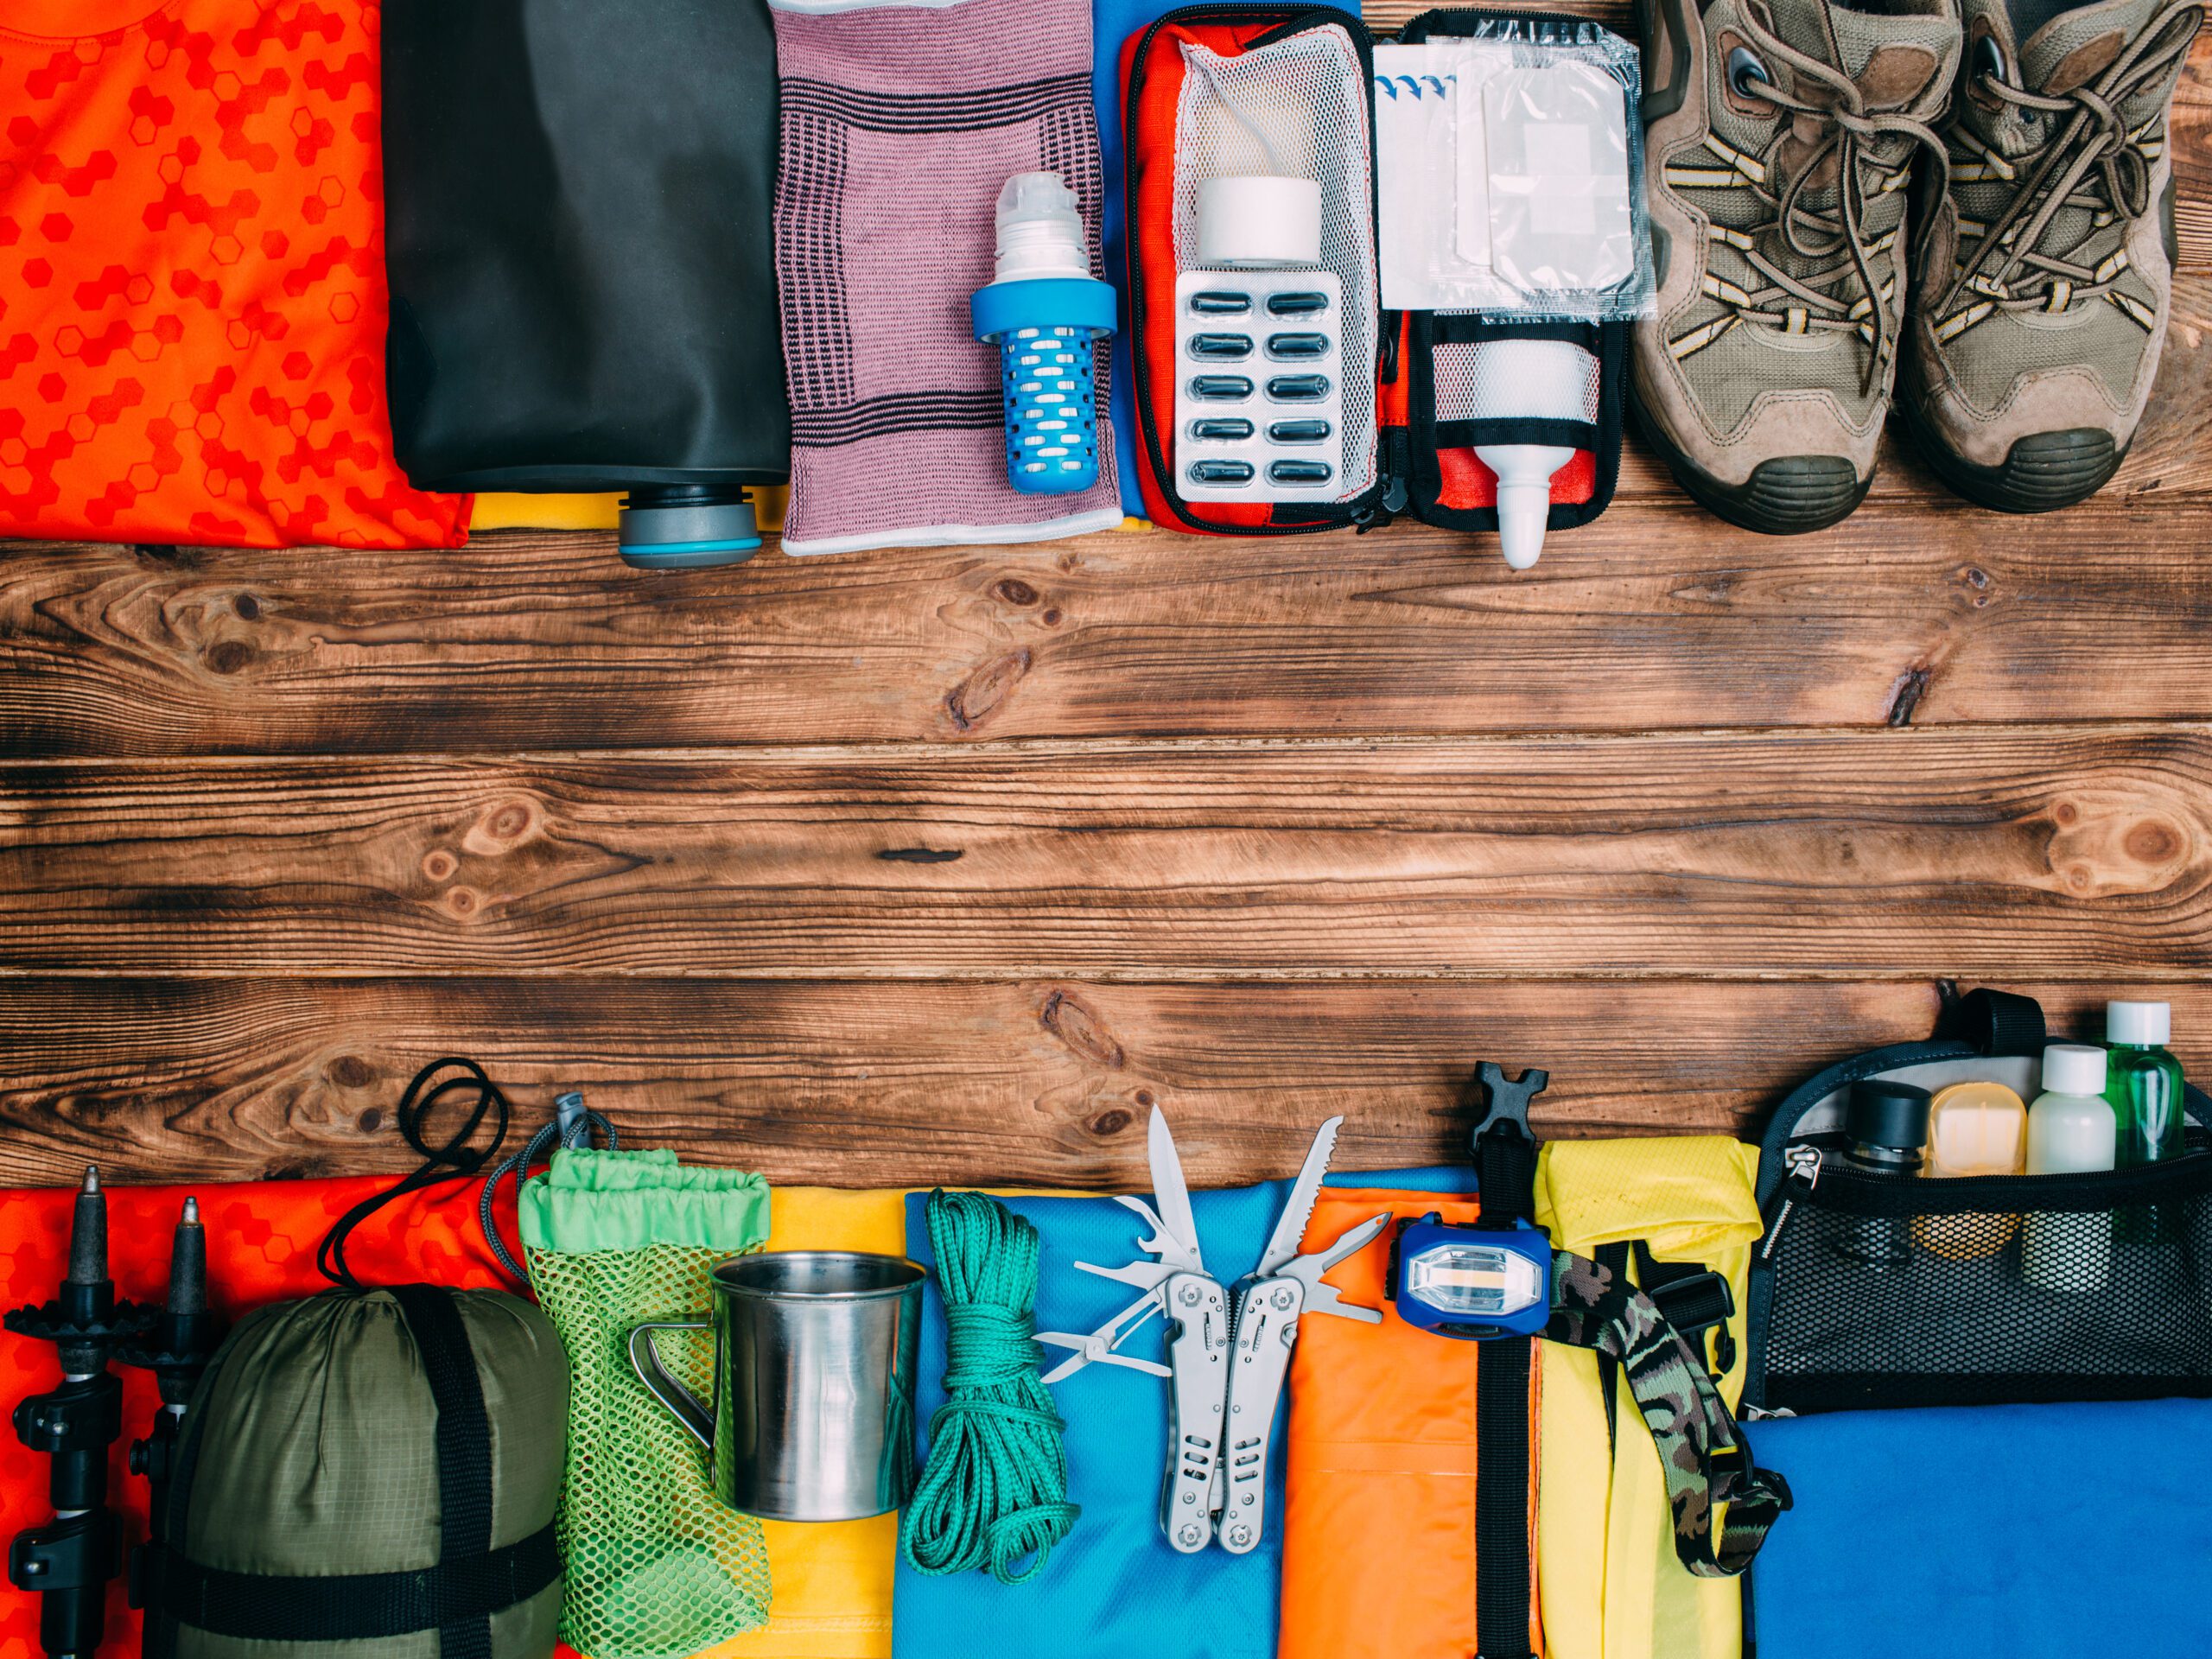
How to Pack Light For a Camping Trip
Packing light for a camping trip means bringing only the essentials while maximizing efficiency. Here’s how to do it:
1. Plan Ahead
- Check the weather forecast to determine what clothing and gear you actually need.
- Make a checklist to avoid overpacking.
2. Choose Multi-Purpose Items
- Clothing: Opt for moisture-wicking, quick-dry fabrics and dress in layers. A lightweight rain jacket can double as a windbreaker.
- Gear: A spork replaces a fork and spoon; a multi-tool covers various needs.
3. Minimize Clothing
- Bring one outfit per day, plus an extra set in case of emergencies.
- Limit footwear to one pair of hiking shoes and lightweight camp sandals.
- Use merino wool or synthetic materials for socks and underwear—they dry fast and don’t retain odors.
4. Use a Lightweight Shelter System
- A lightweight tent or hammock with a rainfly saves space.
- If the weather allows, consider a bivy sack or tarp instead of a full tent.
5. Opt for a Compact Sleep System
- A compressible sleeping bag and an inflatable sleeping pad take up less space than bulky alternatives.
6. Pack Efficiently
- Roll clothes instead of folding them to save space.
- Use packing cubes or dry bags to stay organized.
- Keep heavier items at the bottom of your backpack for better weight distribution.
7. Bring Only Essential Cooking Gear
- A small stove (like a Jetboil or pocket stove), one lightweight pot, and a spork are often enough.
- Opt for dehydrated meals or simple, non-perishable foods to cut down on cooking needs.
8. Carry a Small First-Aid Kit
- Only pack essentials like bandages, antiseptic wipes, pain relievers, and any personal medications.
9. Minimize Toiletries
- A travel-sized toothpaste, small biodegradable soap, and a microfiber towel are sufficient.
- Use multi-purpose wipes instead of bringing separate facial and body wipes.
10. Pack Smart with Water
- Instead of carrying multiple water bottles, bring a collapsible water bottle and a lightweight filter (like a Sawyer Mini or LifeStraw) to refill on the go.
Use this packing guide on your next trip to Meramec Campground!
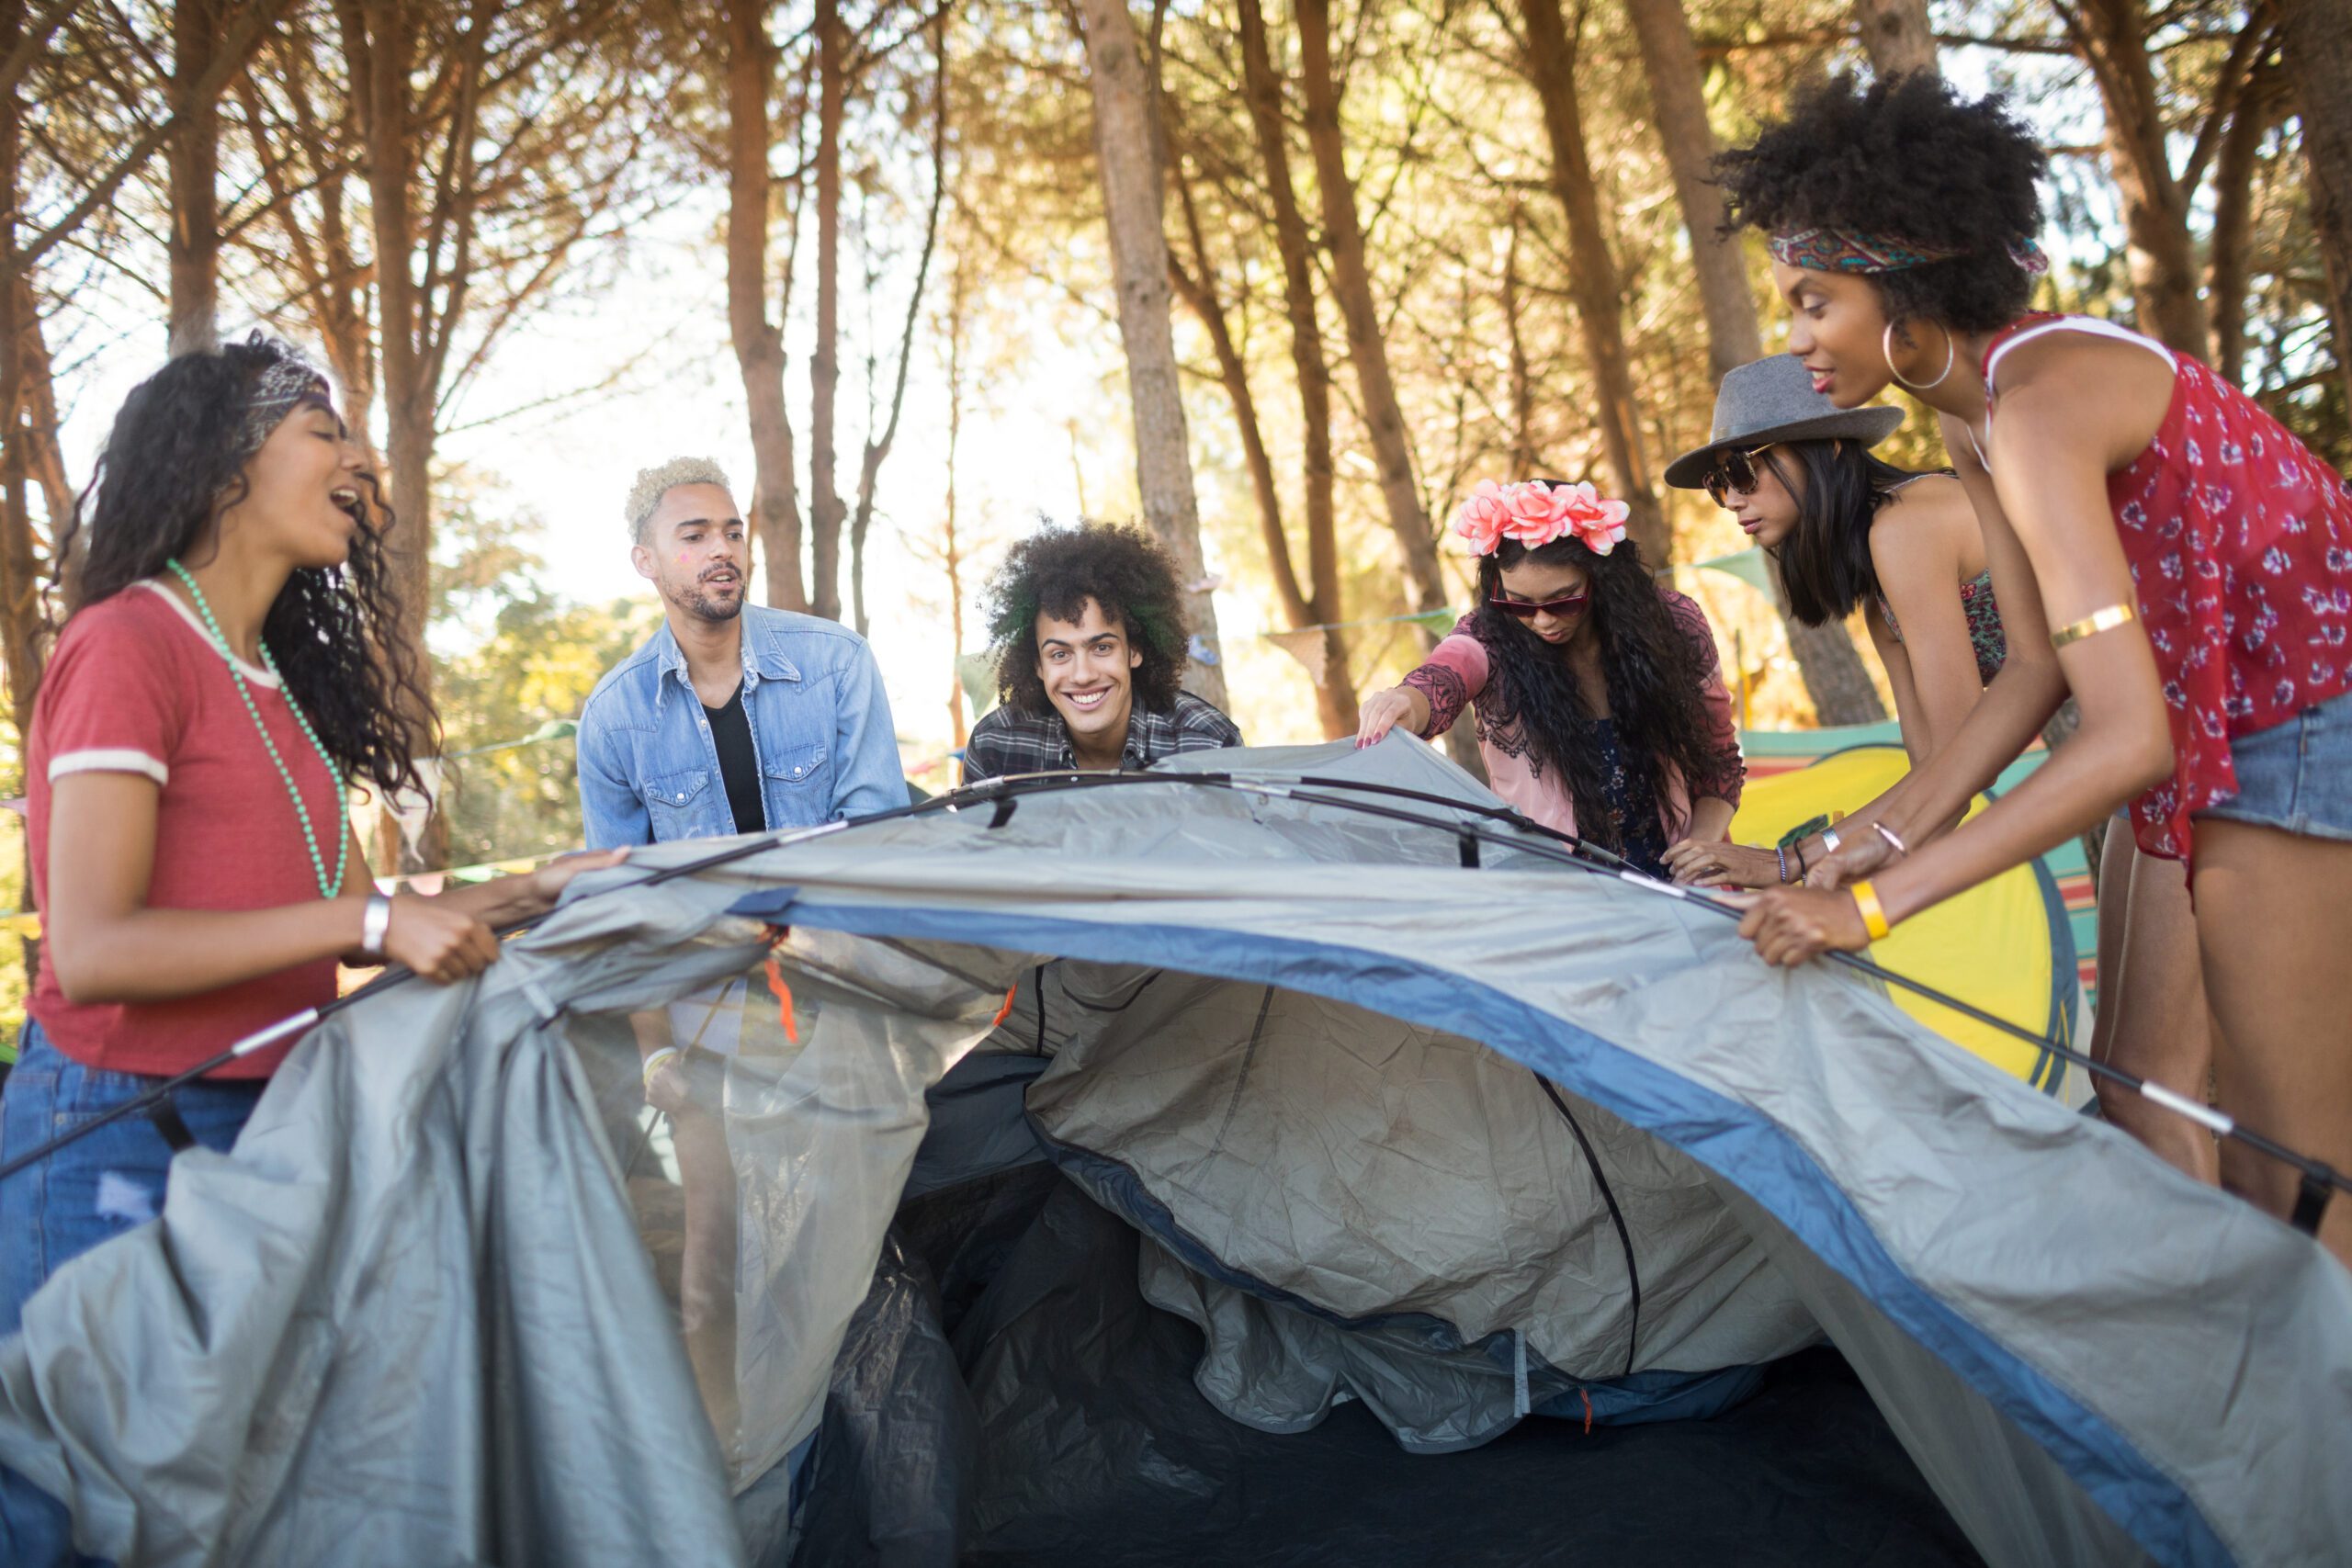
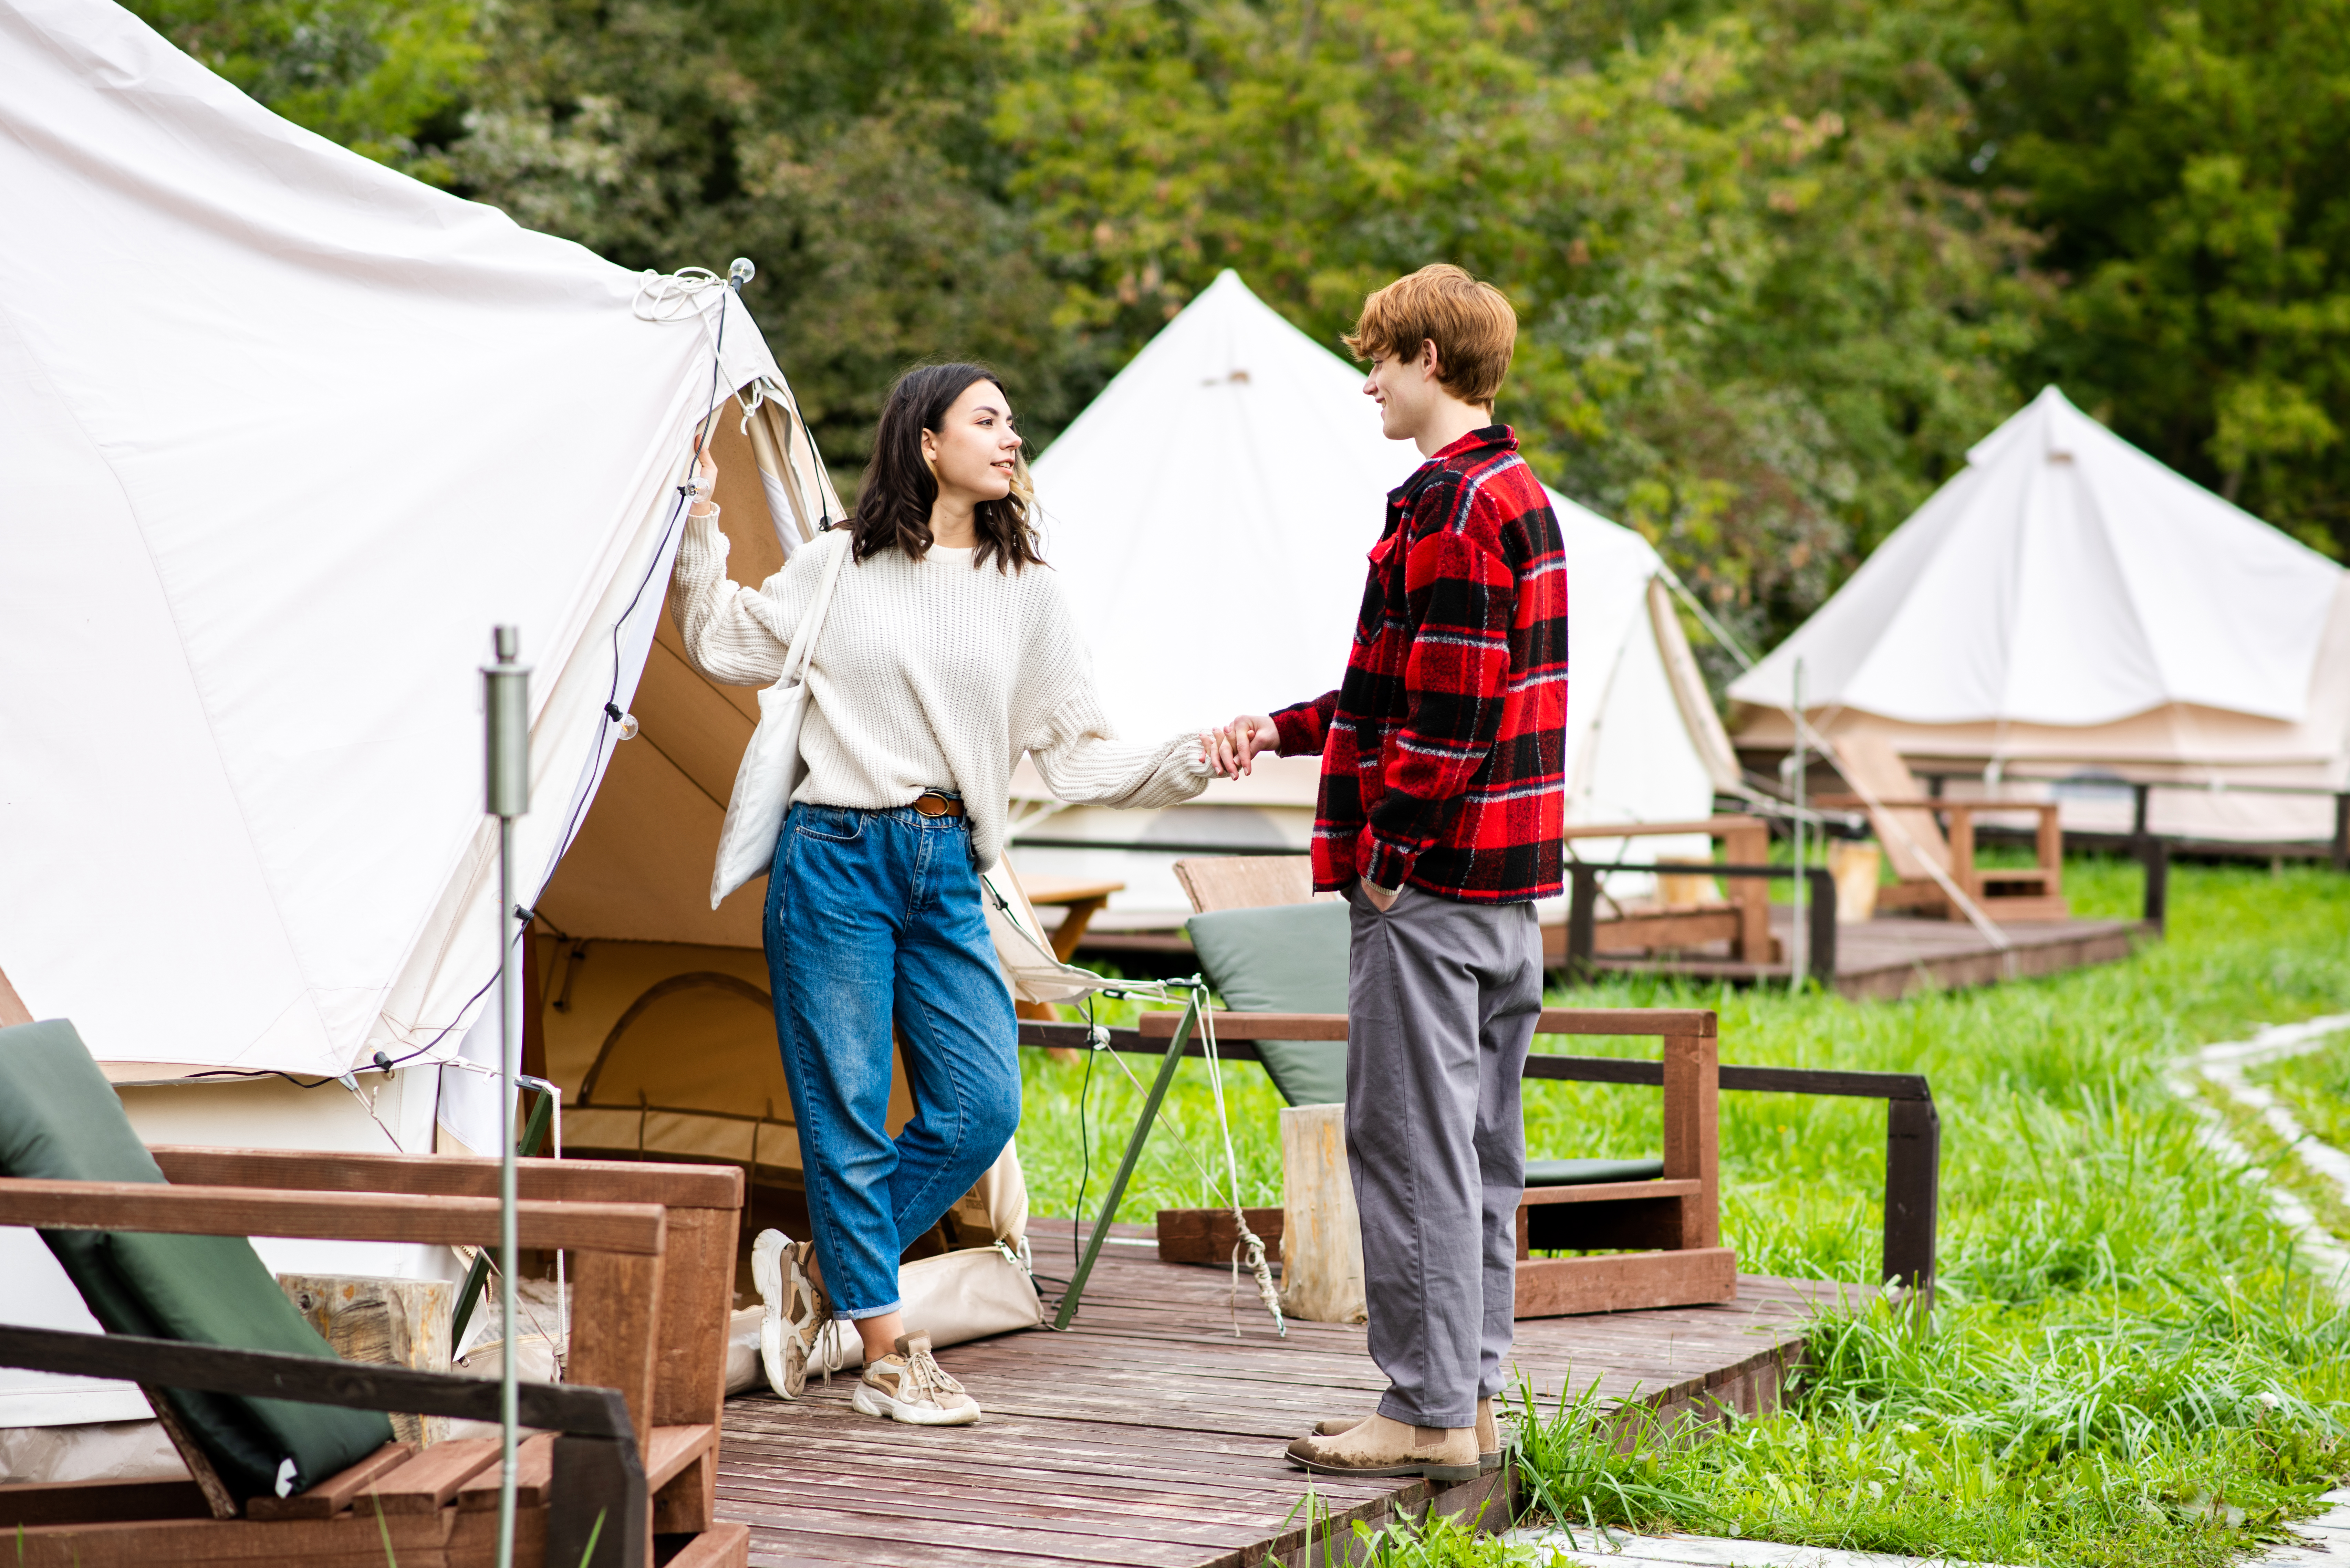
How to Choose the Right Size Tent When Taking Groups Camping!
Choosing the right size tent for group camping is essential for comfort and convenience. Here’s a guide to help you make the best choice:
1. Consider Group Size & Tent Capacity
- Tents are usually labeled by capacity (e.g., 4-person, 6-person, etc.), but this is often a tight fit.
- Rule of thumb: Choose a tent rated for 2 more people than your actual group for extra space.
- Example: If you have 4 people, opt for a 6-person tent for added comfort.
2. Sleeping Arrangements
- Are campers using sleeping bags or air mattresses?
- Sleeping bags take up less space.
- Air mattresses or cots require more room, so size up accordingly.
- Consider if people will need space for gear inside the tent.
3. Number of Tents vs. One Large Tent
- For large groups, multiple smaller tents (4-6 people each) might be better than one big tent.
- Smaller tents offer:
- More privacy
- Easier setup
- Less risk if one tent is damaged
4. Tent Height & Layout
- Cabin-style tents offer standing room and work well for longer trips.
- Dome tents are more compact and lightweight, ideal for backpacking.
- Tents with dividers create separate spaces for privacy.
5. Weather Considerations
- Choose a three-season tent for general camping (spring, summer, fall).
- In colder weather, ensure the tent has good insulation and a rainfly for extra protection.
- Ventilation is key for summer camping—look for tents with mesh windows and multiple doors.
6. Ease of Setup
- If camping with kids or beginners, choose a tent with simple assembly, like an instant tent or color-coded pole system.
- Larger tents may take two or more people to set up.
Use this guide to help you pick the right tent before your next camping trip at Meramec Campground!

Family owned and operated, Kiefer Campgrounds strive to offer you the best rates for a comfortable location with outstanding service, and spotless facilities. When you stay in one of our parks, you are no longer just a happy camper, but a part of our family! We are most certain you will enjoy your stay with us. Pick your favorite location and book your spot now before it’s too late! You’ll be happy you did!