Heres Some Camping Tips & Tricks at Your Fingertips
Our Sullivan Campground Blog is the information you need to make your next camping trip in Missouri even more enjoyable. From RV and camping tips and tricks, to amazing campfire recipes, to advice on planning your next trip in Sullivan, MO... the information below is here to help you. And please, feel free to comment and share your experiences, knowledge and favorite recipes. At Meramec Campground, we are a family and all here to help each other enjoy the great outdoors to the fullest!
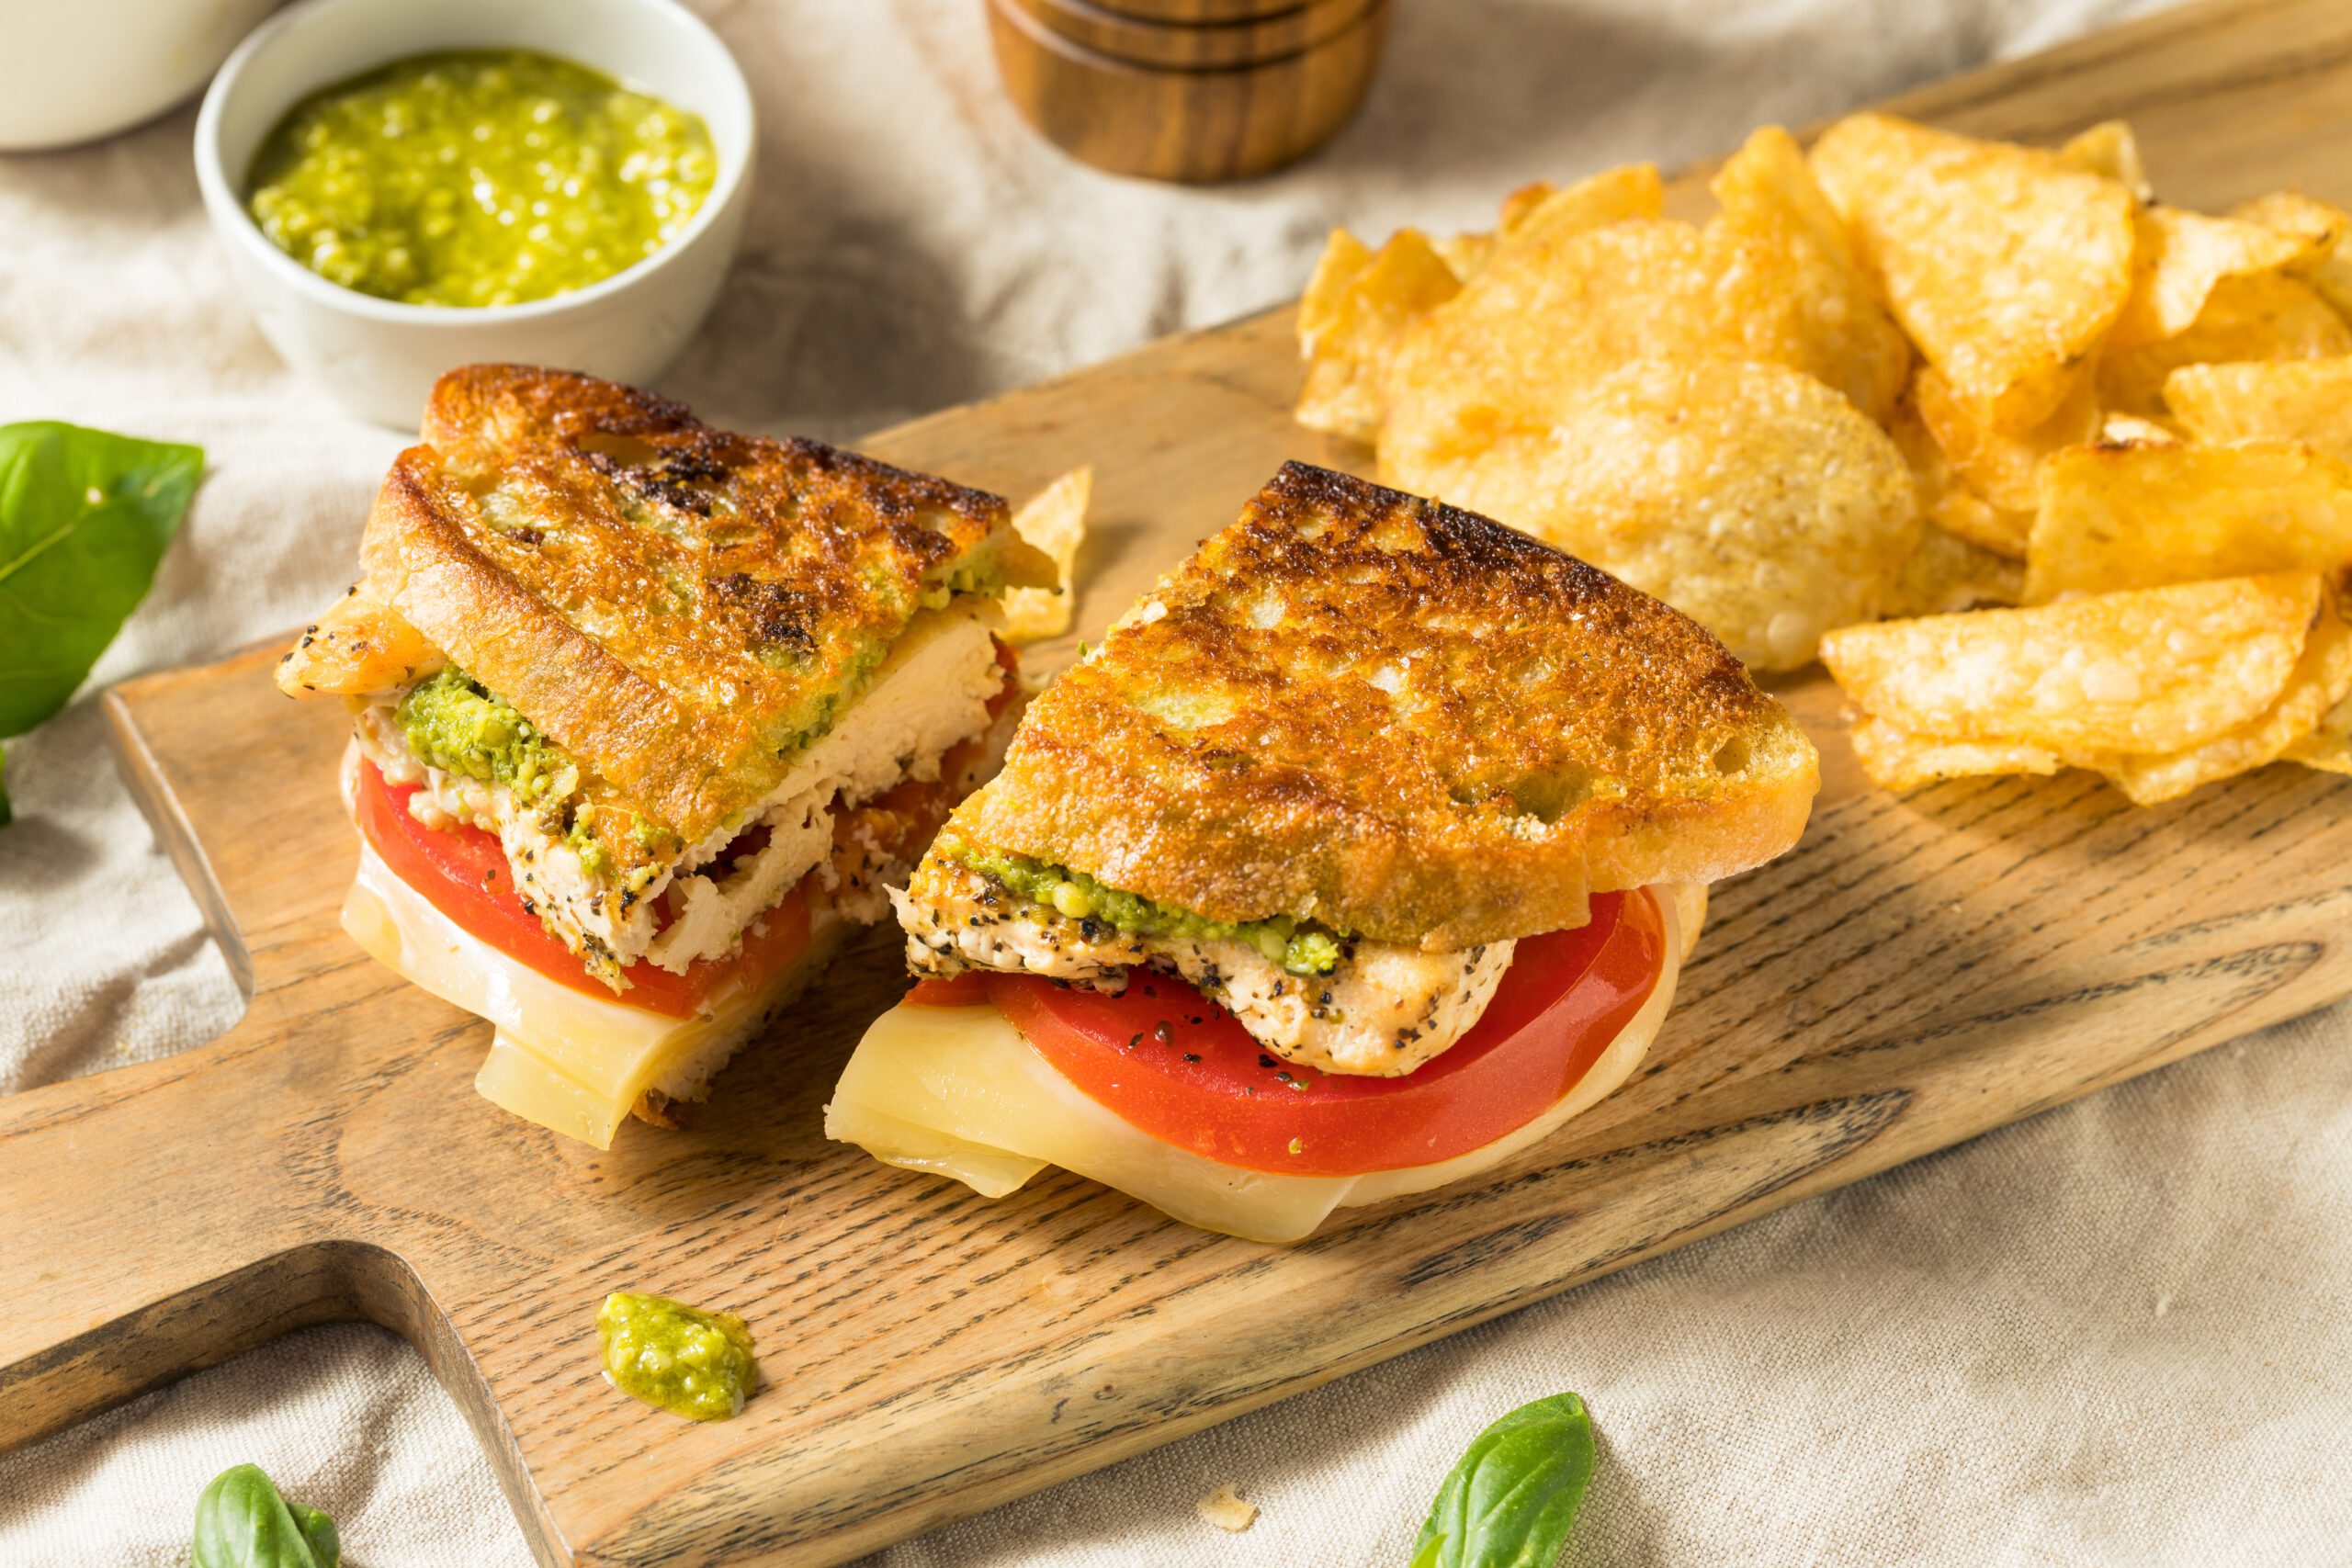
🧀Campfire Pesto Grilled Cheese
Here’s a simple and delicious Campfire Pesto Grilled Cheese recipe — perfect for camping and cooking over the fire:
Ingredients (per sandwich):
- 2 slices of hearty bread (like sourdough or ciabatta)
- 1–2 tbsp basil pesto (store-bought or homemade)
- 2–3 slices of mozzarella (or provolone)
- Optional: sliced tomato or cooked bacon
- Butter or olive oil (for grilling)
Equipment:
- Cast iron skillet or pie iron
- Campfire grate or grill
🔥 Instructions:
- Prep the fire: Get your campfire going and let it burn down until you have hot coals. Place a grate over the fire if needed.
- Assemble the sandwich:
- Spread butter (or olive oil) on the outside of each bread slice.
- Spread pesto on the inside of both slices.
- Layer in cheese (and optional tomato or bacon).
- Spread butter (or olive oil) on the outside of each bread slice.
- Cook:
- Place the sandwich in a cast iron skillet or pie iron.
- Grill over the campfire for about 3–5 minutes per side, or until the bread is golden brown and the cheese is melty.
- Place the sandwich in a cast iron skillet or pie iron.
- Cool slightly & serve:
- Let it sit for a minute before slicing — cheese will be hot!
This is the perfect meal to eat while camping at Meramec Campground!

Things to do while staying at Meramec Campground!
There are lots of places to explore and things to do around Meramec Campground! Check out this list for ideas of what to do on your next camping trip!
🏞️ Natural Attractions
- Meramec Caverns (≈ 10 mins)
- A massive cave system offering guided tours, zip-lining, and riverboat rides.
- A massive cave system offering guided tours, zip-lining, and riverboat rides.
- Onondaga Cave State Park (≈ 25 mins)
- Another impressive cave system with beautiful underground formations and the Blue Heron Trail.
- Another impressive cave system with beautiful underground formations and the Blue Heron Trail.
- Huzzah Conservation Area (≈ 30 mins)
- Offers quiet hiking, birdwatching, and fishing in a more secluded setting.
- Offers quiet hiking, birdwatching, and fishing in a more secluded setting.
🍷 Local Wineries & Breweries
- Crescent Lake Winery (≈ 15 mins)
- Beautiful scenery and locally crafted wines; often hosts live music.
- Beautiful scenery and locally crafted wines; often hosts live music.
- The Brew House in Sullivan (≈ 10 mins)
- Great spot to grab a local beer and burger after a day outdoors.
- Great spot to grab a local beer and burger after a day outdoors.
🏛️ Historic & Cultural Sites
- Route 66 State Park (≈ 45 mins)
- Learn about the history of the Mother Road, with hiking trails and a visitor center.
- Learn about the history of the Mother Road, with hiking trails and a visitor center.
- Sullivan Area Historical Museum (≈ 10 mins)
- Small but interesting museum for local history buffs.
- Small but interesting museum for local history buffs.
👨👩👧👦 Family Fun
- Purina Farms (≈ 35 mins)
- A great family outing with animal exhibits, pet shows, and farm activities (seasonal).
- A great family outing with animal exhibits, pet shows, and farm activities (seasonal).
- Shady Beach Campground & River Rentals (≈ 20 mins)
- If you want to float a different section of the river or picnic by the water.
- If you want to float a different section of the river or picnic by the water.
Have a fun day of exploring then come back and chill at Meramec Campground!
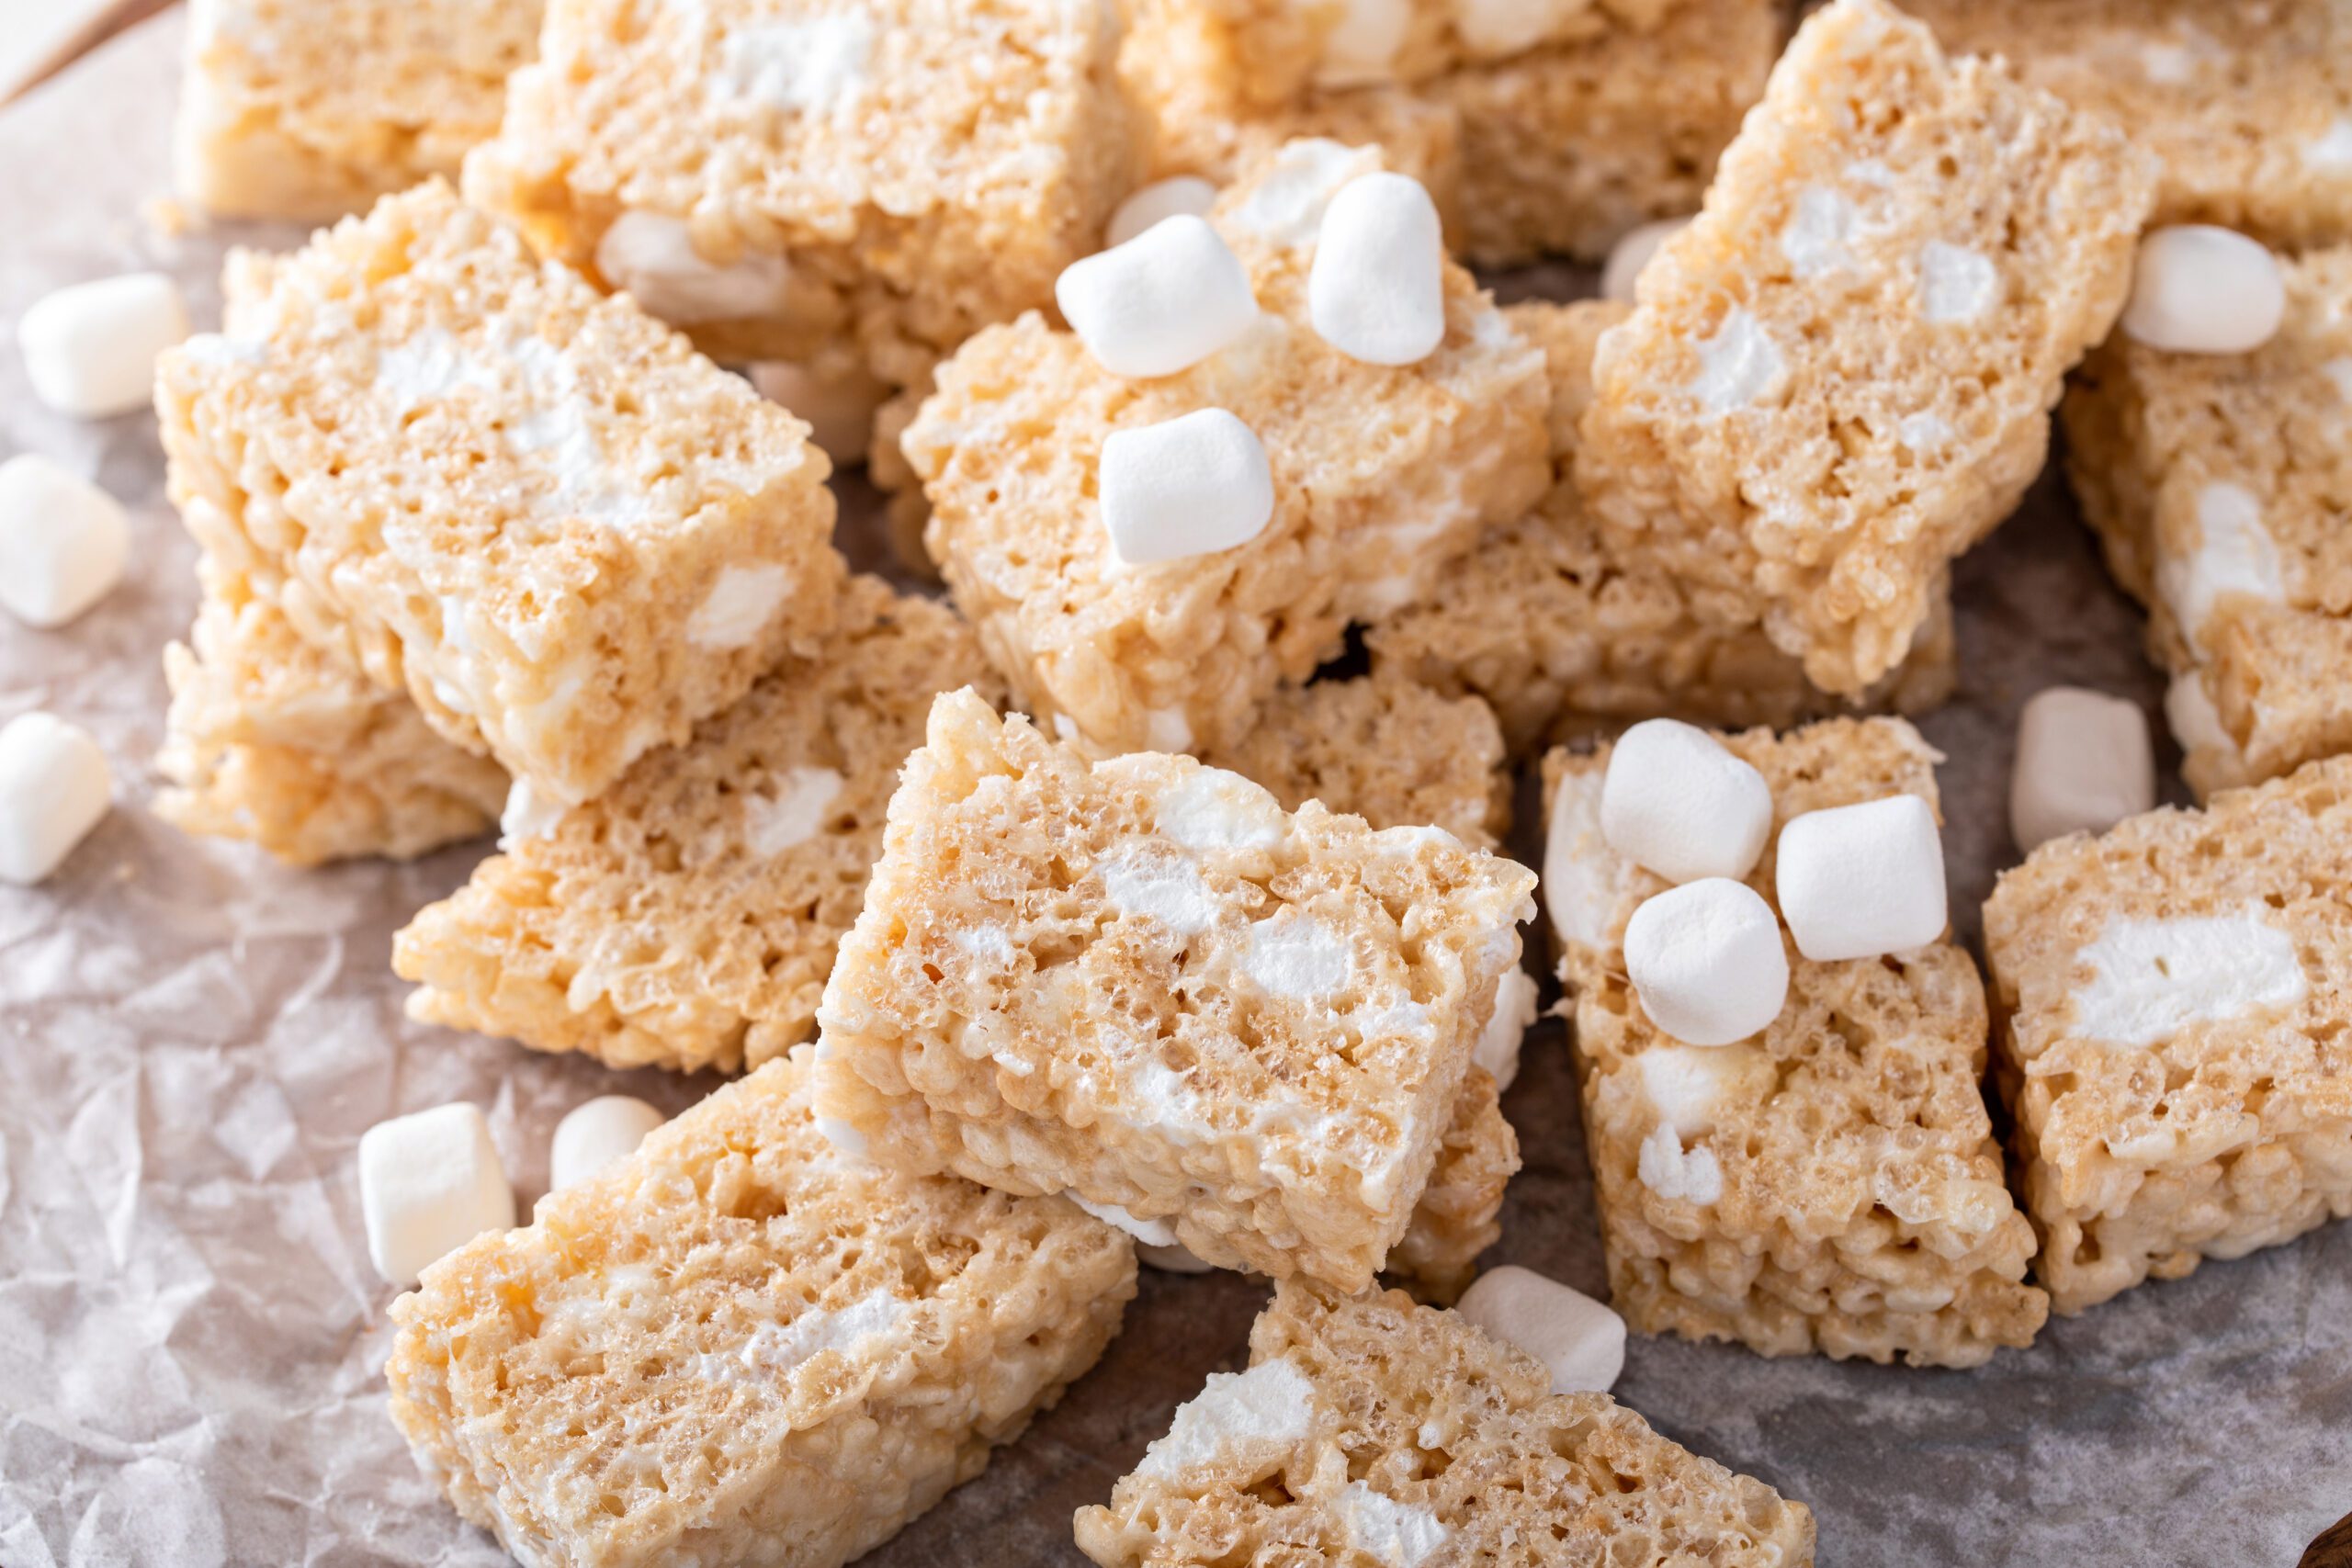
Marshmallow Rice Crispy Treats
This is the best simple marshmallow treat! It is perfect for campers of all ages and easy to store while camping!
Ingredients:
- 3 tablespoons butter
- 1 package (10 oz) mini marshmallows (or about 40 regular-sized marshmallow)
- 6 cups Rice Krispies cereal
- (Optional) 1/2 teaspoon vanilla extract
- (Optional) Pinch of salt
Instructions:
- Melt the butter in a large pot over low heat.
- Add the marshmallows and stir constantly until completely melted and smooth.
(If using, stir in vanilla and salt at this point.) - Remove from heat and quickly stir in the Rice Krispies cereal until evenly coated.
- Press into a greased 9×13-inch pan using a buttered spatula or wax paper.
- Cool completely, then cut into squares and serve!
Tips:
- For extra gooey treats, add an extra cup of marshmallows.
- Want to jazz it up? Add chocolate chips, drizzle with melted chocolate, or mix in sprinkles or crushed candy.
Try this recipe for your next camping trip to Meramec Campground!
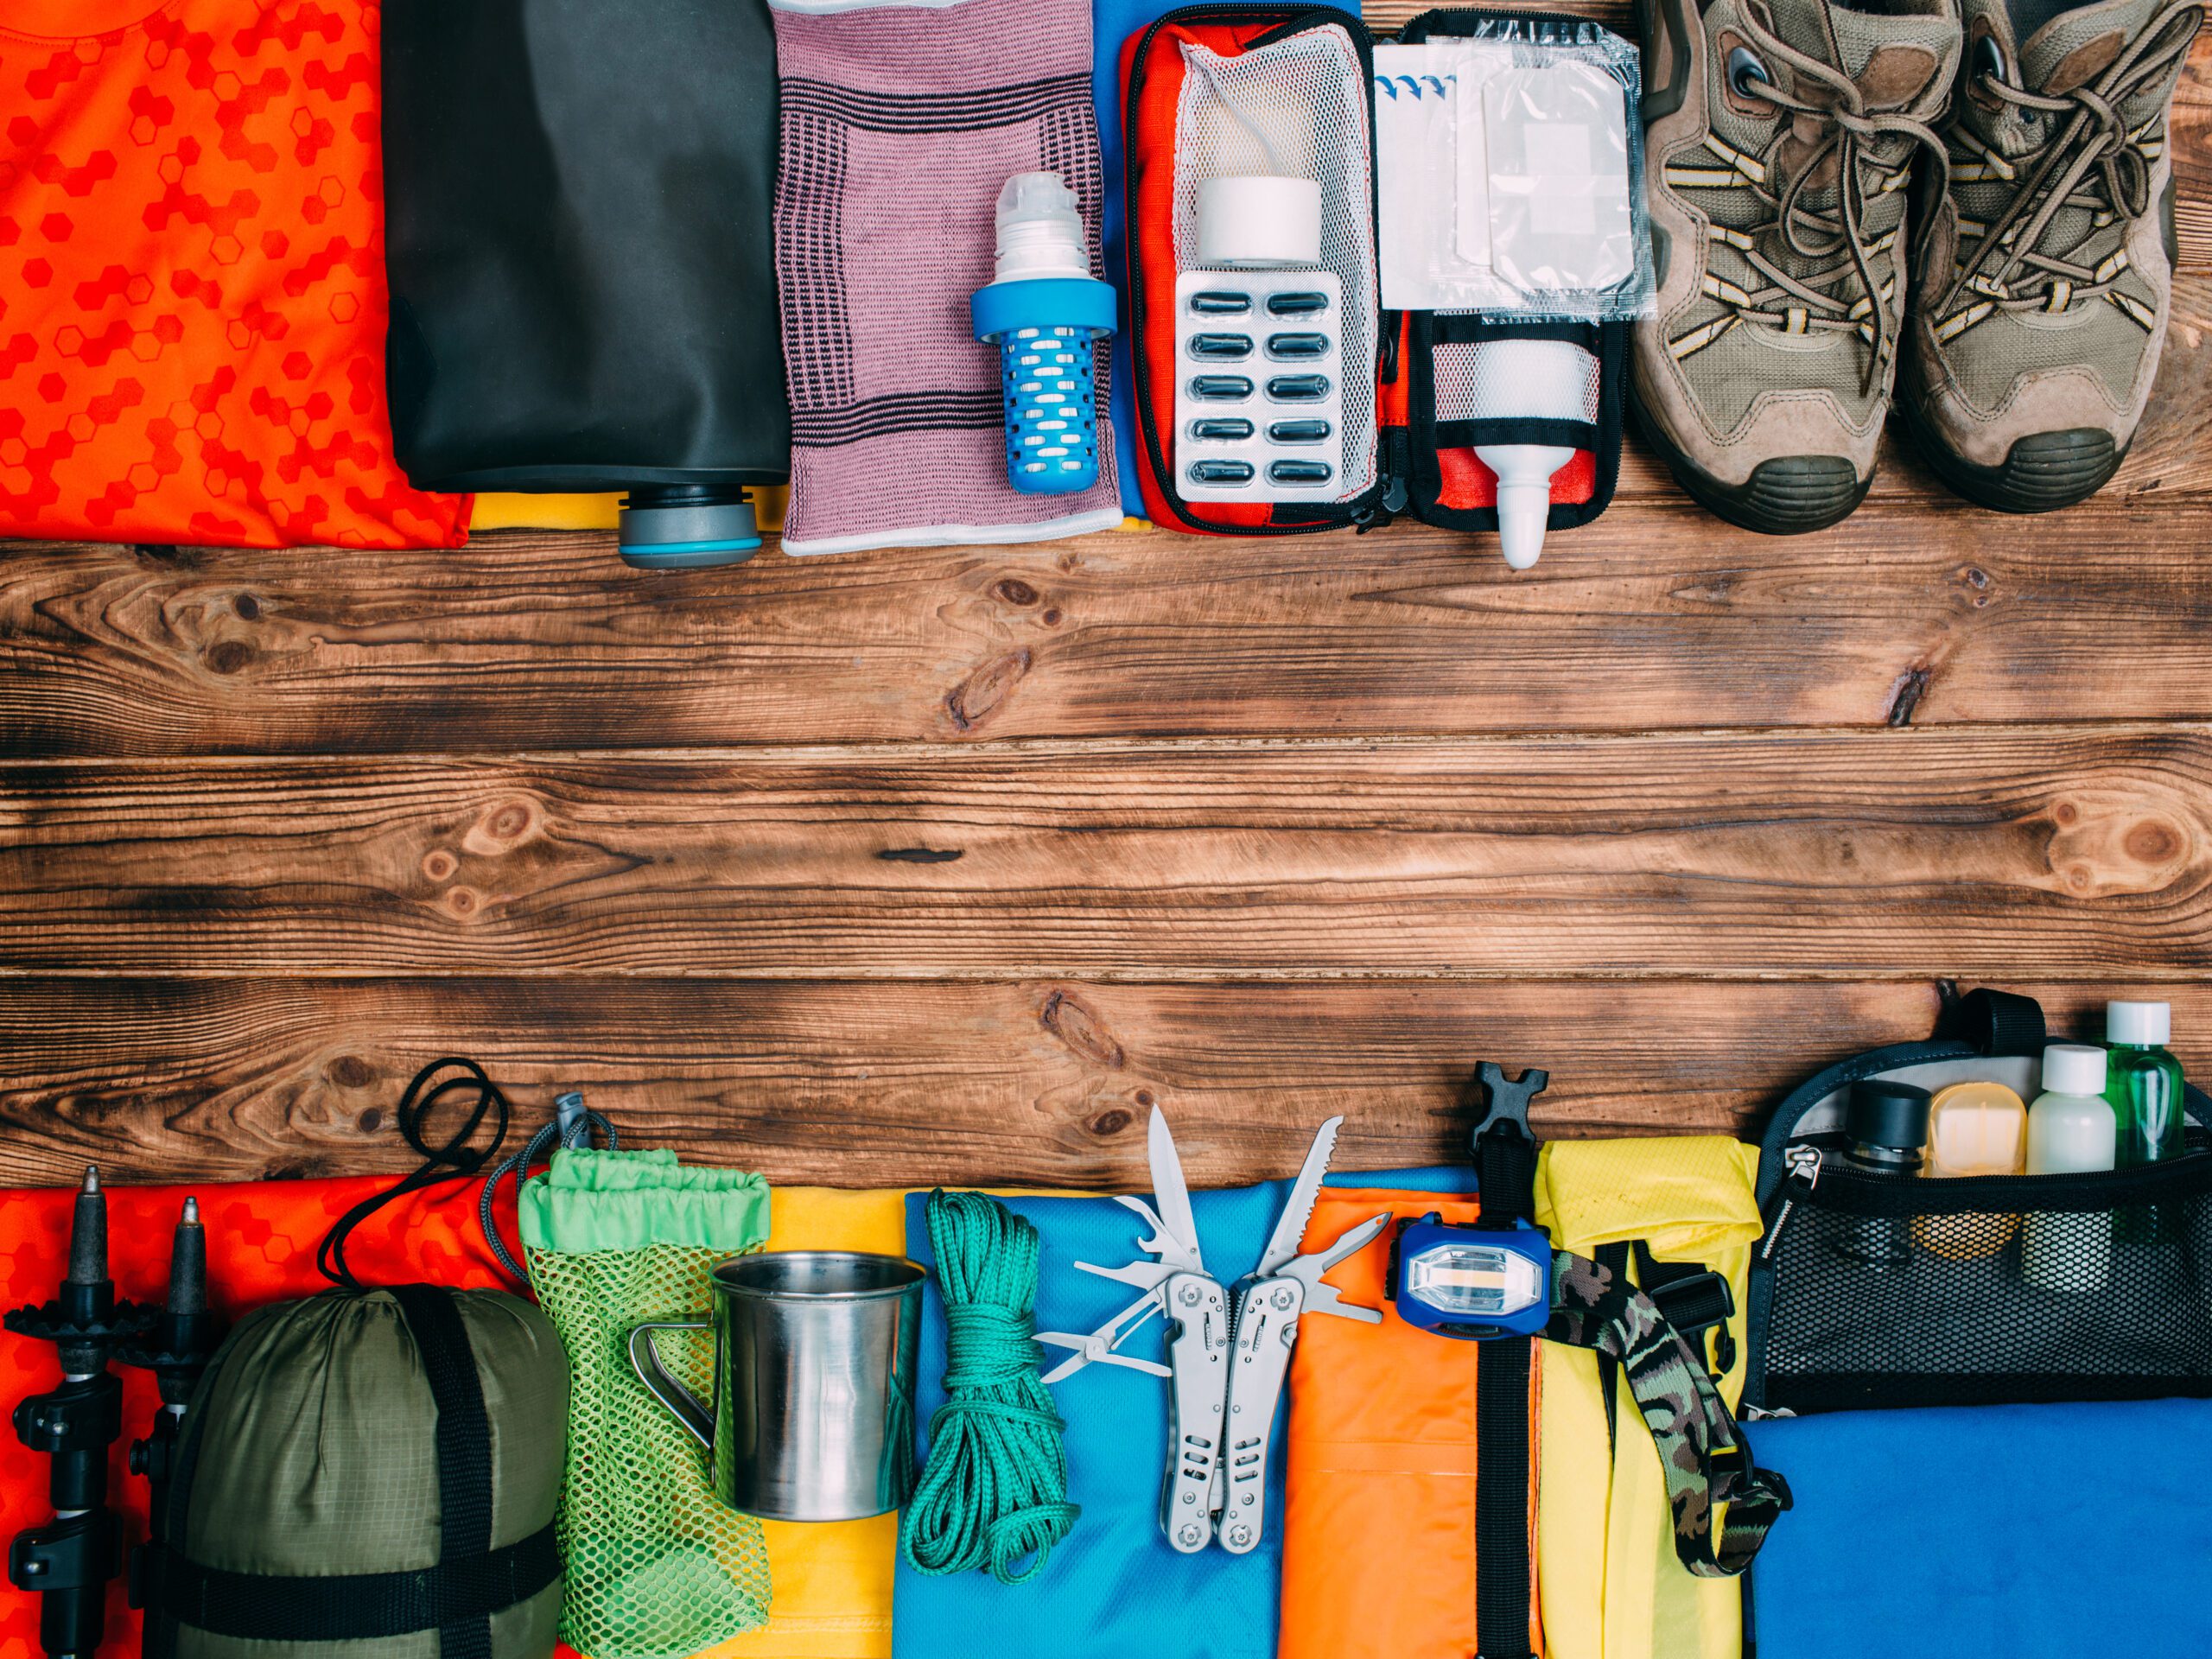
How to Pack Light For a Camping Trip
Packing light for a camping trip means bringing only the essentials while maximizing efficiency. Here’s how to do it:
1. Plan Ahead
- Check the weather forecast to determine what clothing and gear you actually need.
- Make a checklist to avoid overpacking.
2. Choose Multi-Purpose Items
- Clothing: Opt for moisture-wicking, quick-dry fabrics and dress in layers. A lightweight rain jacket can double as a windbreaker.
- Gear: A spork replaces a fork and spoon; a multi-tool covers various needs.
3. Minimize Clothing
- Bring one outfit per day, plus an extra set in case of emergencies.
- Limit footwear to one pair of hiking shoes and lightweight camp sandals.
- Use merino wool or synthetic materials for socks and underwear—they dry fast and don’t retain odors.
4. Use a Lightweight Shelter System
- A lightweight tent or hammock with a rainfly saves space.
- If the weather allows, consider a bivy sack or tarp instead of a full tent.
5. Opt for a Compact Sleep System
- A compressible sleeping bag and an inflatable sleeping pad take up less space than bulky alternatives.
6. Pack Efficiently
- Roll clothes instead of folding them to save space.
- Use packing cubes or dry bags to stay organized.
- Keep heavier items at the bottom of your backpack for better weight distribution.
7. Bring Only Essential Cooking Gear
- A small stove (like a Jetboil or pocket stove), one lightweight pot, and a spork are often enough.
- Opt for dehydrated meals or simple, non-perishable foods to cut down on cooking needs.
8. Carry a Small First-Aid Kit
- Only pack essentials like bandages, antiseptic wipes, pain relievers, and any personal medications.
9. Minimize Toiletries
- A travel-sized toothpaste, small biodegradable soap, and a microfiber towel are sufficient.
- Use multi-purpose wipes instead of bringing separate facial and body wipes.
10. Pack Smart with Water
- Instead of carrying multiple water bottles, bring a collapsible water bottle and a lightweight filter (like a Sawyer Mini or LifeStraw) to refill on the go.
Use this packing guide on your next trip to Meramec Campground!
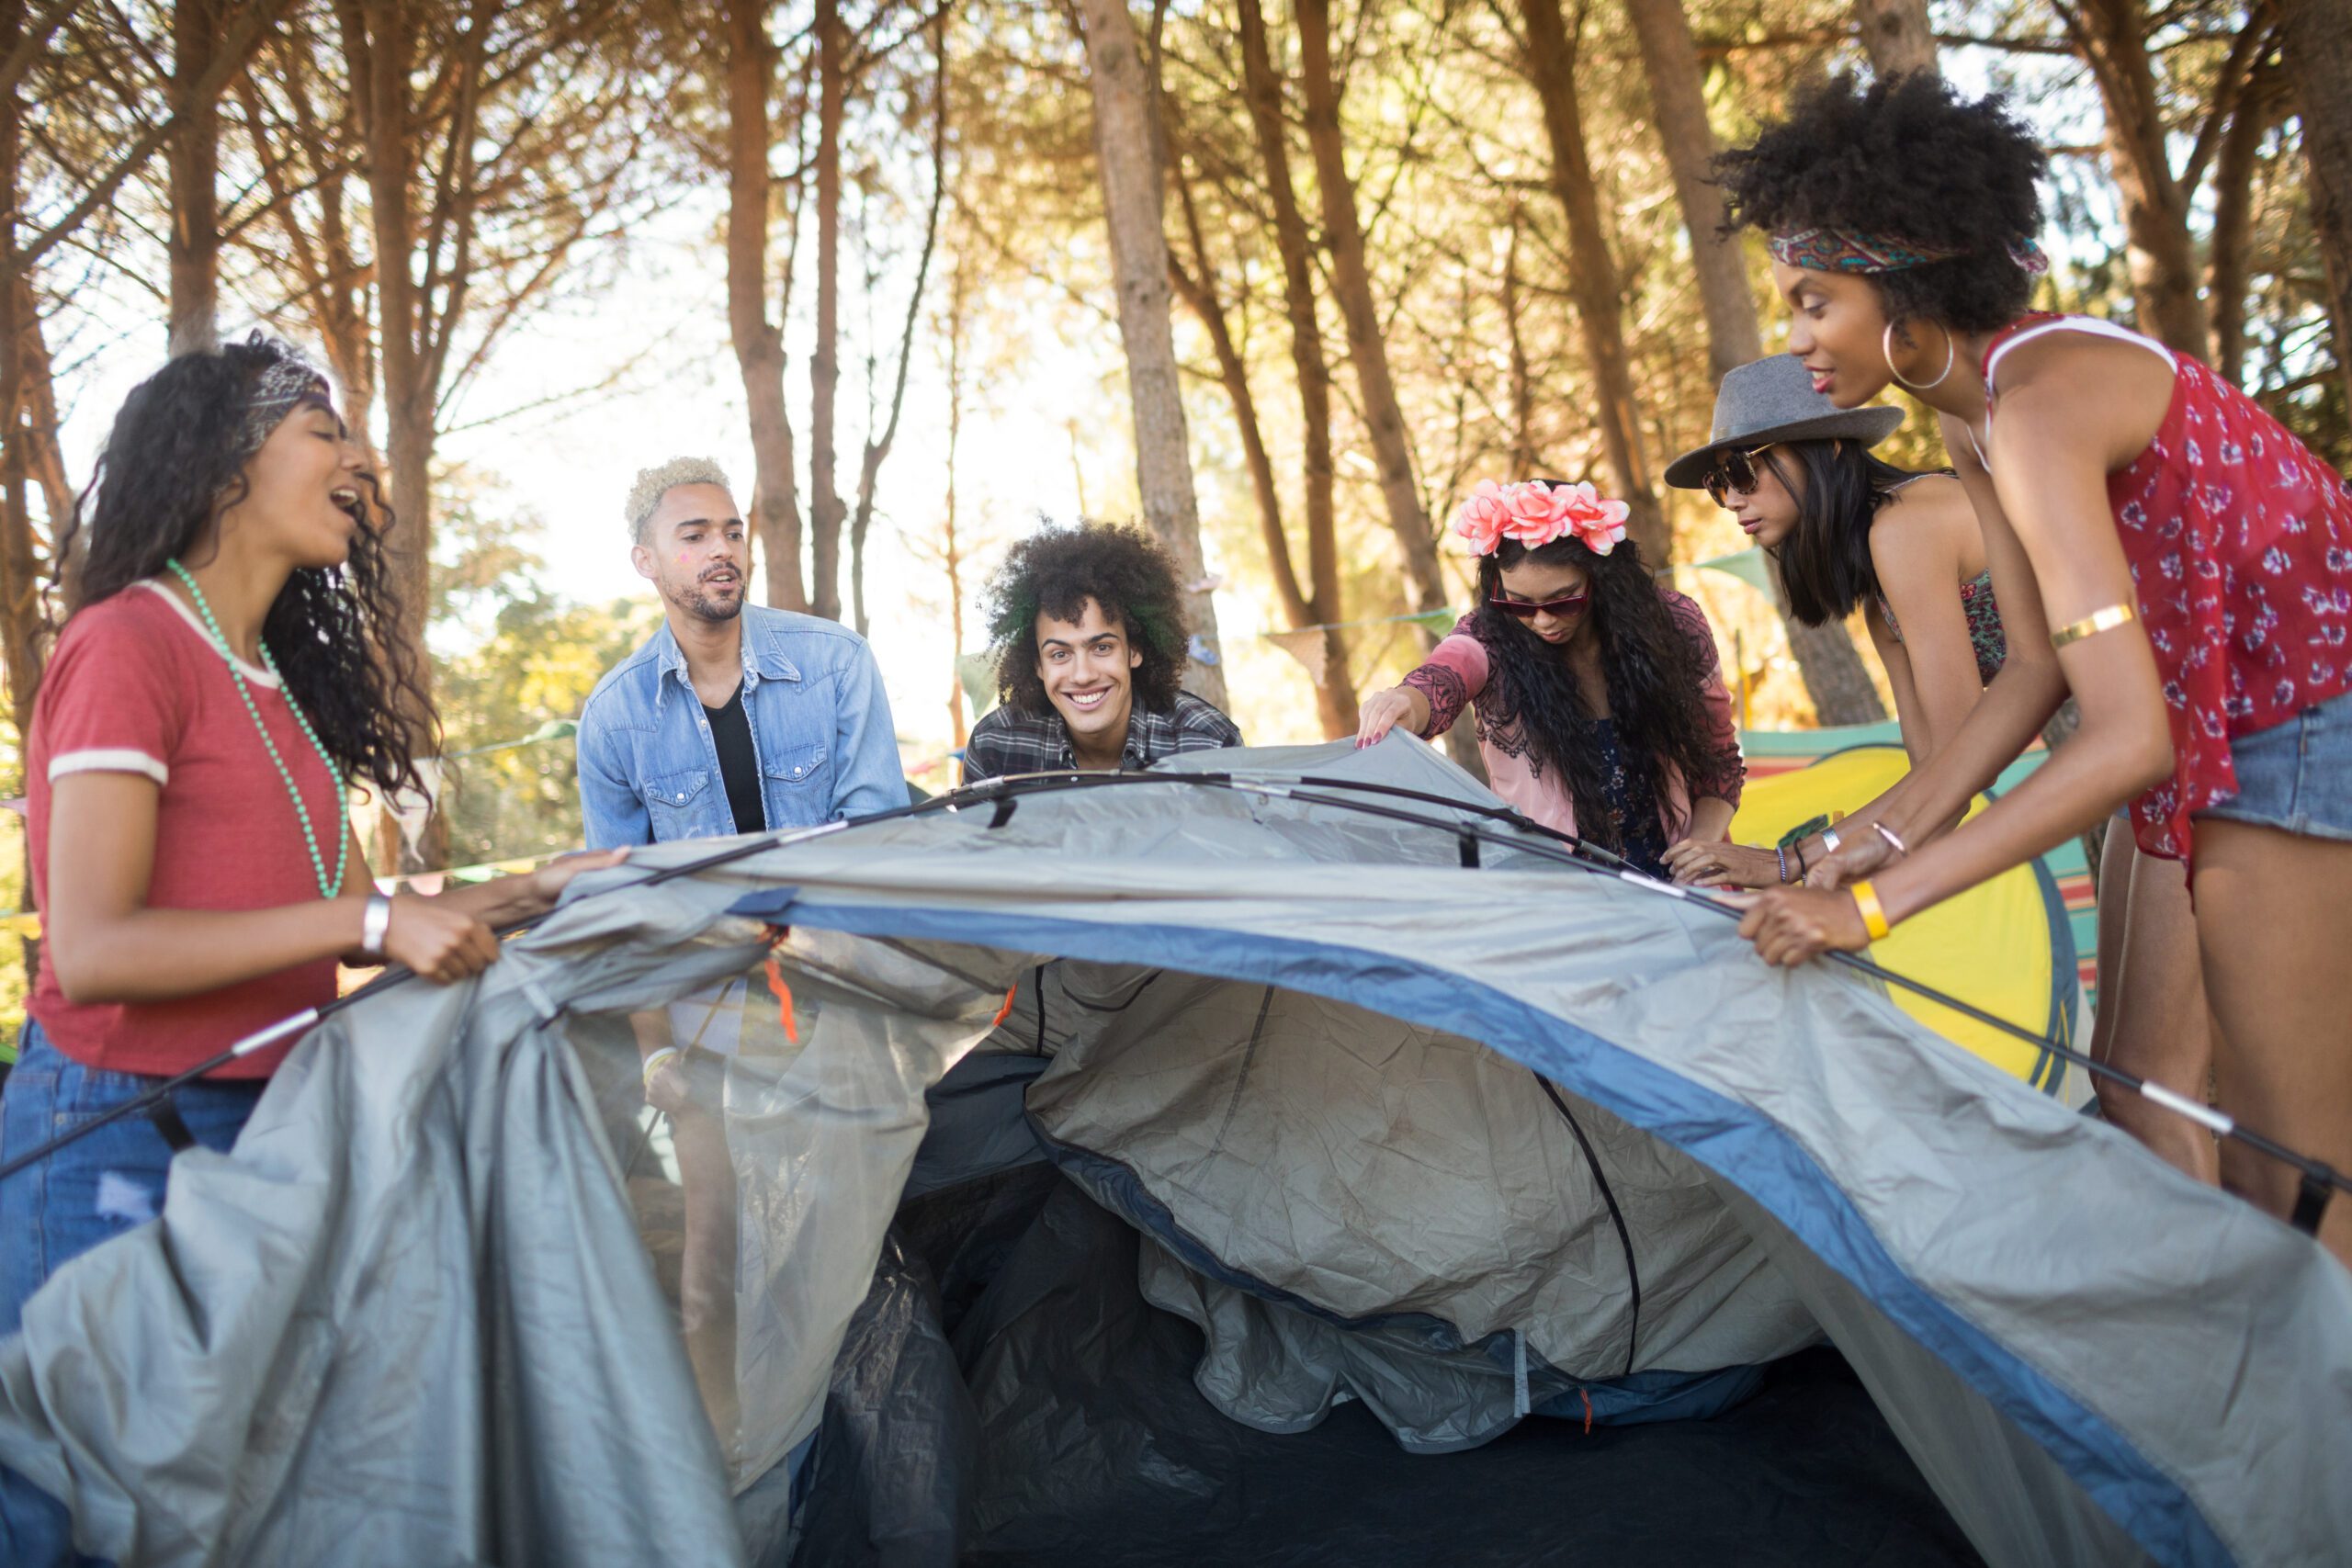
How to Choose the Right Size Tent When Taking Groups Camping!
Choosing the right size tent for group camping is essential for comfort and convenience. Here’s a guide to help you make the best choice:
1. Consider Group Size & Tent Capacity
- Tents are usually labeled by capacity (e.g., 4-person, 6-person, etc.), but this is often a tight fit.
- Rule of thumb: Choose a tent rated for 2 more people than your actual group for extra space.
- Example: If you have 4 people, opt for a 6-person tent for added comfort.
2. Sleeping Arrangements
- Are campers using sleeping bags or air mattresses?
- Sleeping bags take up less space.
- Air mattresses or cots require more room, so size up accordingly.
- Consider if people will need space for gear inside the tent.
3. Number of Tents vs. One Large Tent
- For large groups, multiple smaller tents (4-6 people each) might be better than one big tent.
- Smaller tents offer:
- More privacy
- Easier setup
- Less risk if one tent is damaged
4. Tent Height & Layout
- Cabin-style tents offer standing room and work well for longer trips.
- Dome tents are more compact and lightweight, ideal for backpacking.
- Tents with dividers create separate spaces for privacy.
5. Weather Considerations
- Choose a three-season tent for general camping (spring, summer, fall).
- In colder weather, ensure the tent has good insulation and a rainfly for extra protection.
- Ventilation is key for summer camping—look for tents with mesh windows and multiple doors.
6. Ease of Setup
- If camping with kids or beginners, choose a tent with simple assembly, like an instant tent or color-coded pole system.
- Larger tents may take two or more people to set up.
Use this guide to help you pick the right tent before your next camping trip at Meramec Campground!
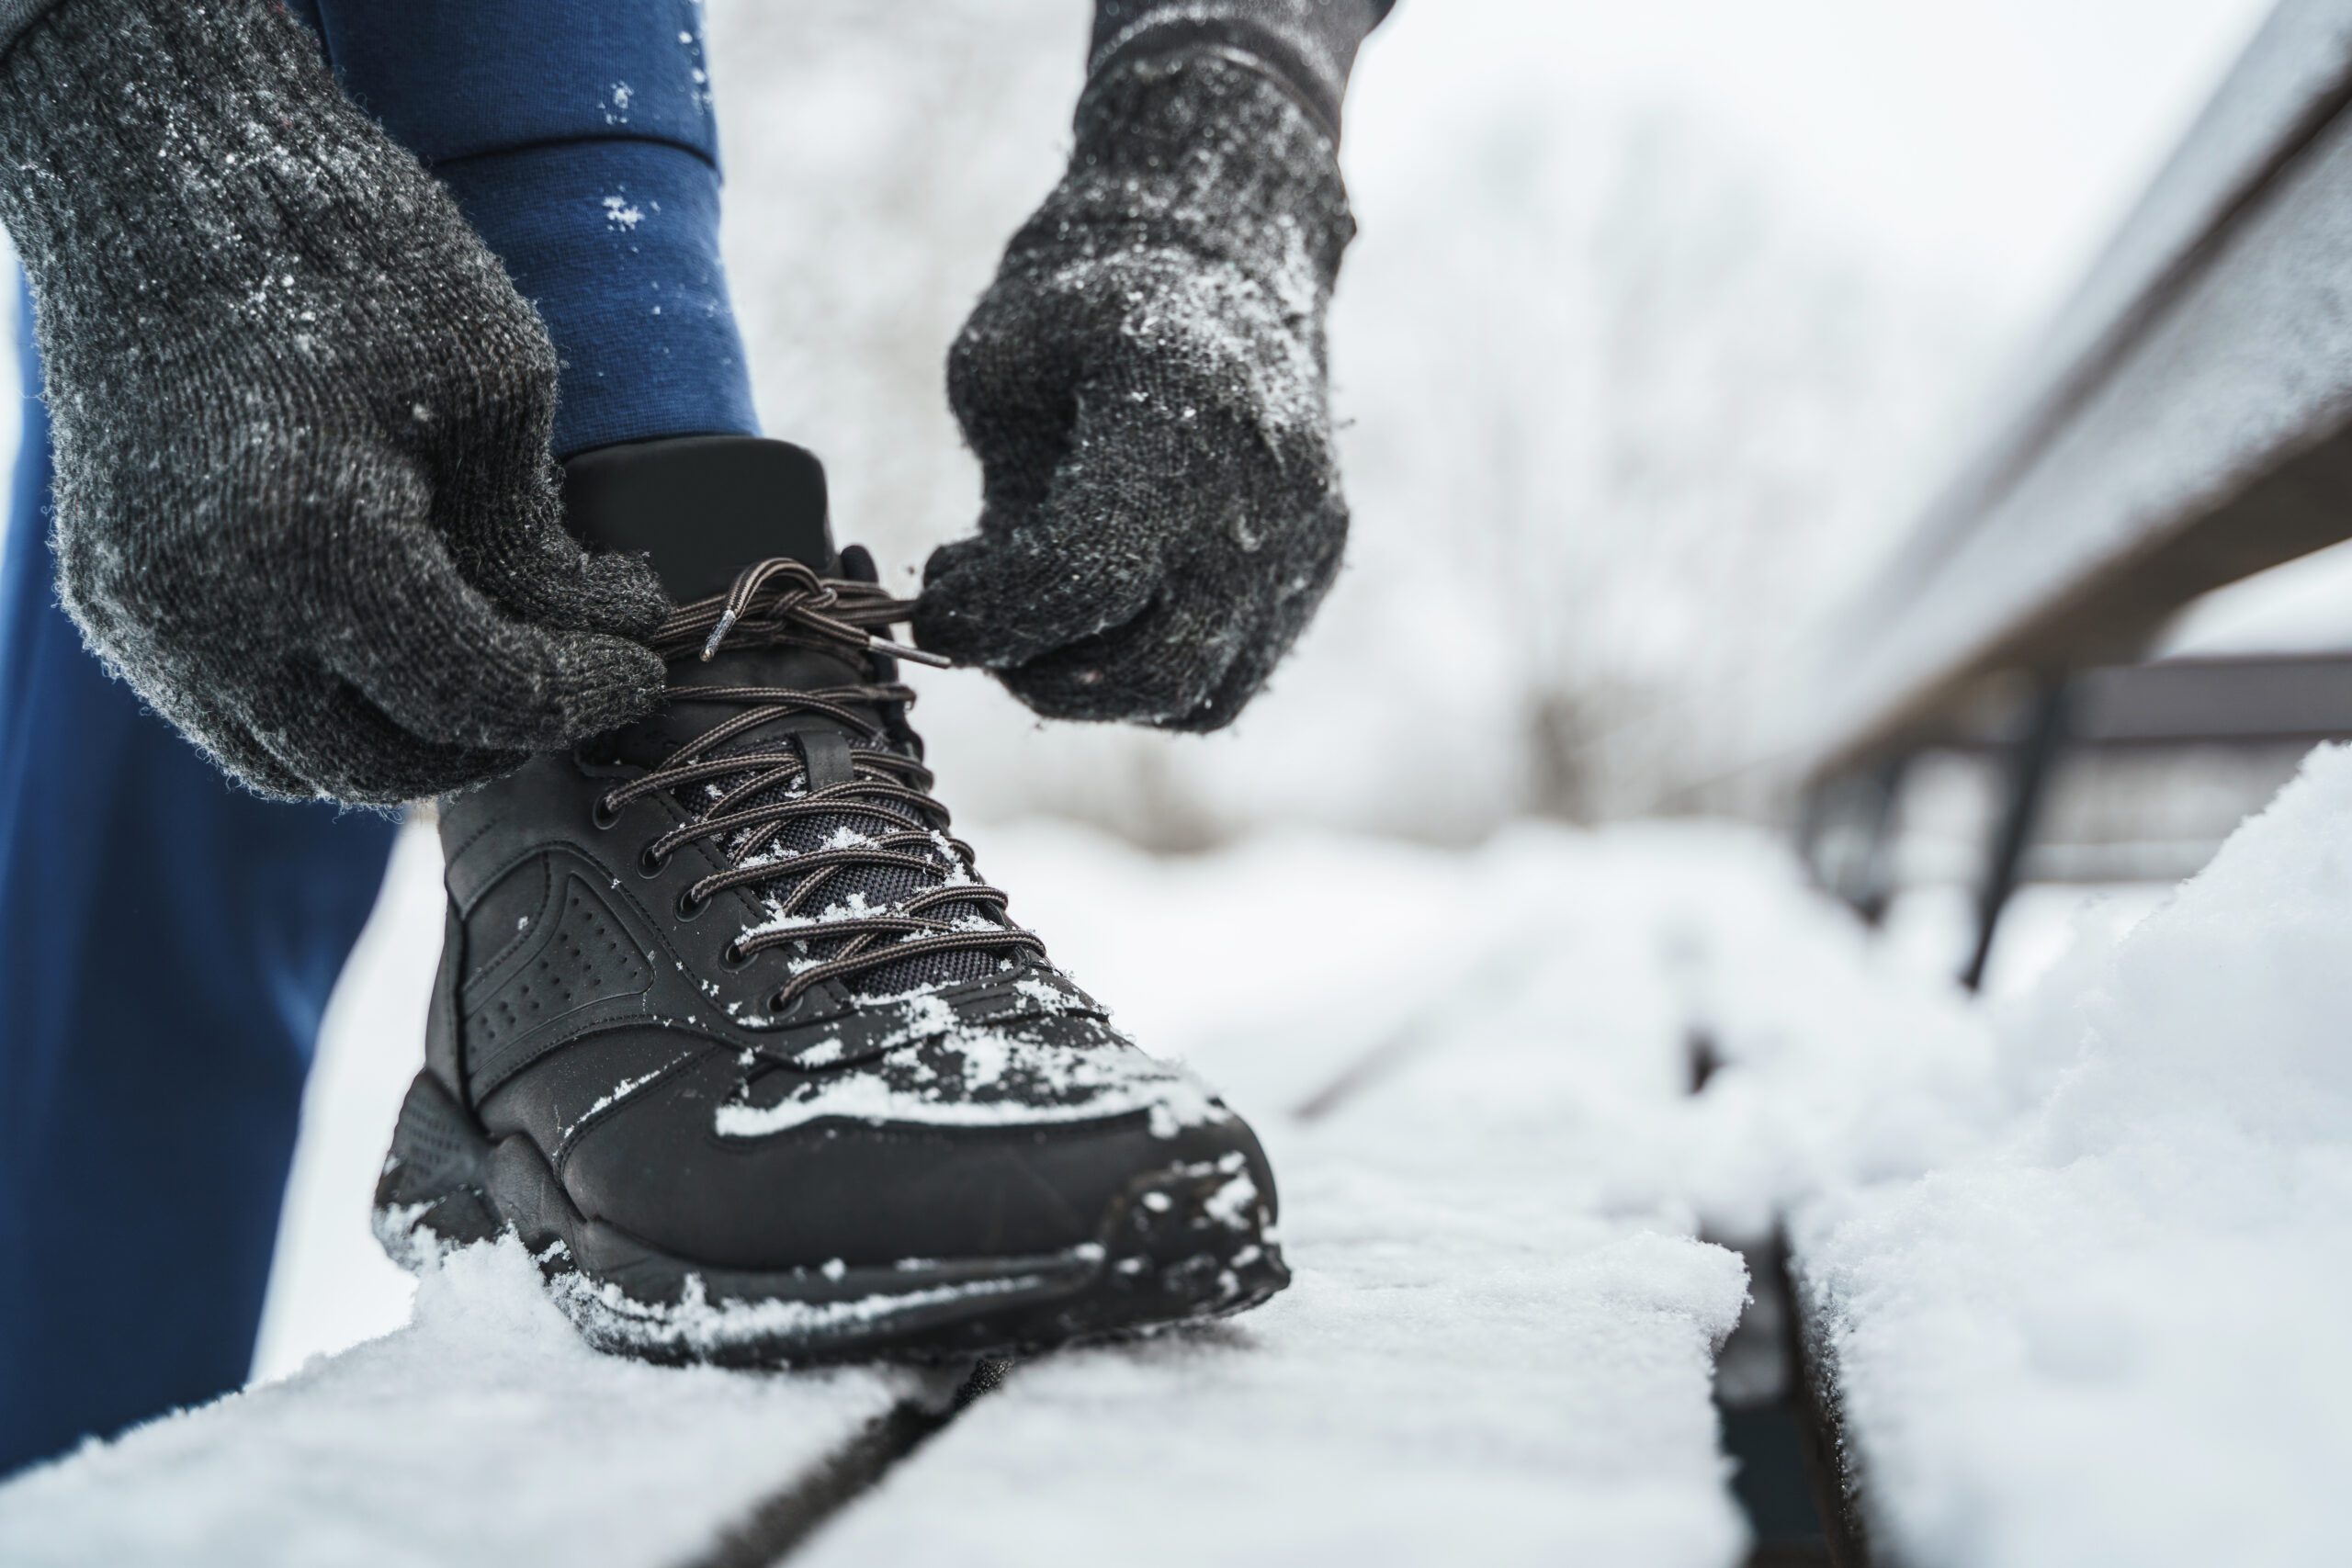
Top Winter Hiking Boots to Hike In for 2025
Here are the top-rated winter hiking boots for 2025, based on expert testing and reviews:
1. Best Overall: Danner Arctic 600
- Pros: Excellent traction, warmth, and waterproofing
- Cons: Side zip can be a weak point
- Key Features: Vibram Arctic Grip outsole, 200g Primaloft insulation, B-Dry waterproof membrane
- Why It Stands Out: Offers a perfect balance of grip, warmth, and comfort for winter trails
outdoorlife.com
.
2. Best Value: Oboz Bangtail
- Pros: Great protection, slightly cheaper than the Arctic 600
- Cons: Not quite as grippy as the Arctic 600
- Key Features: Vibram Arctic Grip outsole, beefy toe guard, no side zip for better durability
- Why It Stands Out: Offers excellent quality at a lower price, making it a solid alternative
outdoorlife.com
.
3. Best Lightweight: Merrell Thermo Rogue
- Pros: Lightweight yet warm
- Cons: Insulation weakens in extremely cold water
- Key Features: Vibram Arctic Grip All-Terrain outsole, GORE-TEX waterproofing, 200g Primaloft Gold insulation
- Why It Stands Out: A great option for hikers who want to reduce foot fatigue while still staying warm and dry
outdoorlife.com
.
4. Best for Traction: Salomon Cross Hike 2 Mid GORE-TEX
- Pros: Durable, high-traction outsole, lightweight
- Cons: Less insulation compared to heavier boots
- Key Features: GORE-TEX waterproofing, trail-shoe-like fit with boot support
- Why It Stands Out: Provides excellent grip and agility for winter hiking on icy trails
gearjunkie.com
.
5. Best Minimalist: Xero Alpine Boot
- Pros: Lightweight, warm, and fully vegan-friendly
- Cons: Less ankle support than traditional winter boots
- Key Features: Zero-drop design, 200g insulation, water-resistant membrane
- Why It Stands Out: Ideal for hikers looking for a more natural foot movement experience in winter conditions
gearjunkie.com
.
6. Best Budget Option: Merrell Thermo Chill Mid WP
- Pros: Affordable, good insulation, and waterproof
- Cons: Less aggressive traction compared to premium boots
- Key Features: 200g insulation, compression-molded EVA midsole, 5mm lugs for traction
- Why It Stands Out: A solid budget-friendly boot with decent protection and warmth
sectionhiker.com
These boots are ranked based on insulation, grip, weight, and overall winter performance. These are all great hiking options for hiking at Meramec Campground!
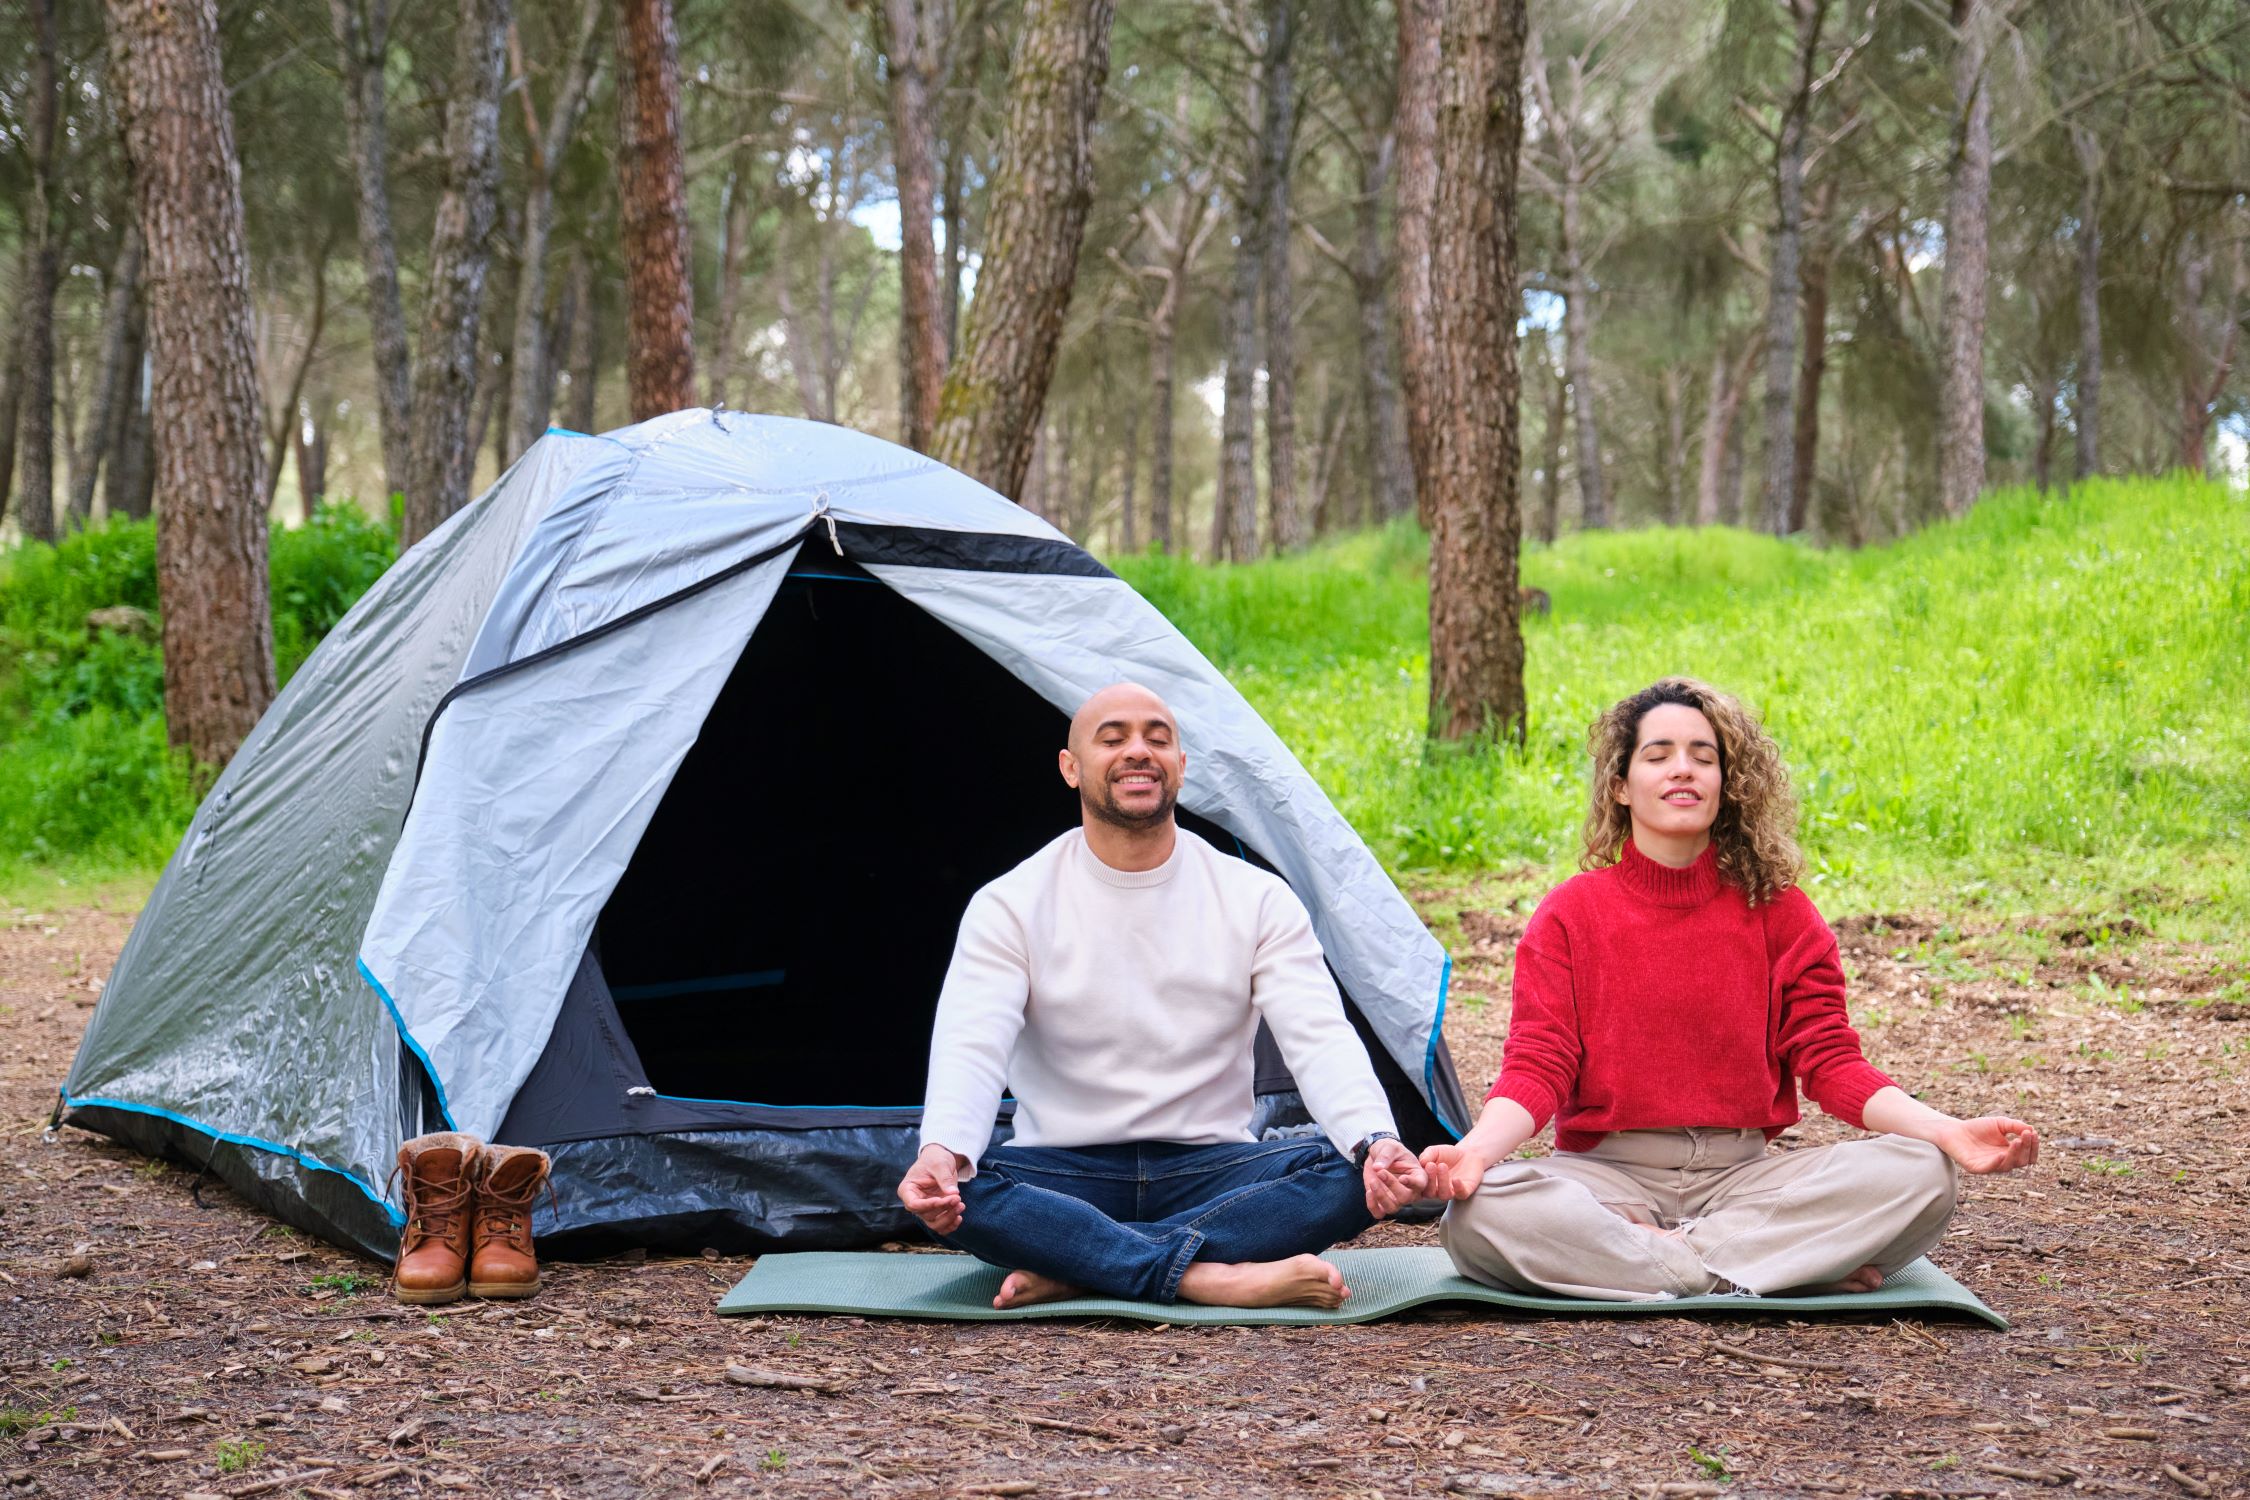
Benefits of Camping for Mental Health: Nature’s Healing Abilities
In today’s busy world, mental health is a big concern. Many people feel stressed, anxious, or depressed. One simple way to feel better is camping. Spending time in nature helps us relax and heal.
How Nature Helps Mental Health
Studies show that being in nature is good for our mental health. Green spaces and natural views lower stress and make us feel happier. Sunlight gives us vitamin D, which helps fight depression. The sounds of nature, like leaves rustling or water flowing, calm our minds and help us feel peaceful.
Why Camping is Good for You
Camping has many benefits for mental health:
- Take a Break from Technology: Turning off screens and notifications helps you focus on the moment. It reduces stress and helps you sleep better.
- Move Your Body: Activities like hiking, setting up a tent, or paddling a canoe make you feel good by releasing happy chemicals in your body.
- Connect with Others: Camping with family or friends builds strong relationships and helps you feel less alone.
- Enjoy the Present: Camping slows things down. Watching a campfire or listening to birds helps you relax and clear your mind.
Tips for a Relaxing Camping Trip
To get the most out of camping for your mental health, try these tips:
- Pick a Quiet Spot: Choose a peaceful place like a forest, lake, or mountain.
- Plan Fun Activities: Do things that make you happy, like stargazing or fishing.
- Pack Smart: Don’t bring too much stuff. Focus on the basics.
- Stay in the Moment: Leave work and worries at home. Enjoy the experience.
- Go with Good Company: Camp with people who make you feel comfortable and happy.
Feel Better with Camping
Camping is a natural way to improve your mental health. Being in nature helps you relax, recharge, and reconnect with yourself. Whether it’s a quick weekend trip or a longer adventure, camping can make a big difference for your mind.
So grab your camping gear, find a great spot at Meramec Campground, and let nature work its magic. Your mental health is worth it!
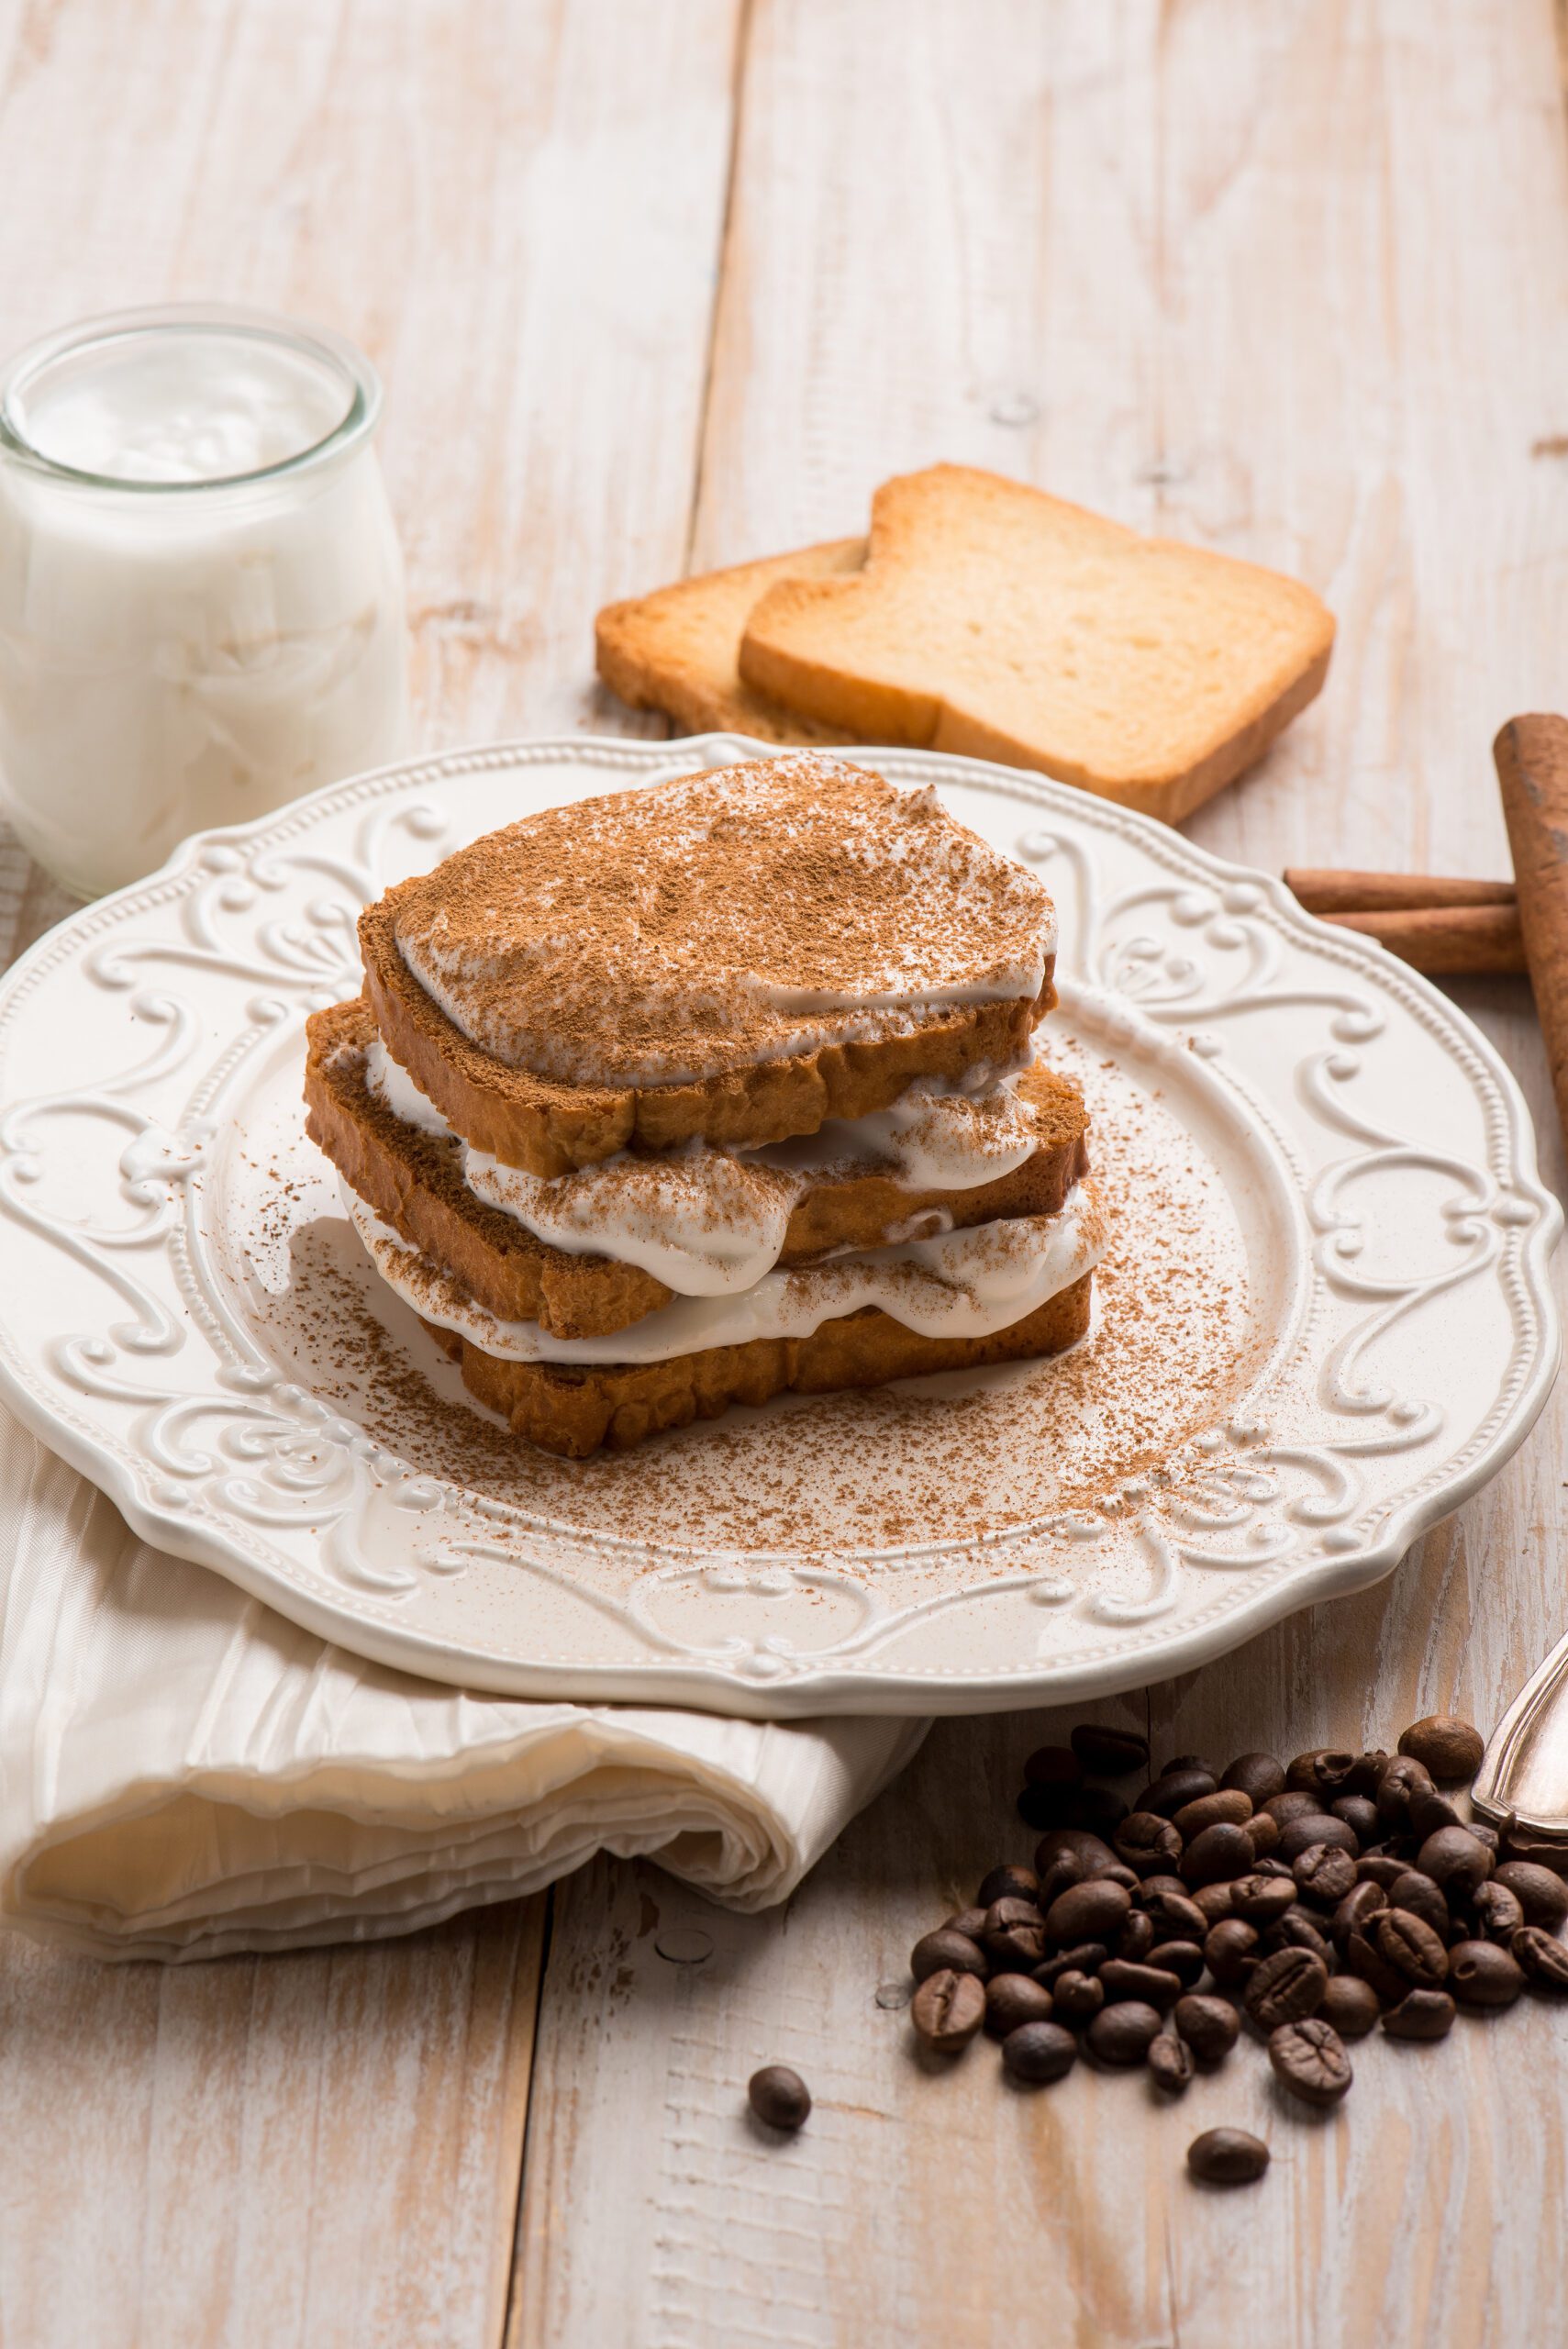
Eggnog French Toast Recipe
This is a simple and festive holiday breakfast recipe! If you like eggnog, why not add it to your French toast to spice things up for the holiday? Here’s how to get started:
Servings: 4
Prep Time: 10 minutes
Cook Time: 15 minutes
Ingredients:
- 8 slices of bread (preferably thick-cut like brioche, challah, or Texas toast)
- 1 cup eggnog
- 3 large eggs
- 1 tsp ground cinnamon
- 1/2 tsp ground nutmeg
- 1 tsp vanilla extract
- 2 tbsp unsalted butter (for frying)
- Optional toppings: powdered sugar, whipped cream, maple syrup, fresh berries, or chopped nuts
Instructions:
- Prepare the Batter:
- In a shallow bowl or pie dish, whisk together the eggnog, eggs, cinnamon, nutmeg, and vanilla extract until smooth.
- Heat the Pan:
- Heat a large skillet or griddle over medium heat. Add 1/2 tablespoon of butter and let it melt, swirling to coat the surface.
- Dip the Bread:
- Dip a slice of bread into the eggnog mixture, allowing it to soak for about 5 seconds on each side. Let the excess drip off.
- Cook the French Toast:
- Place the soaked bread on the hot skillet and cook until golden brown, about 2-3 minutes per side. Repeat with remaining bread slices, adding more butter as needed.
- Serve:
- Serve warm with your favorite toppings such as a dusting of powdered sugar, a dollop of whipped cream, and a drizzle of maple syrup.
Enjoy this festive breakfast treat at Meramec Campground with a hot cup of coffee or cocoa!
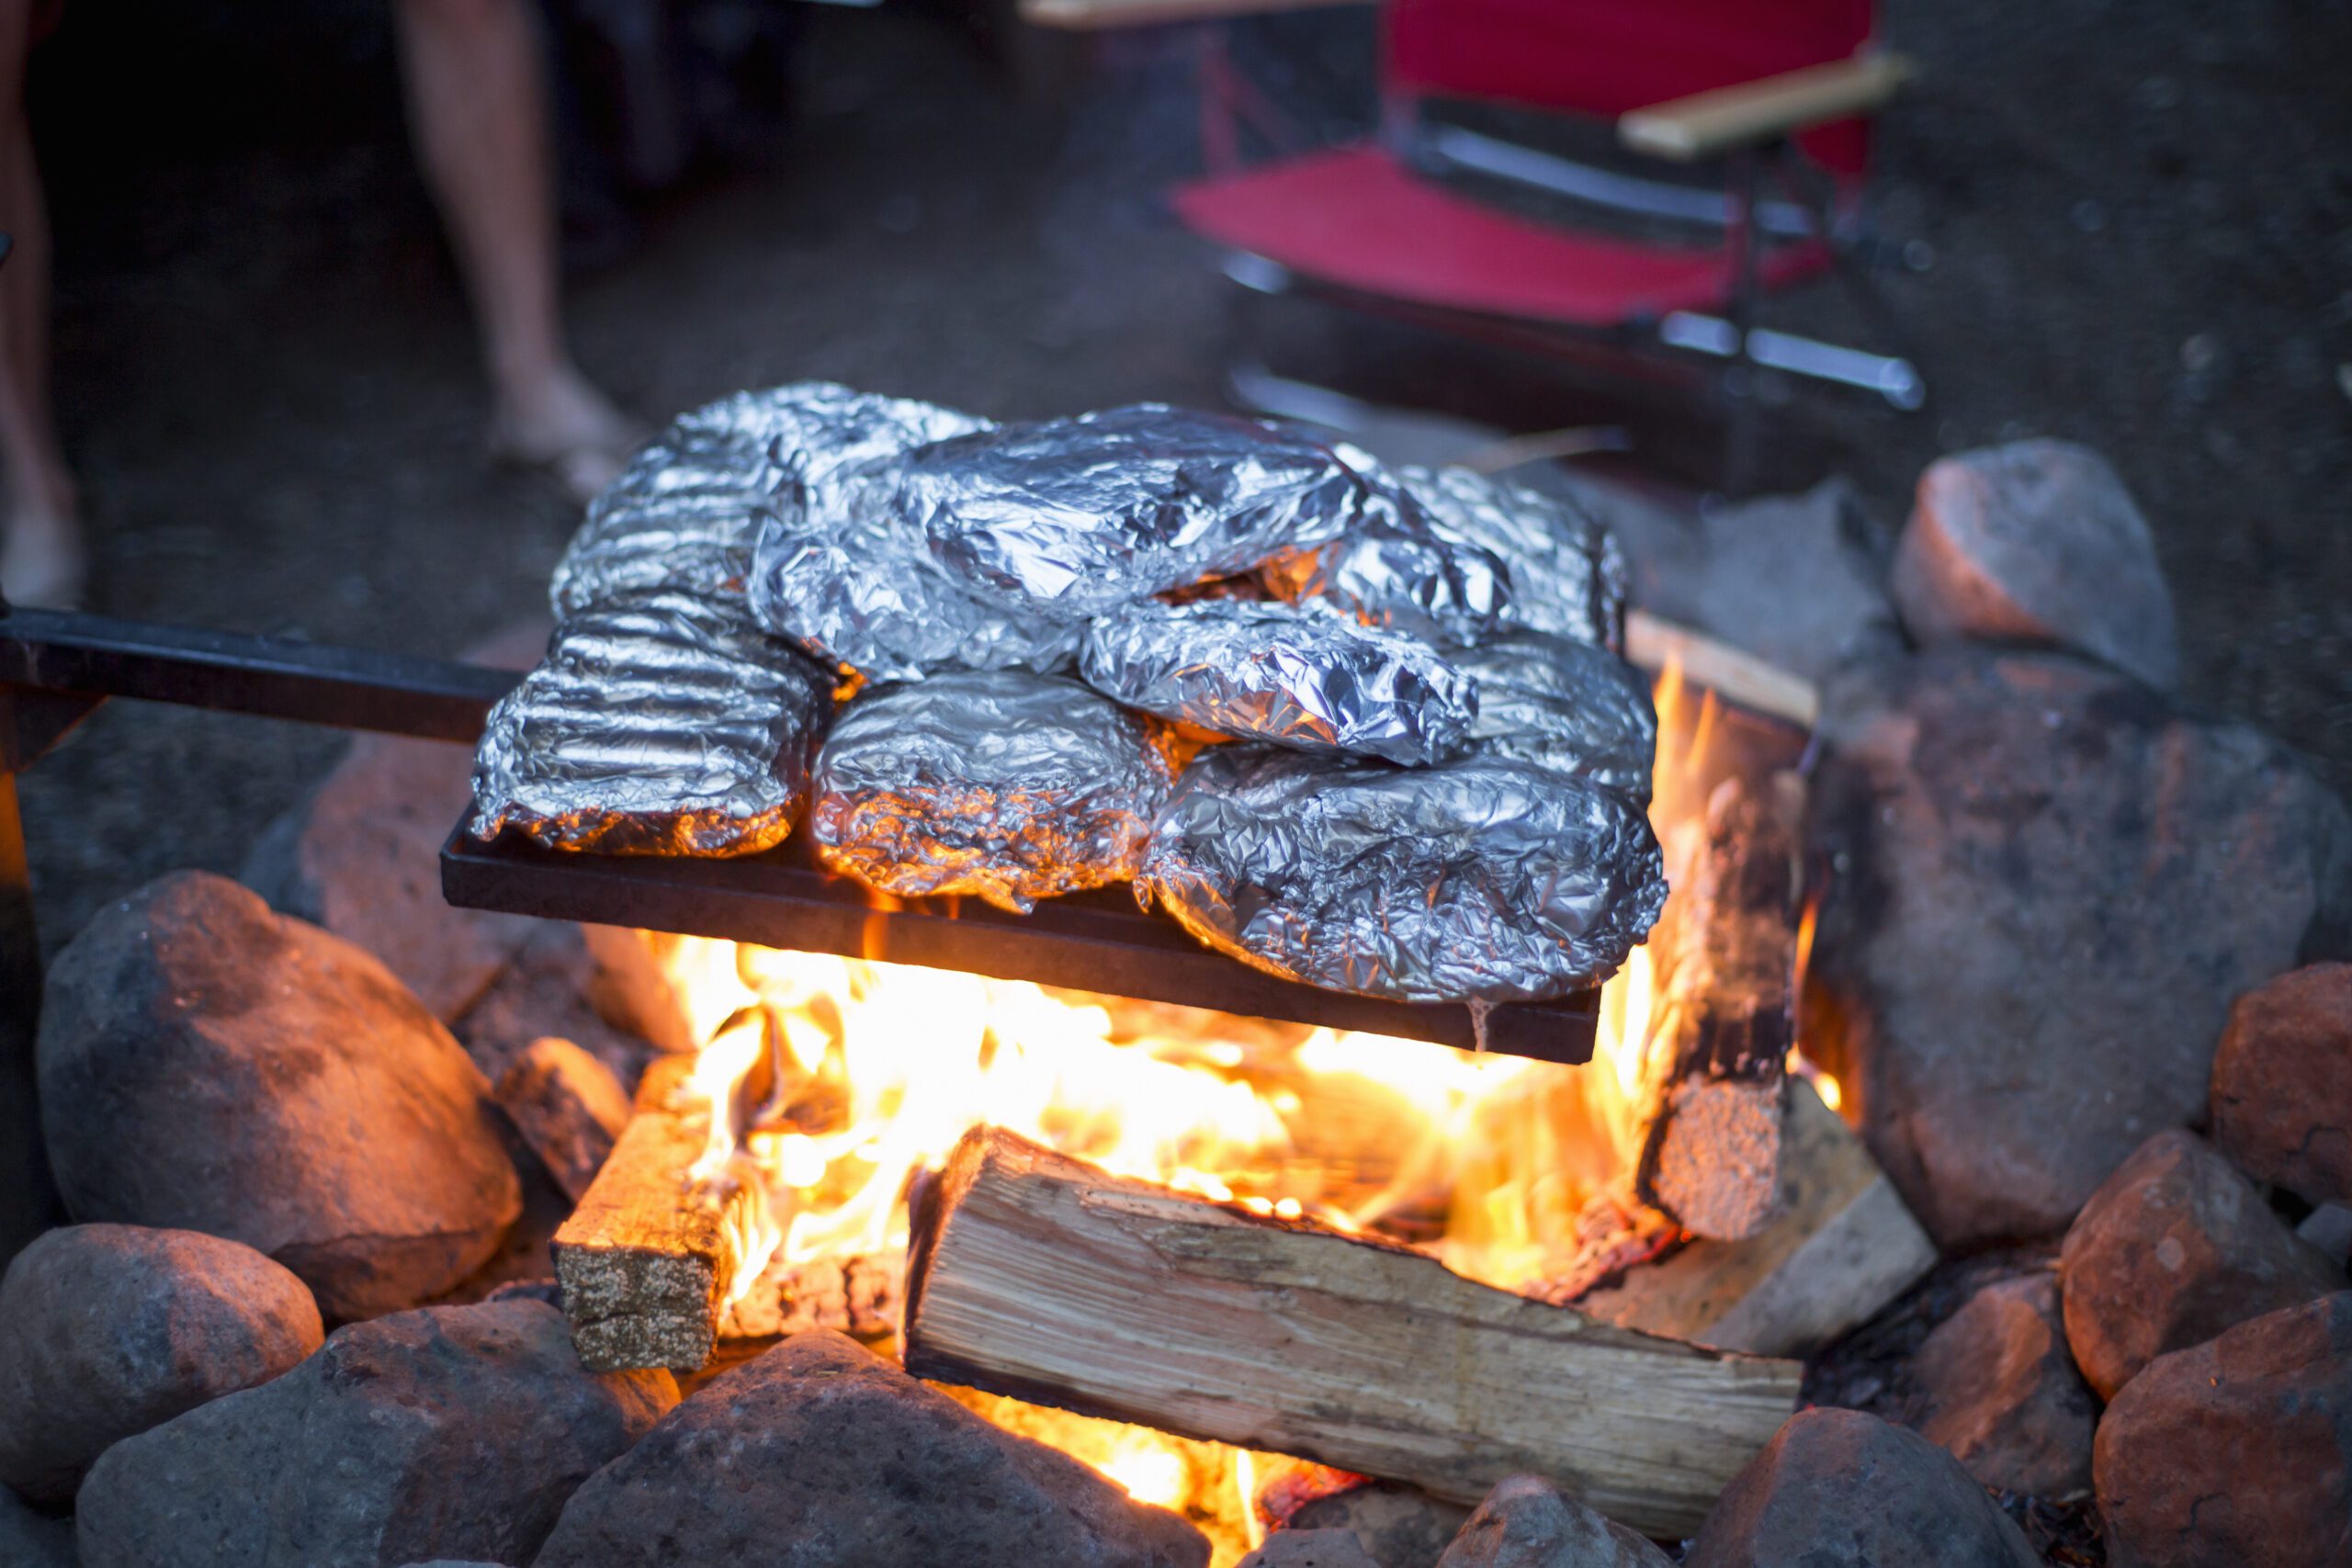
Foil Packet Stuffing
Foil packet stuffing is a convenient and flavorful way to prepare a delicious side dish while camping or cooking outdoors. Here’s a simple and tasty recipe for foil packet stuffing:
Ingredients:
- 1 package (6 oz) stuffing mix (such as chicken or herb flavor)
- 1 cup chicken or vegetable broth
- 1 cup cooked chicken, diced (optional, for added protein)
- 1 cup chopped vegetables (e.g., carrots, celery, onions, bell peppers)
- 2 tablespoons butter or olive oil
- 1 teaspoon dried sage
- 1 teaspoon dried thyme
- Salt and pepper to taste
Instructions:
- Prepare the Foil:
- Tear off a large sheet of heavy-duty aluminum foil, about 18-20 inches long. Fold it in half to make it double-thick.
- Mix the Stuffing:
- In a large bowl, combine the stuffing mix, chicken or vegetable broth, and dried herbs (sage and thyme). If you’re adding cooked chicken and vegetables, mix them in as well.
- Stir in the butter or olive oil. Mix everything together until the stuffing is evenly coated and the broth is absorbed.
- Assemble the Packet:
- Place the stuffing mixture in the center of the foil sheet, spreading it out evenly.
- Fold the sides of the foil up to create a sealed packet. Crimp the edges together to ensure it’s tightly sealed, so the steam can cook the stuffing properly.
- Cook the Packet:
- Campfire Method: Place the foil packet on a grill grate or directly on hot coals. Cook for about 20-30 minutes, depending on the heat of the fire and the thickness of the packet. Rotate occasionally to ensure even cooking.
- Grill Method: Preheat your grill to medium heat. Place the foil packet on the grill and cook for about 20-30 minutes, turning occasionally.
- Oven Method: Preheat your oven to 375°F (190°C). Place the foil packet on a baking sheet and bake for 20-30 minutes.
- Check for Doneness:
- Carefully open the foil packet (watch out for steam) and check if the stuffing is cooked through. The stuffing should be moist and tender. If it needs more time, reseal the packet and cook for an additional 5-10 minutes.
- Serve:
- Once done, open the packet and fluff it with a fork. Serve it straight from the packet or transfer it to a serving dish.
Tips:
- You can customize the stuffing by adding other ingredients like chopped nuts, dried fruit, or different herbs and spices according to your taste.
- If you’re cooking for a group, you can prepare multiple packets and cook them simultaneously.
Foil packet stuffing is an easy and flavorful option for outdoor cooking at Meramec Campground, and it makes cleanup a breeze!

The Spooky Legends of Meramec, Missouri
Meramec and Sullivan, Missouri, are rich with spooky legends and eerie tales that have been passed down for generations. Here are a few chilling stories from the area. Read on if you dare!
The Haunted Meramec Caverns
Meramec Caverns, a famous cave system near Sullivan, is known not only for its natural beauty but also for its haunted history. Visitors and employees have reported seeing ghostly apparitions, hearing disembodied voices, and feeling cold spots throughout the caves. One of the most popular legends involves the spirit of Jesse James, the infamous outlaw who is rumored to have used the caverns as a hideout. Some claim that the ghost of Jesse James or his gang members still roam the caverns, protecting their hidden treasure.
The Screaming Woods of Meramec State Park
Meramec State Park, with its dense woods and winding trails, has its own spine-chilling lore. Campers and hikers have reported hearing unearthly screams echoing through the trees at night. Some say it’s the spirit of a Native American warrior, while others believe it’s a banshee or a lost soul trapped in the woods. The screams are said to grow louder the closer you get to the park’s remote areas, only to suddenly stop, leaving an eerie silence.
The Ghost Lights of Bourbon Road
On the winding, rural Bourbon Road near Sullivan, there are reports of mysterious, floating lights known as the “Ghost Lights.” Described as glowing orbs that appear along the road or in the nearby woods, these lights have puzzled locals for decades. Some believe they are the spirits of miners who died in a nearby cave collapse, forever wandering in search of the light that will lead them home. Others say they are the souls of those who drowned in the Meramec River. Drivers who have tried to follow the lights report them disappearing suddenly, leaving an eerie silence and a sense of being watched.
The Sullivan Witch’s Grave
In a small, forgotten cemetery on the outskirts of Sullivan, there lies a gravestone that locals refer to as the Sullivan Witch’s Grave. According to legend, a woman accused of practicing dark magic in the late 1800s was buried here. Her grave is said to be cursed, and those who disturb it have reported strange occurrences: sudden chills, whispers from the surrounding woods, or even sightings of a shadowy figure lurking near the headstone. The grass around the grave never seems to grow, and some claim that on certain nights, her spirit rises, seeking revenge on those who wronged her.
The Haunted Bridge at Possum Hollow Road
Possum Hollow Road, a quiet, rural road near Sullivan, has a bridge that is said to be haunted. Local folklore tells of a tragic accident involving a family whose car plunged off the bridge into the river below. The bridge is now rumored to be a hotspot for paranormal activity. Those brave enough to visit at night have reported hearing the cries of a child, phantom footsteps on the bridge, or the eerie feeling of unseen hands pushing them. Some say that if you stop on the bridge and turn off your car, you may feel it start to move as if being pushed by ghostly forces.
The Shadow People of Pea Ridge
Pea Ridge, a small, secluded area near Sullivan, is home to stories of shadow people—dark, shadowy figures that appear in the corner of your eye but vanish when you turn to look directly at them. Residents have reported feeling an oppressive presence when walking through the area, especially near dusk. Some believe these shadow people are the spirits of early settlers or Native Americans who once roamed the land. Others think they are something more sinister—perhaps entities from another dimension or the spirits of those who died tragically and are unable to move on.
The Sullivan Ghost Train
The legend of the “Sullivan Ghost Train” dates back to the days when the railroad was the lifeline of small towns like Sullivan. It is said that on foggy nights, a ghostly train can be heard speeding along the old tracks, whistleblowing and wheels clattering. Some claim to have seen the faint outline of a steam locomotive moving down the tracks, but when it gets close, it vanishes into thin air. The story goes that the train was involved in a tragic accident, and now it repeats its final journey eternally.
The Devil’s Run Road
A rural road near Sullivan, known as Devil’s Run, is said to be one of the most haunted spots in the area. According to local legend, those who drive down this road at night have encountered a spectral figure known as the “Lady in White,” who appears suddenly in the middle of the road, causing drivers to swerve or stop. Some say she was a bride who died tragically on her wedding day and now haunts the area, searching for her lost love. Others have reported hearing whispers and footsteps, seeing strange lights, and feeling an overwhelming sense of dread while traveling the road.
The Phantom Hitchhiker of Route 66
Route 66 runs through Sullivan, and like many places along this historic highway, it has its share of ghost stories. One tale tells of a phantom hitchhiker who appears late at night, seeking a ride from unsuspecting drivers. Described as a young man wearing old-fashioned clothing, he vanishes from the car without a trace when nearing the town’s edge. Some believe he was a traveler who met an untimely end along the route and is forever trying to find his way home.
These legends add to the eerie atmosphere of Meramec and Sullivan, making them places of fascination for those interested in the paranormal and the unknown. You never know what you might encounter while staying at Meramec Campground!
Family owned and operated, Kiefer Campgrounds strive to offer you the best rates for a comfortable location with outstanding service, and spotless facilities. When you stay in one of our parks, you are no longer just a happy camper, but a part of our family! We are most certain you will enjoy your stay with us. Pick your favorite location and book your spot now before it’s too late! You’ll be happy you did!


